(Gluten Free!) Orange, Walnut, Date, and Olive Oil Cookies
I have been consuming Cara Cara oranges and walnuts like water over the last month and a half. When my cravings are so healthy and whole, I happily oblige. So, it makes sense that my nearly weekly batch of "Mommy's Healthy Cookies" (which really originates from a throw-together-whatever-you've-got, no recipe kind of "recipe") took an orange-walnut turn. Happily, this proved to be just as awesome as other versions; in fact, my family clamored for more and ate their way through batch after batch as I experimented with gluten free and gluten free/vegan versions!
As it turns out, the vegan version is just shy of something I want to share with you, but I will persist. I am really pleased with this final gluten free version which combines the single mellow sweetness of dates, bright orange, silky olive oil, and lots of walnuts. I feel really good about handing off a couple of these little gems to my kindergartener every day after school because they are lightly sweet, full of fiber, and full of healthy fats. He always wants more, and I can confirm they are a great snack anytime.
If you have a severe gluten reaction or celiac disease, make sure you grab a bag of oats that are CERTIFIED GLUTEN FREE. While oats are naturally gluten free, they can be contaminated by other grains from the field or from processing. Gluten free oats are becoming more widely available so just ask your grocer or call around to see who carries them.
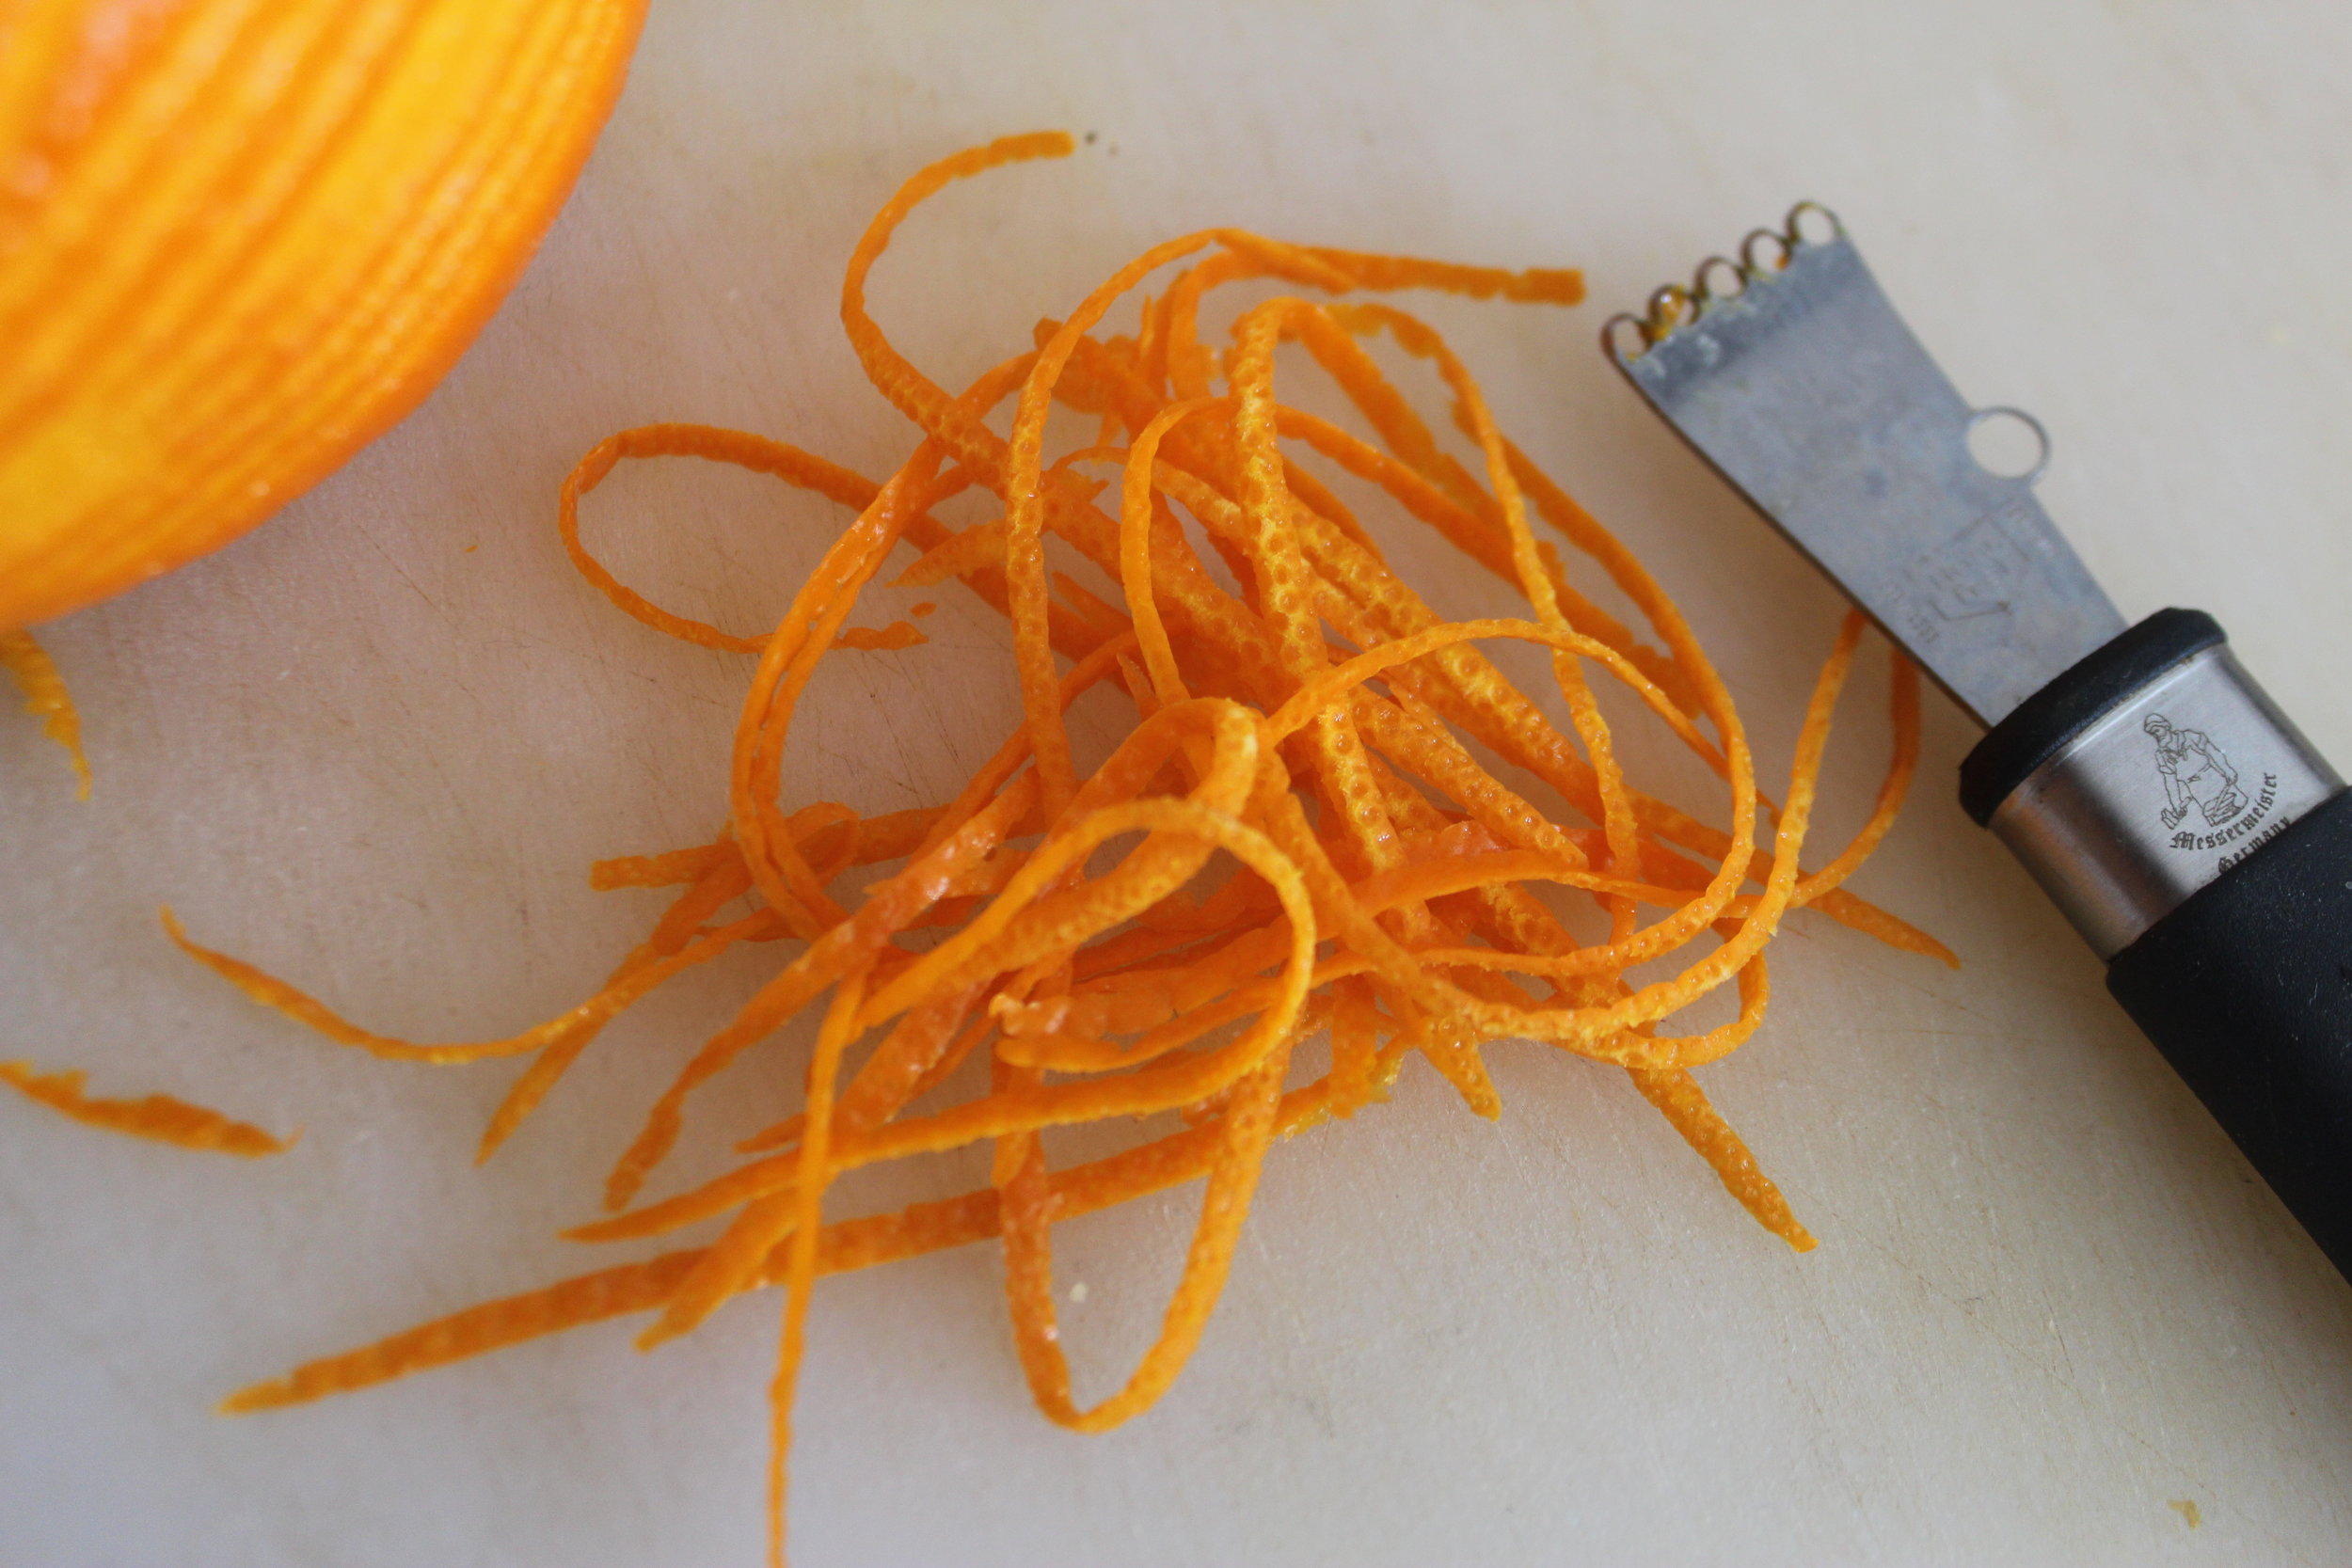

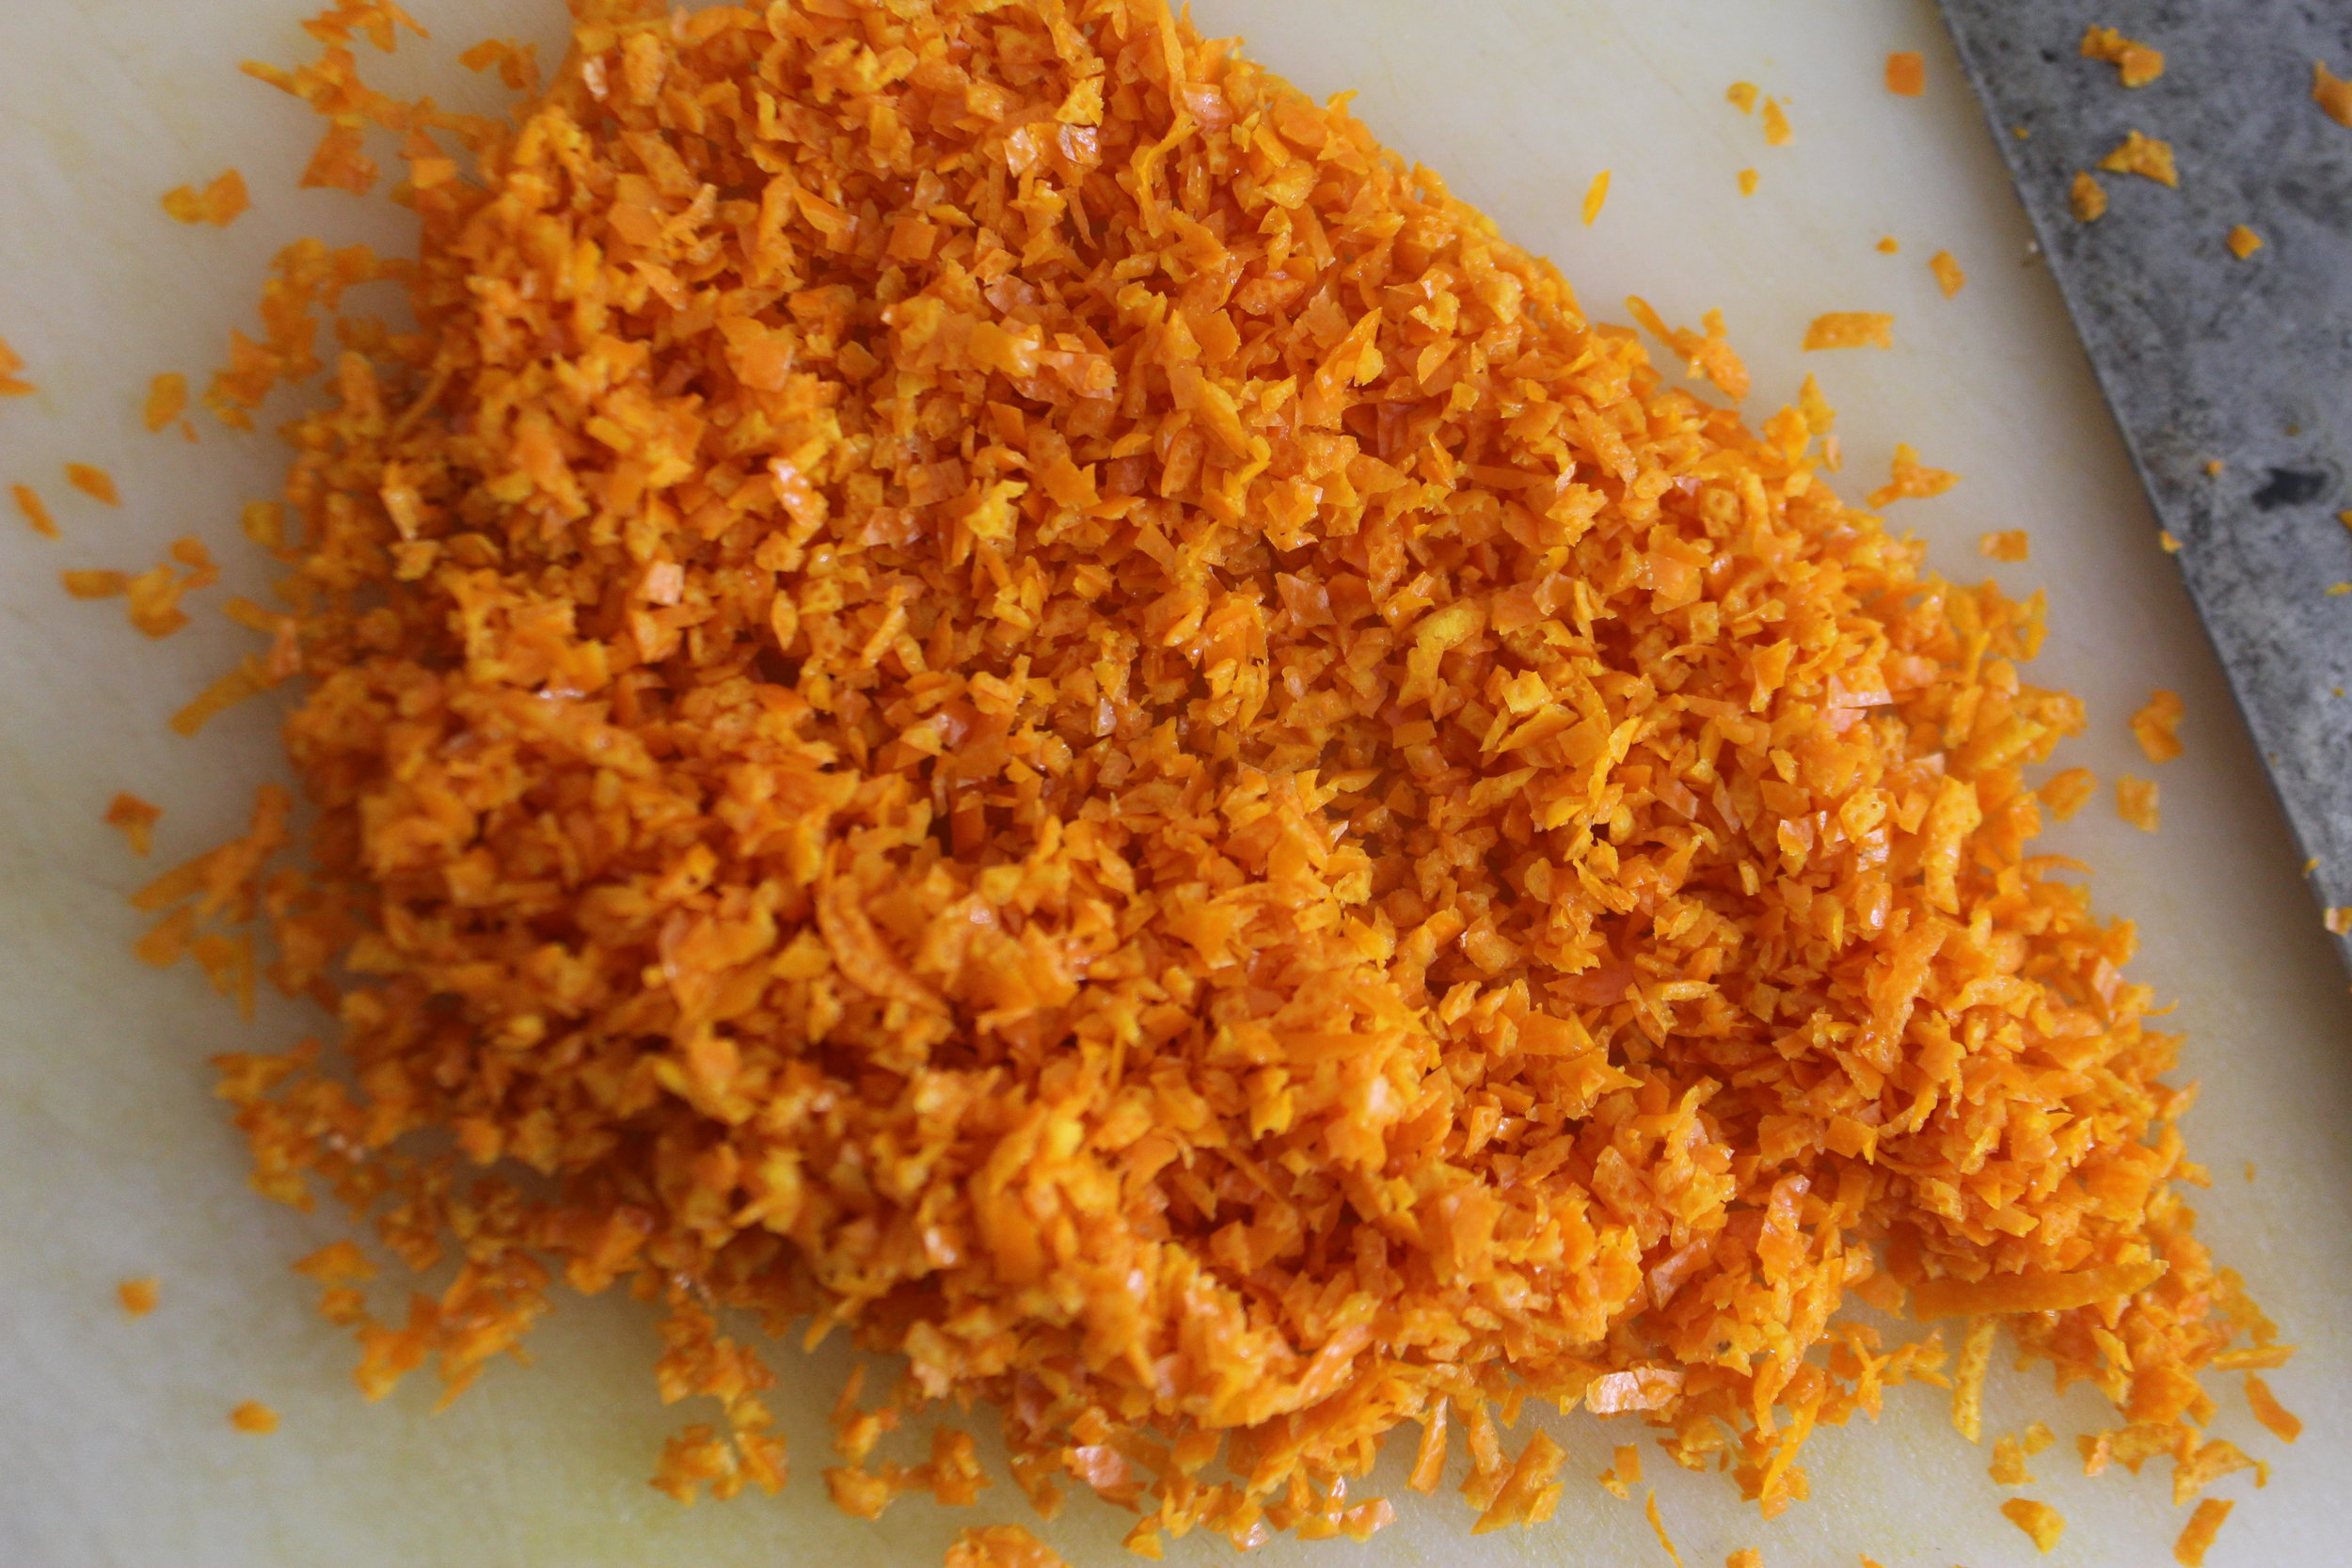
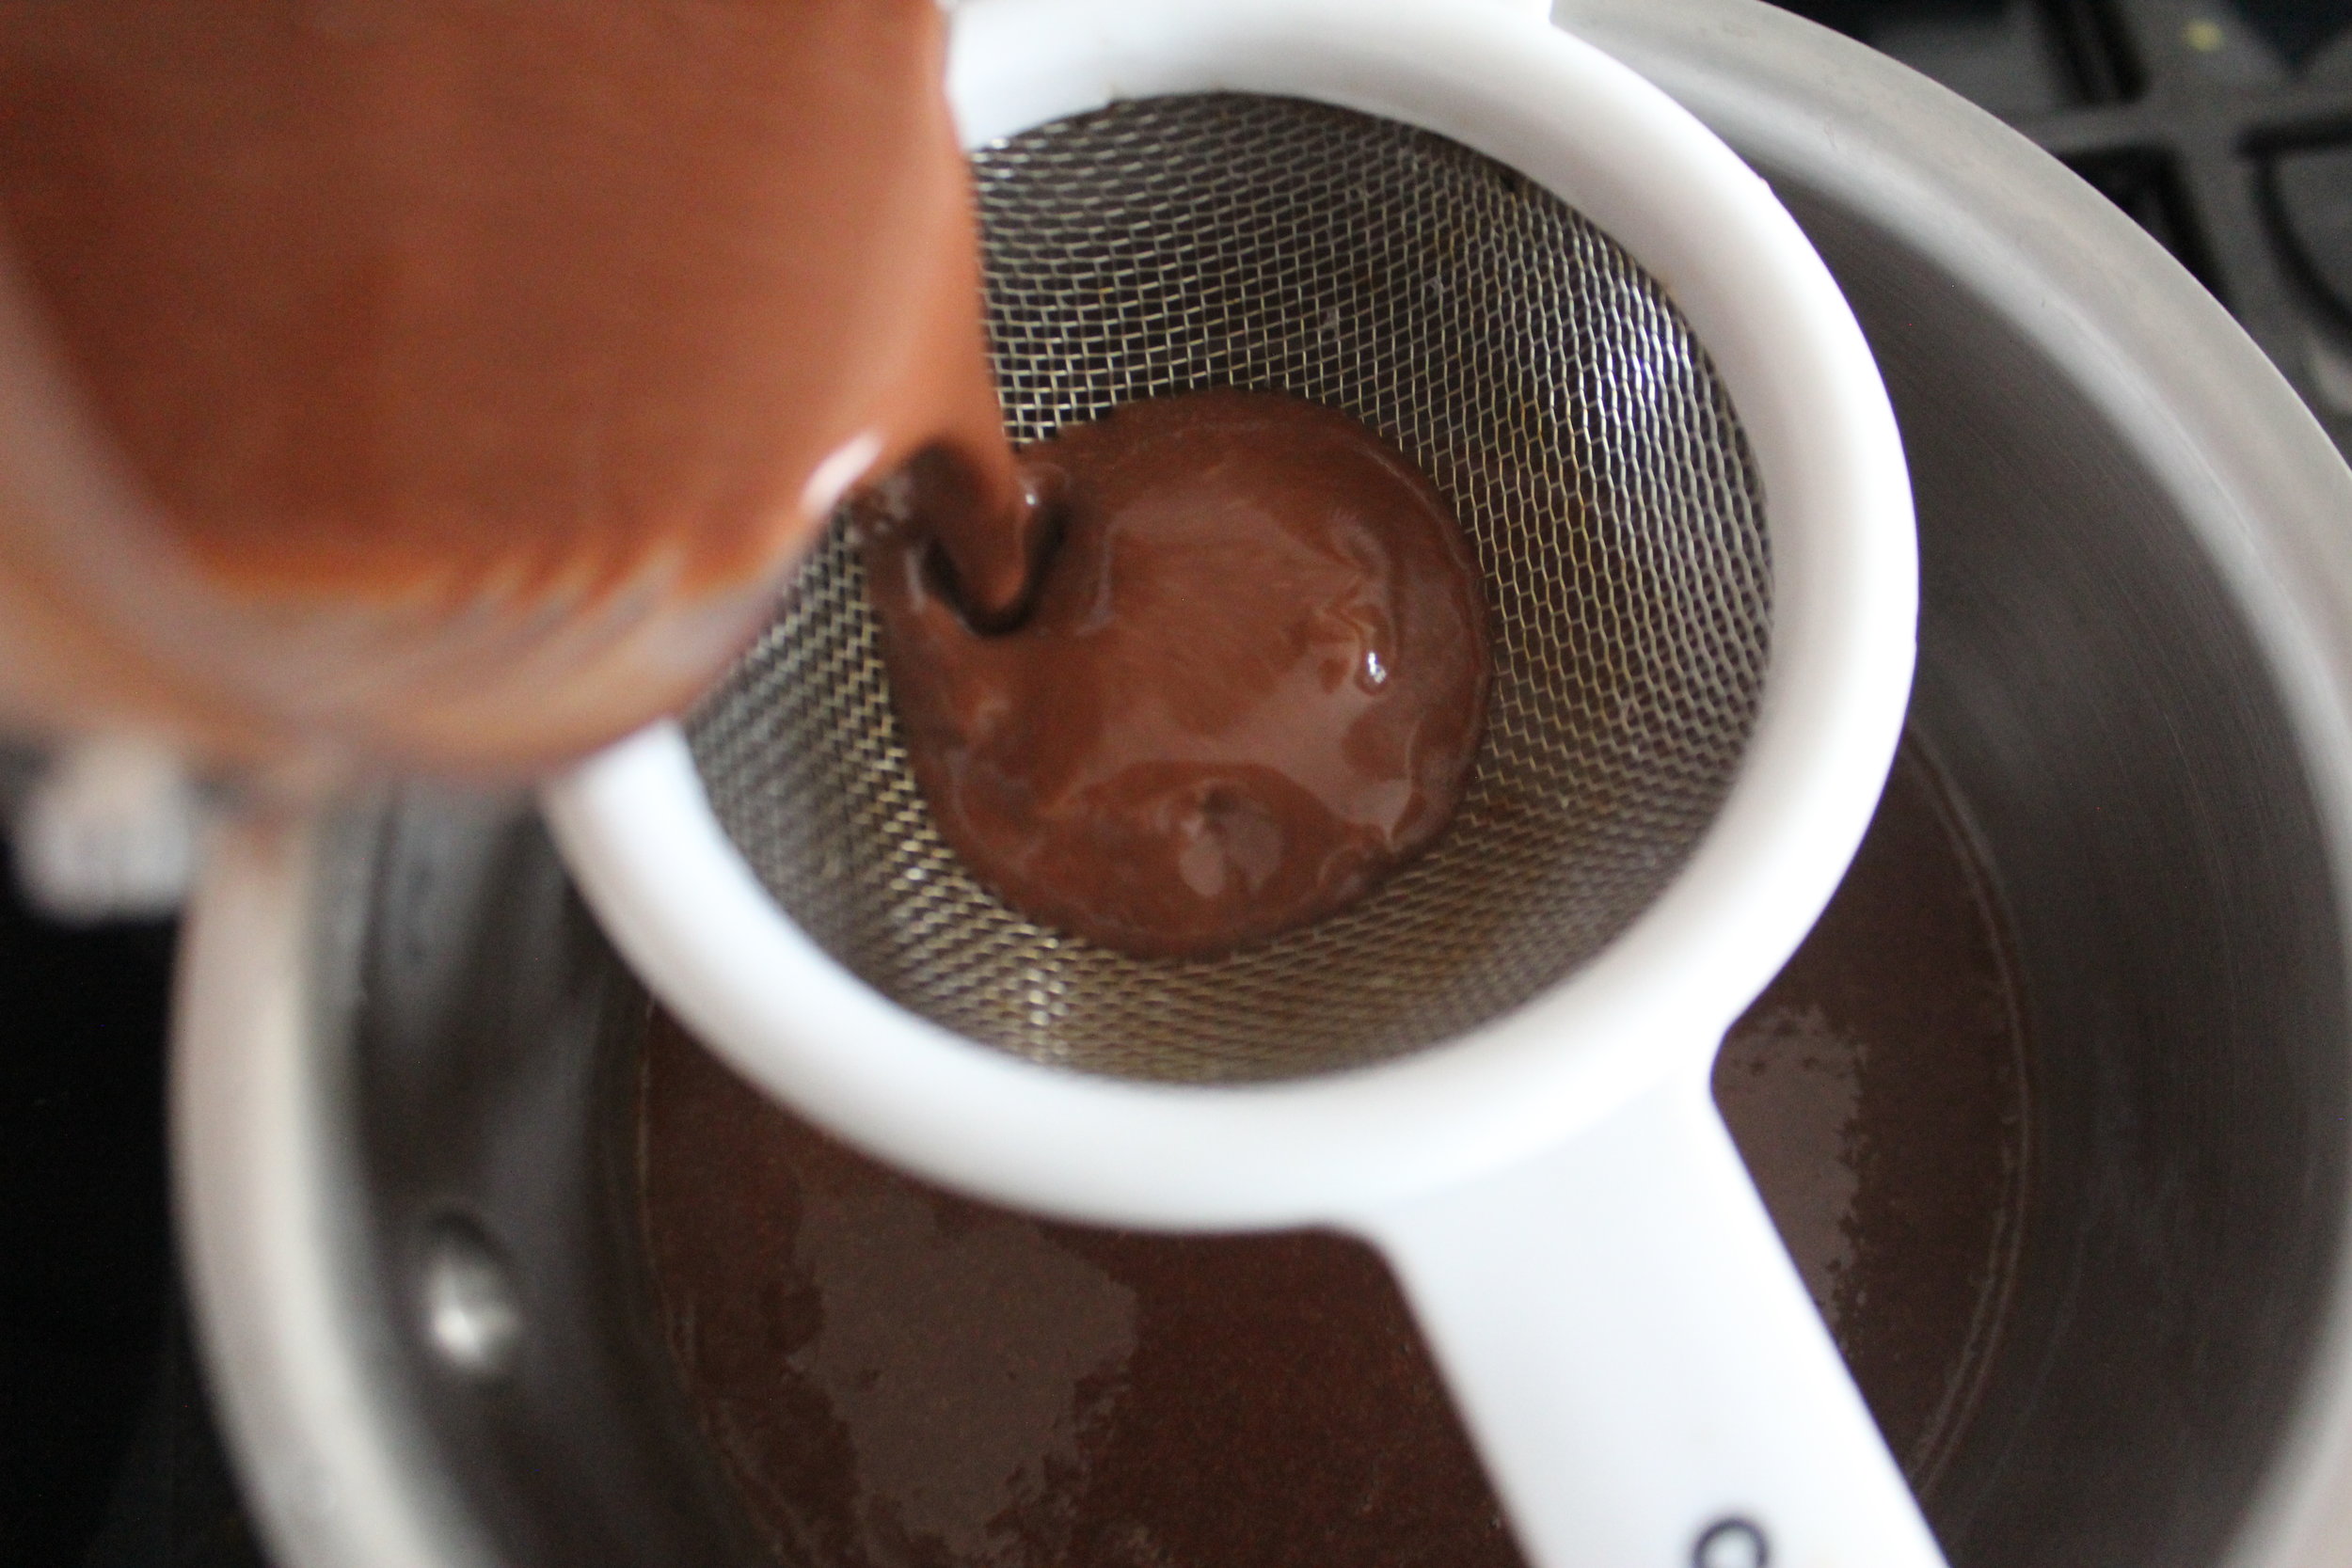
If you have a ribbon zester this may be a good time to use it if you don't mind slightly more prominent bits of orange peel. Zest the fruit in long ribbons and then mince finely. Blending the wet ingredients with the dates and zest ensures that the zest and dates incorporate better. If you want a finer orange zest, use a microplane on the fruit and blend the zest into the wet ingredients in the same way.
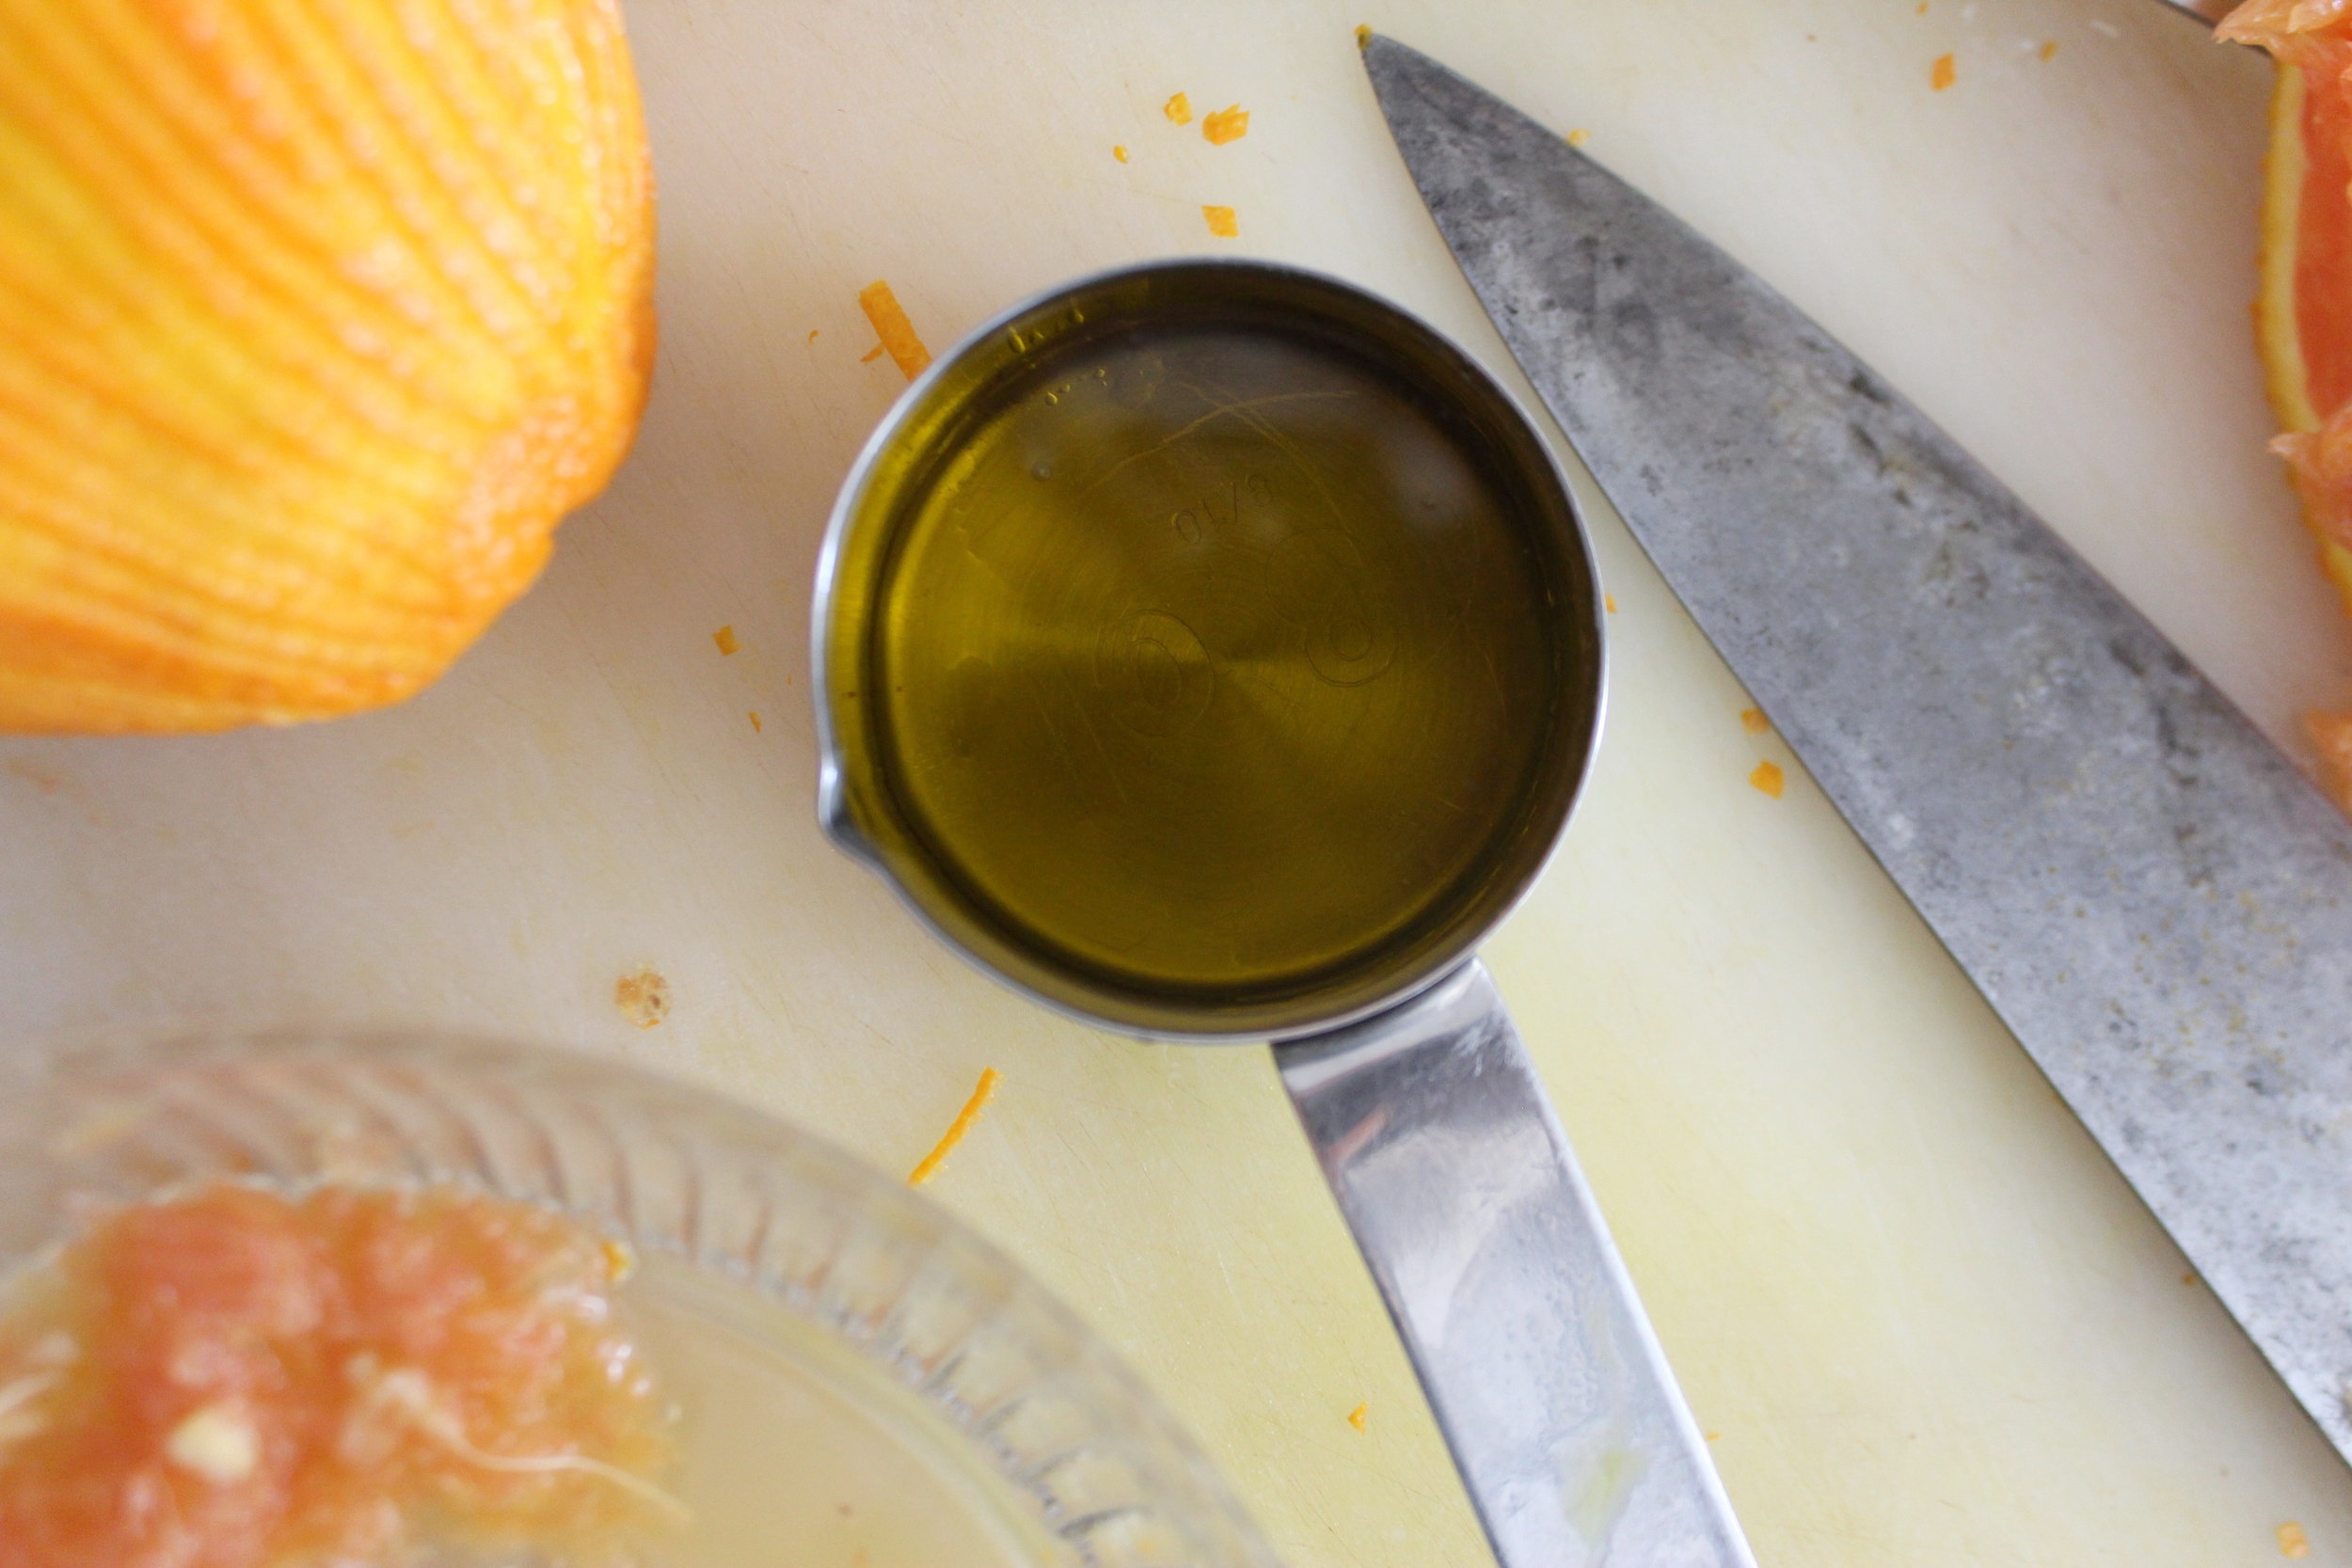
If you haven't been baking with olive oil, I hope these cookies can be a gateway experience for you. Olive oil has a surprisingly unobtrusive flavor when baked and a lends a soft, tender mouthfeel to treats from the oven. Orange, olive oil, walnuts, and dates compliment each other wonderfully in a kid-friendly way too. If the orange zest is too overwhelming (for kiddos or even adults), just reduce by 1 Tbsp and give it a try again. To me, the orange peel is essential.
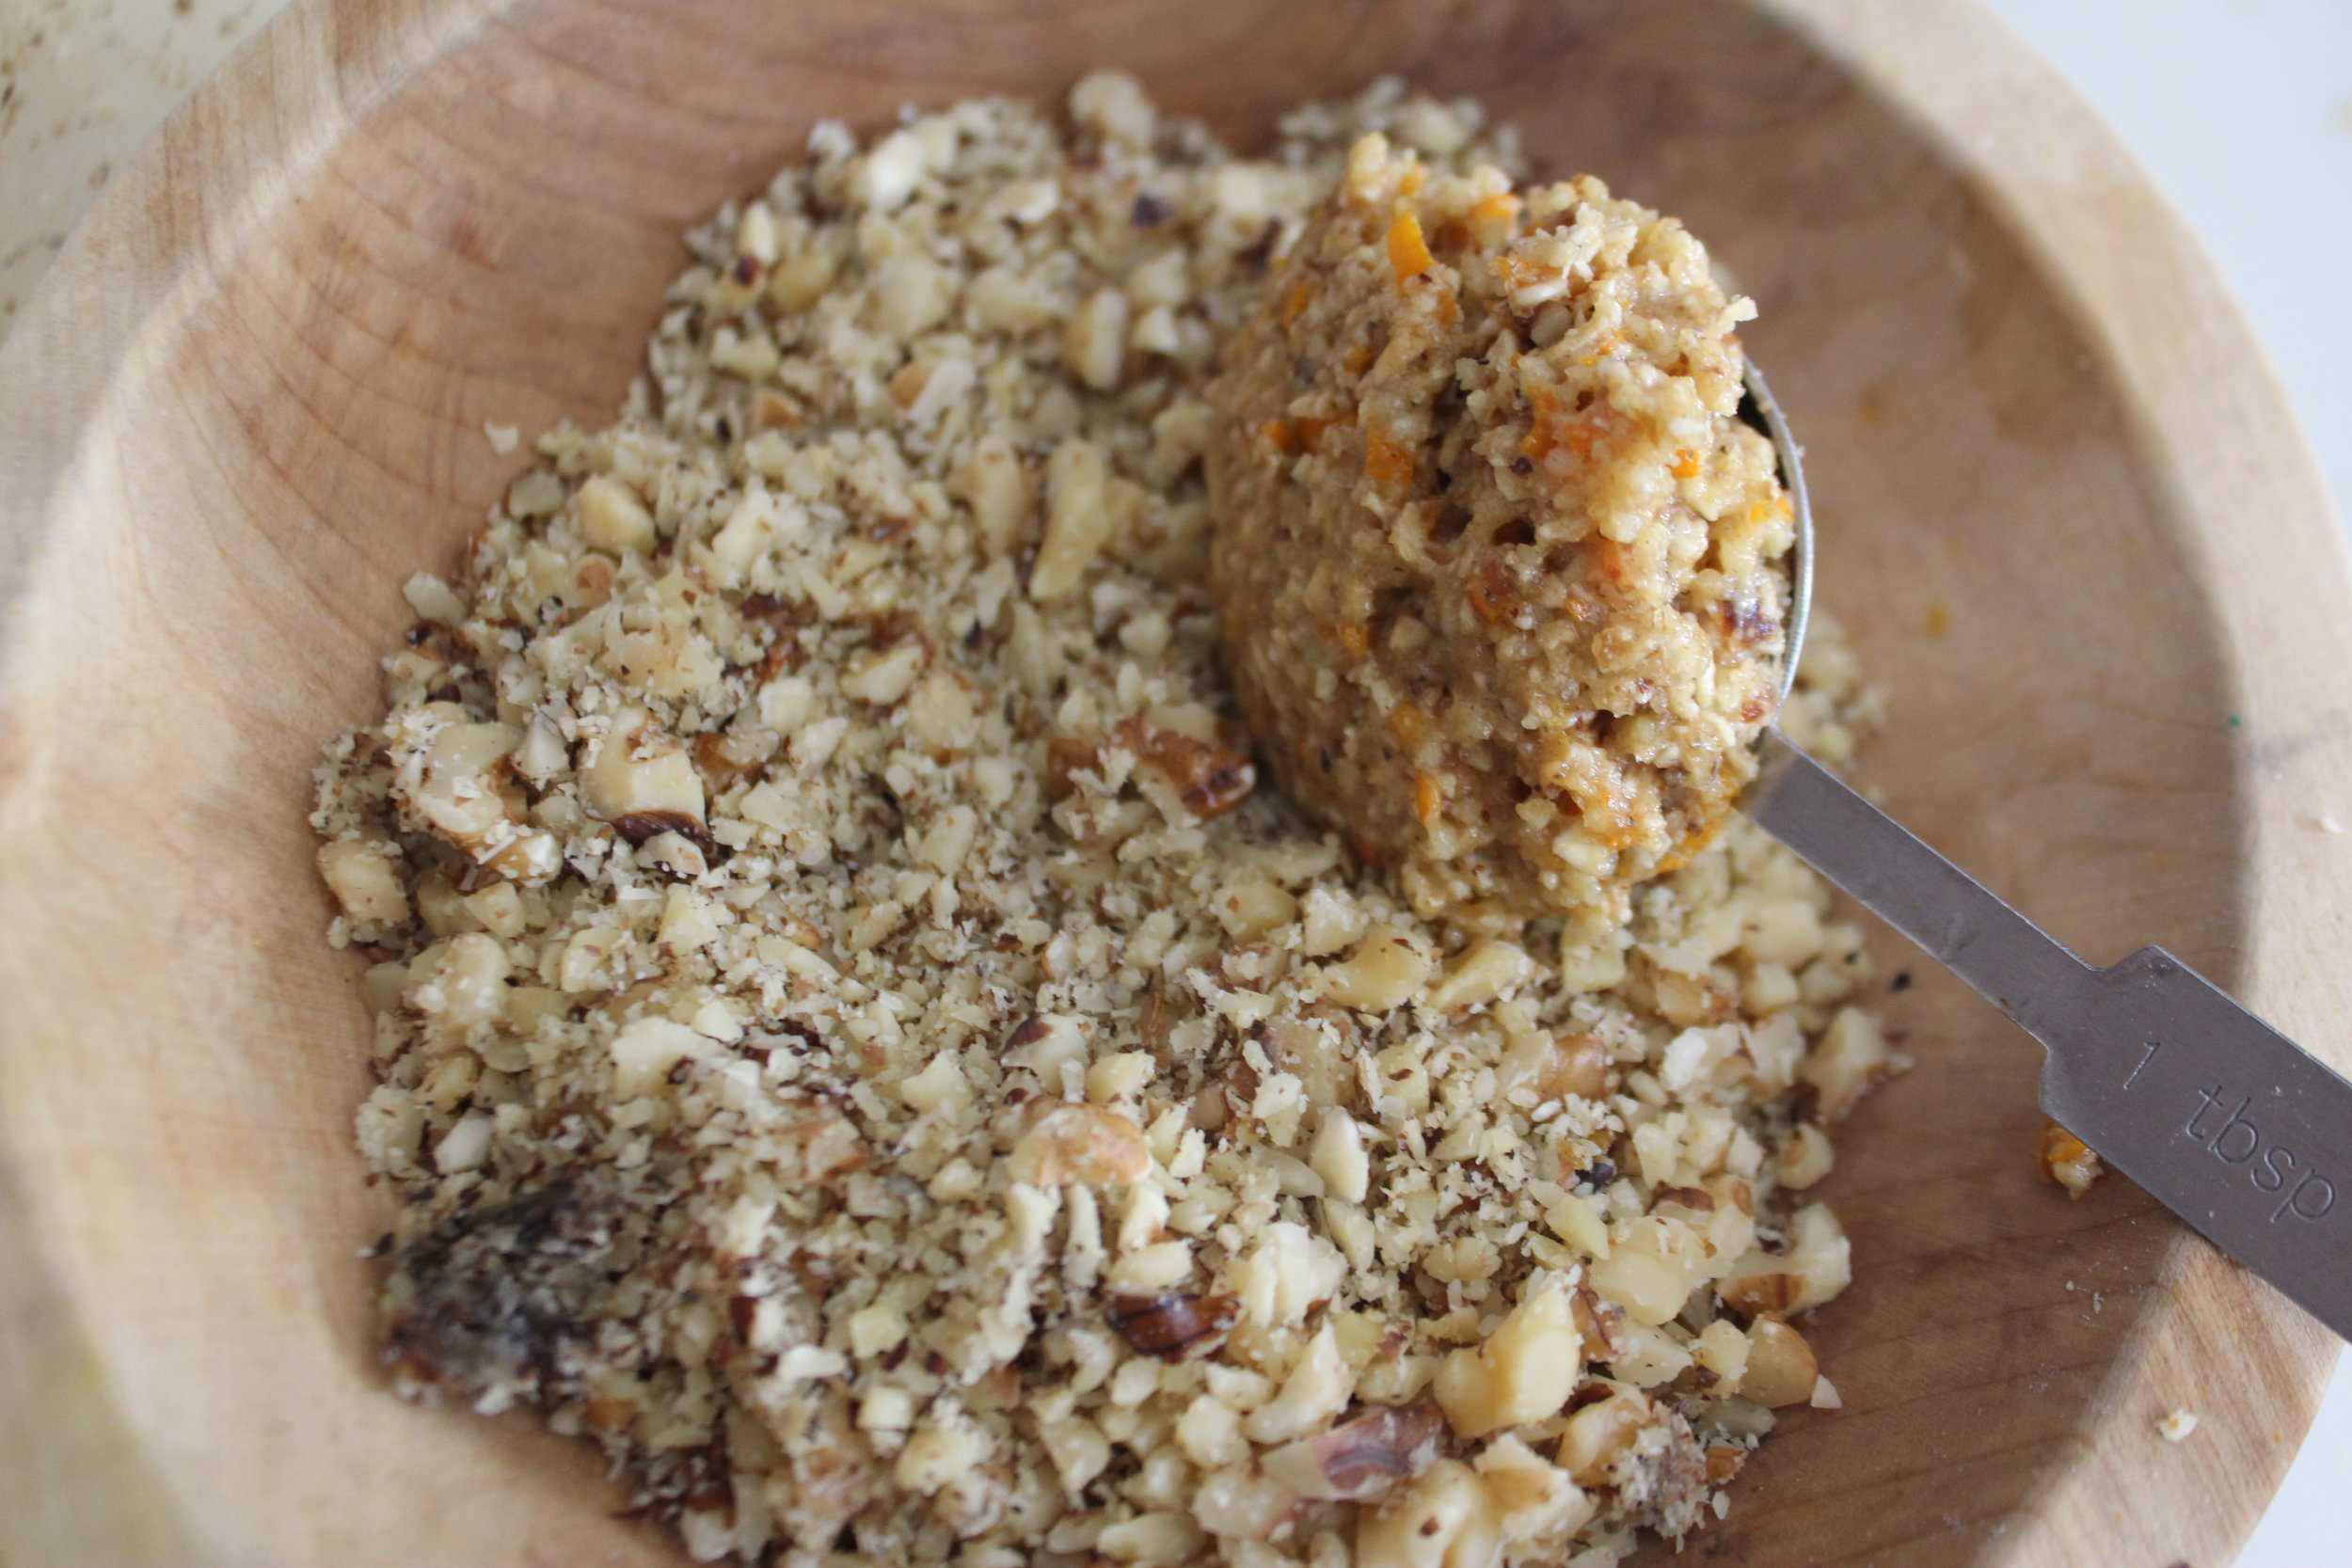
Make sure you have a processor or blender with a nice sharp blade. The oats and walnuts make a nicer, more tender cookie when they can be ground fine. The oats should be a rough flour consistency, and the walnuts should be like rough sand. The nuts that each ball of dough is rolled in should be chopped to a pebbly consistency with a knife or in the processor.
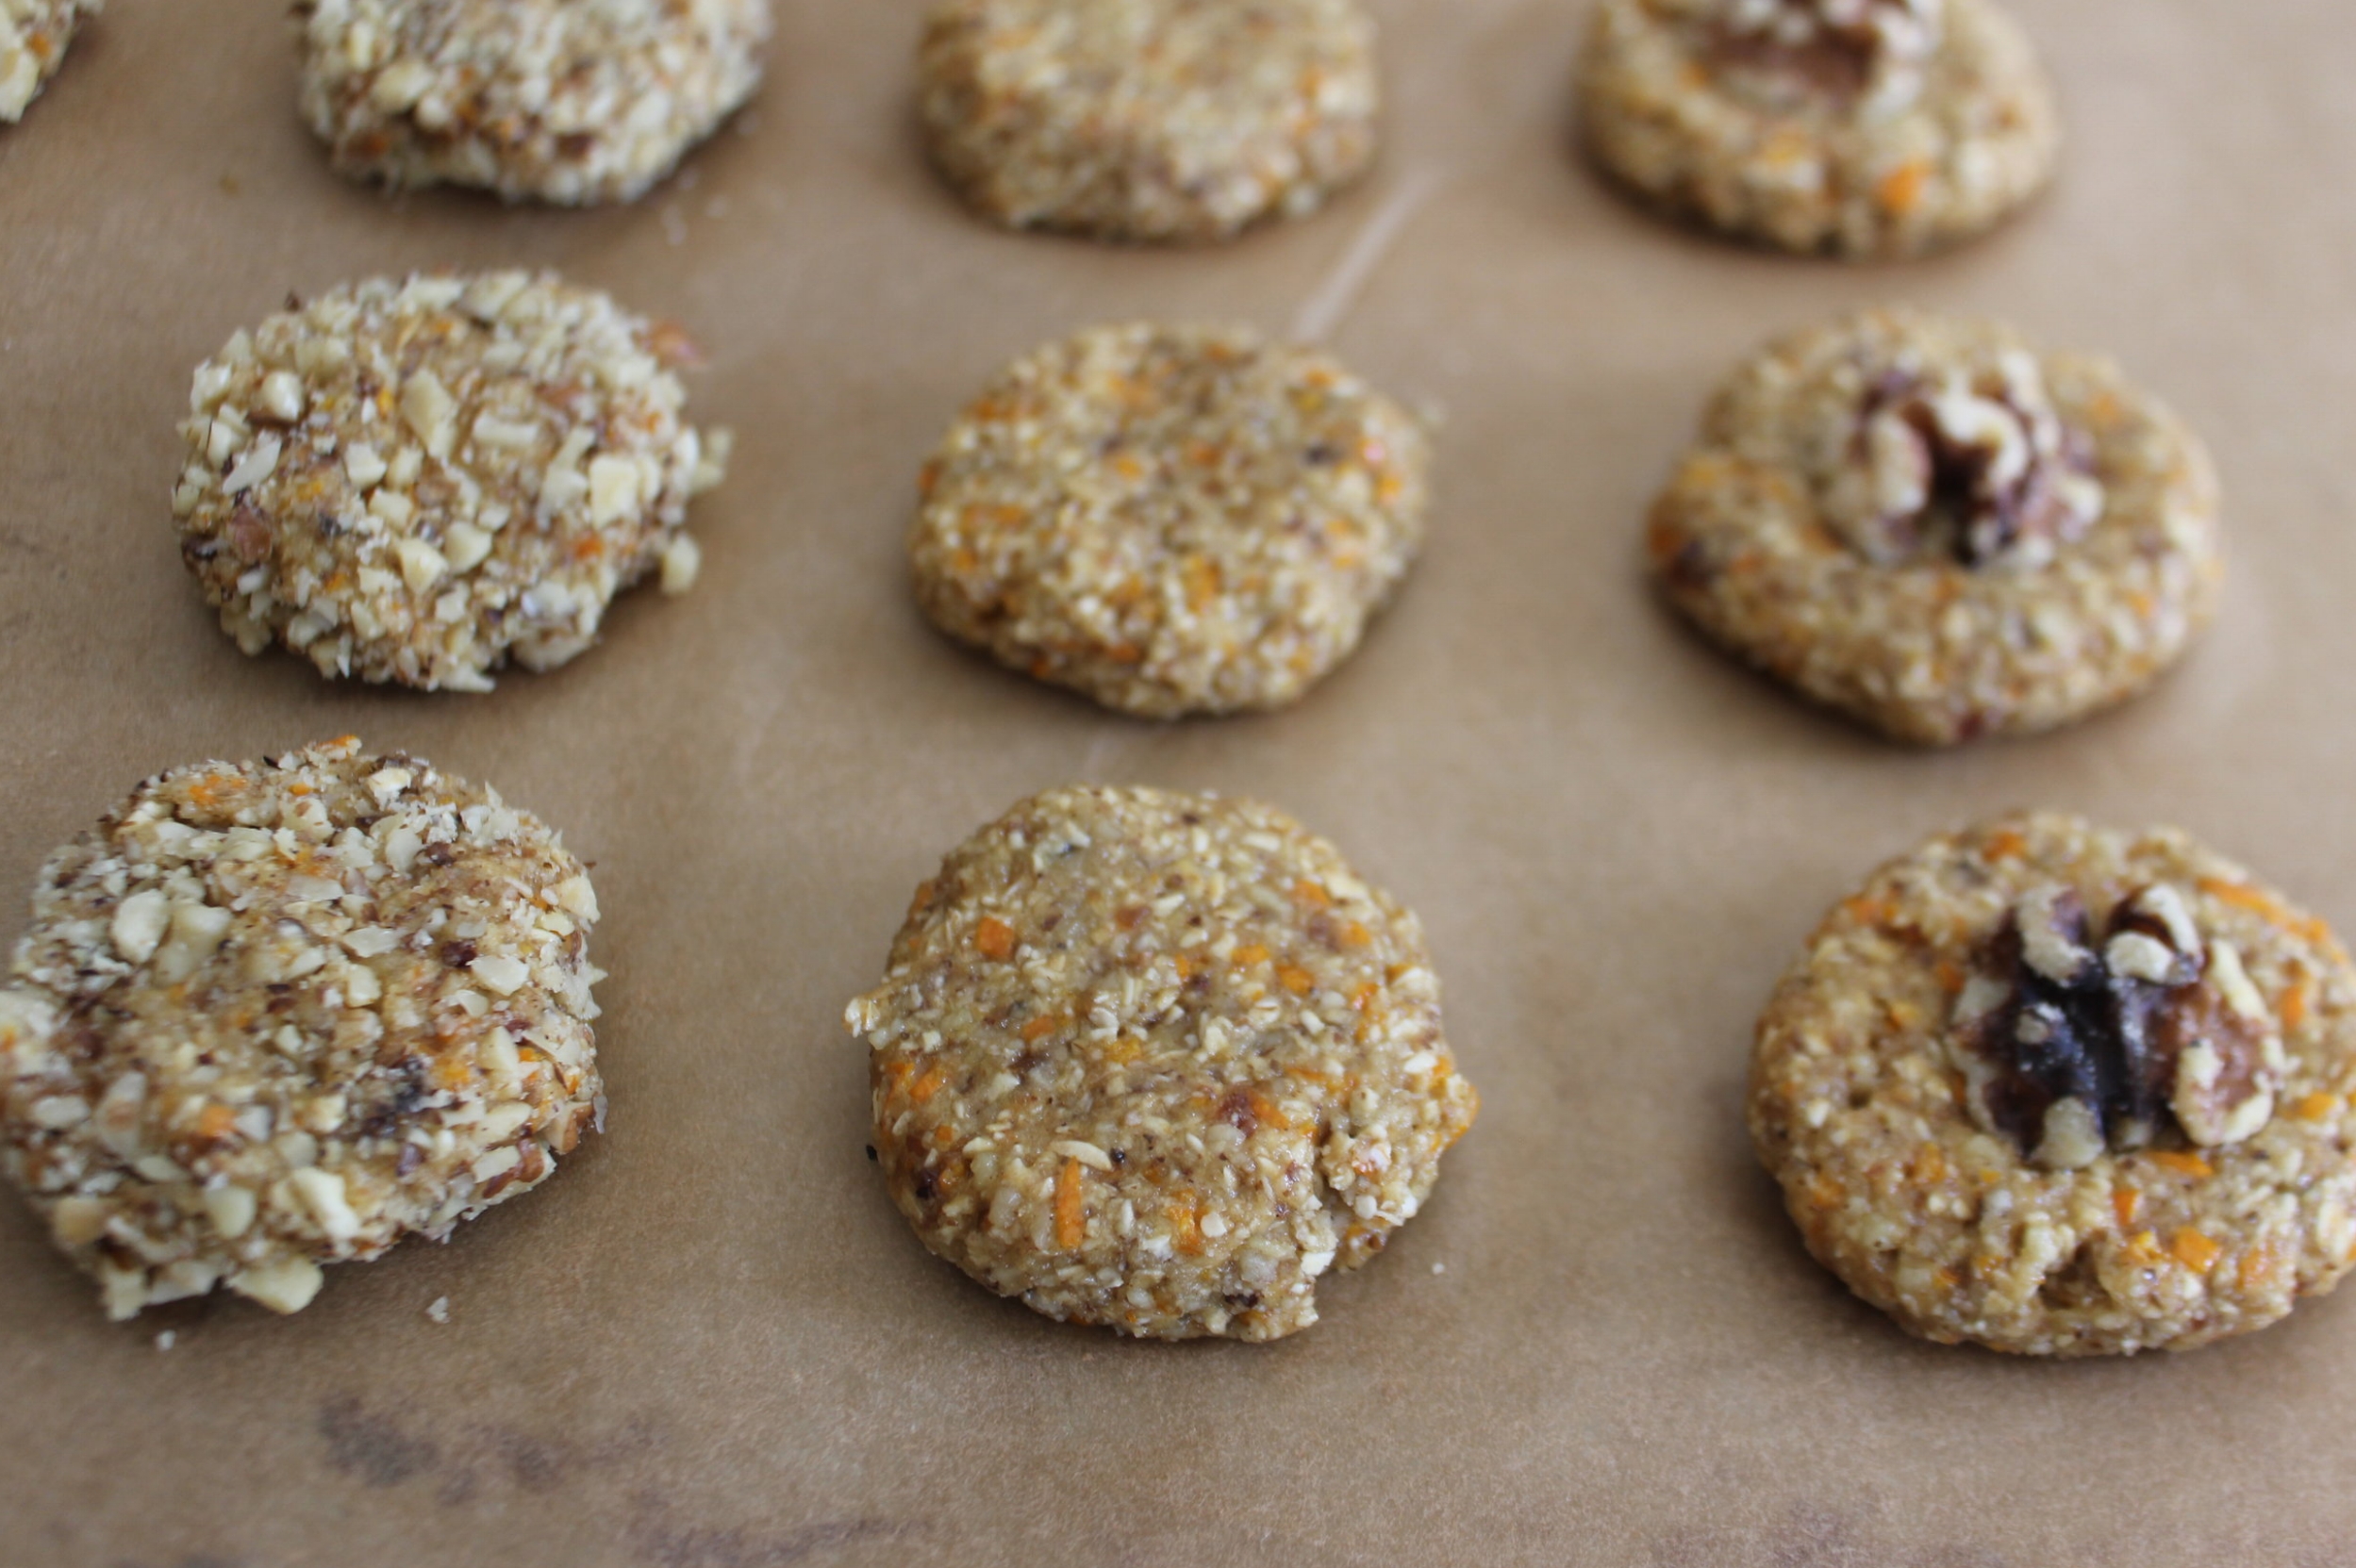
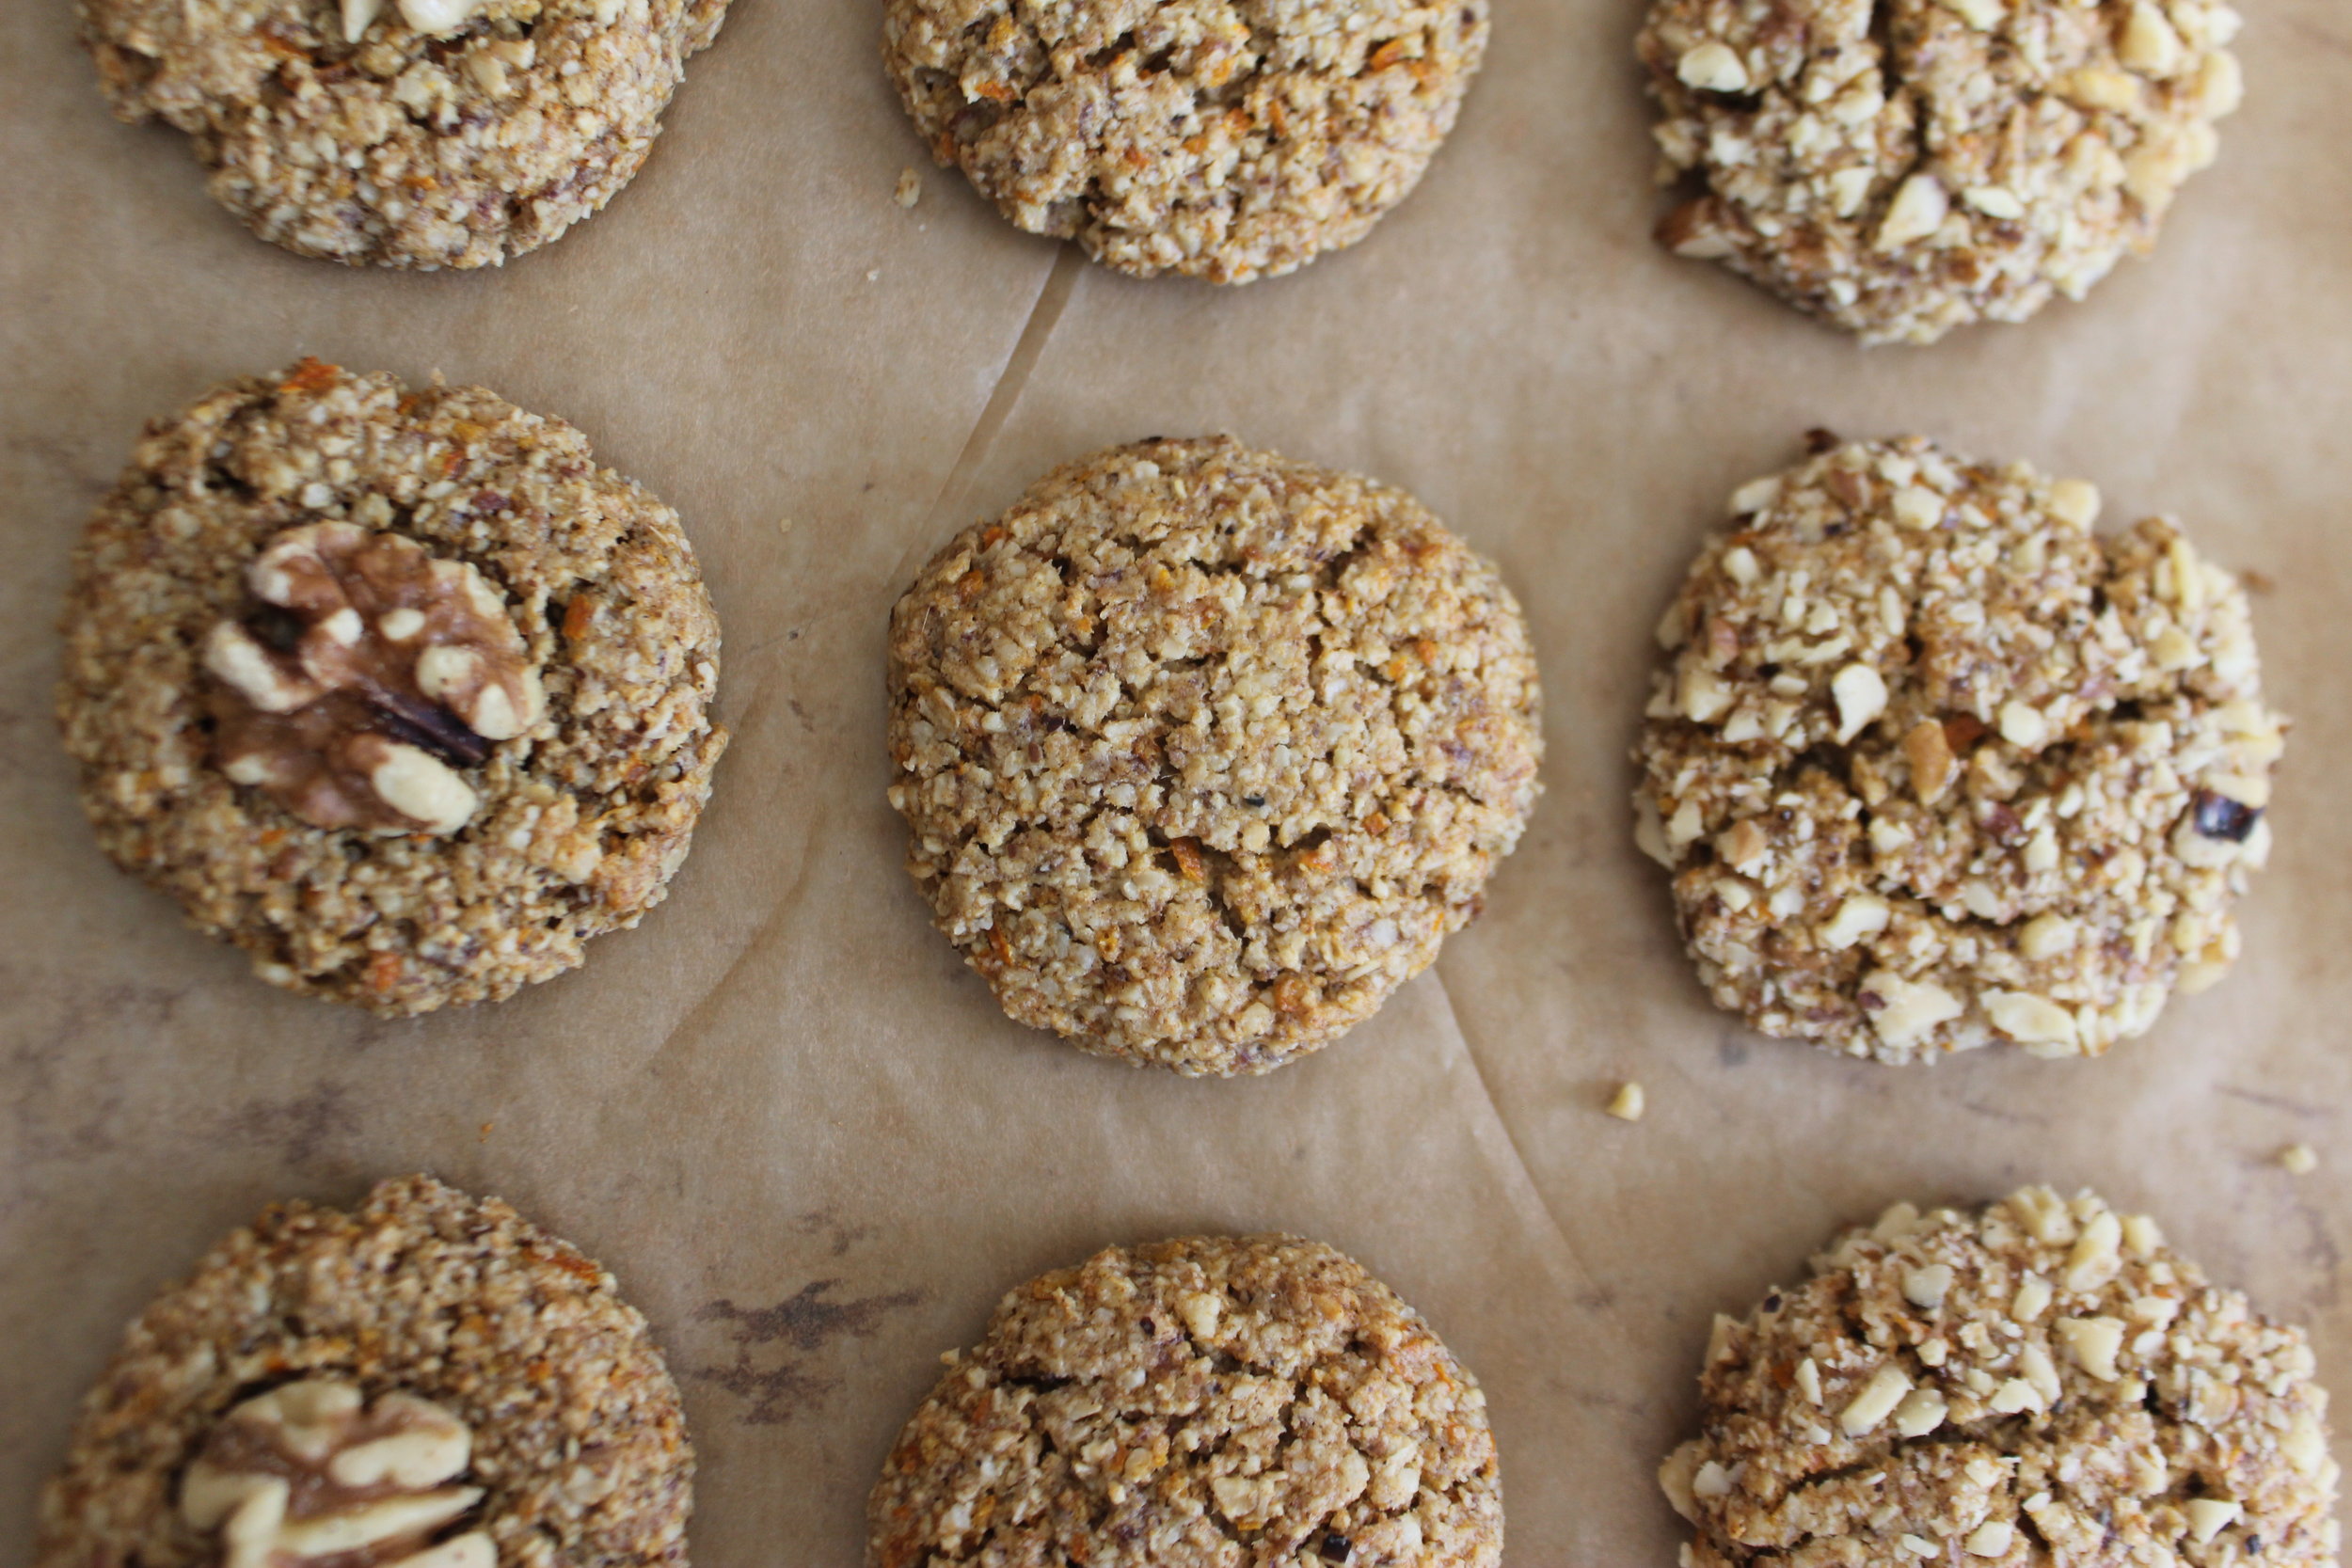
If you want variety, try leaving some cookies without the extra chopped walnuts or add a single half walnut pressed into the top for a nice look too. I can't get enough walnuts so I recommend rolling them in the chopped nuts, which gives them a nice crunchy outside too. You choose! Enjoy.
Orange, Walnut, Date, and Olive Oil Cookies
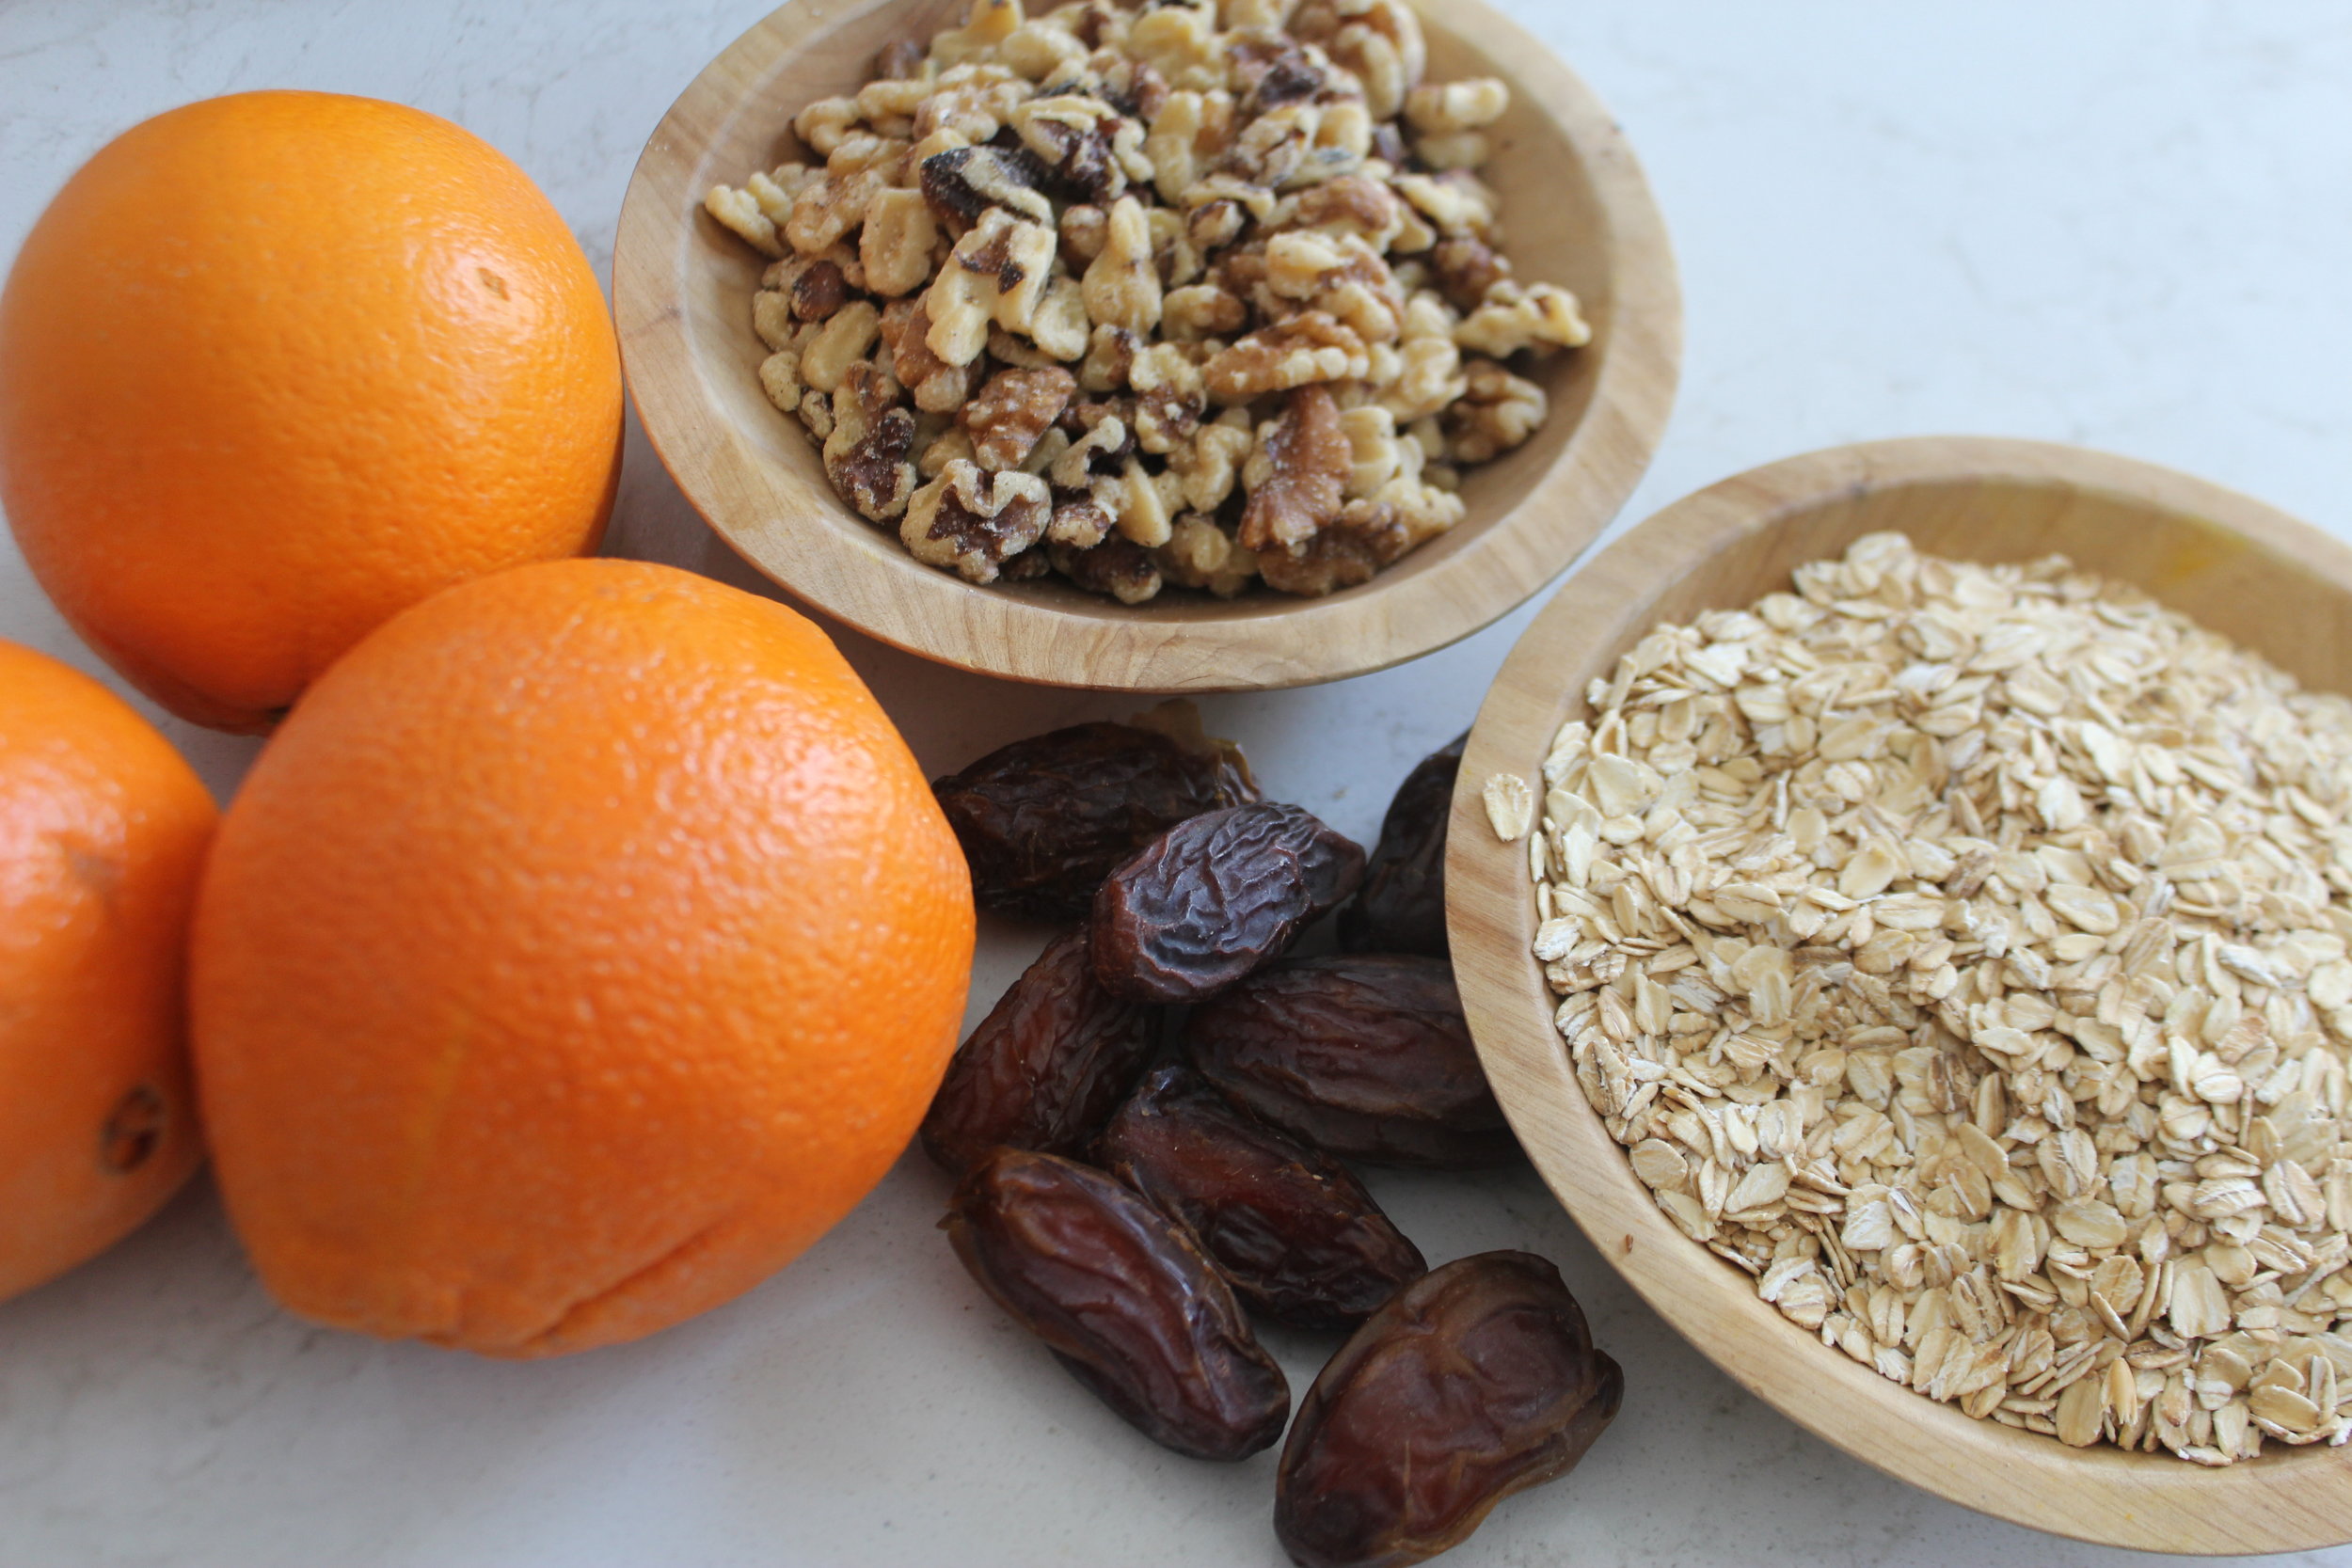
Ingredients:
- 1 1/2 C Rolled Oats, certified gluten free, not quick oats
- 1 1/2 C Walnuts, I used large pieces, not chopped, not whole
- 2 Tsp Ground flax seed
- 1 Tsp Baking soda
- 1 Tsp Baking powder
- 1/4 Tsp Sea salt
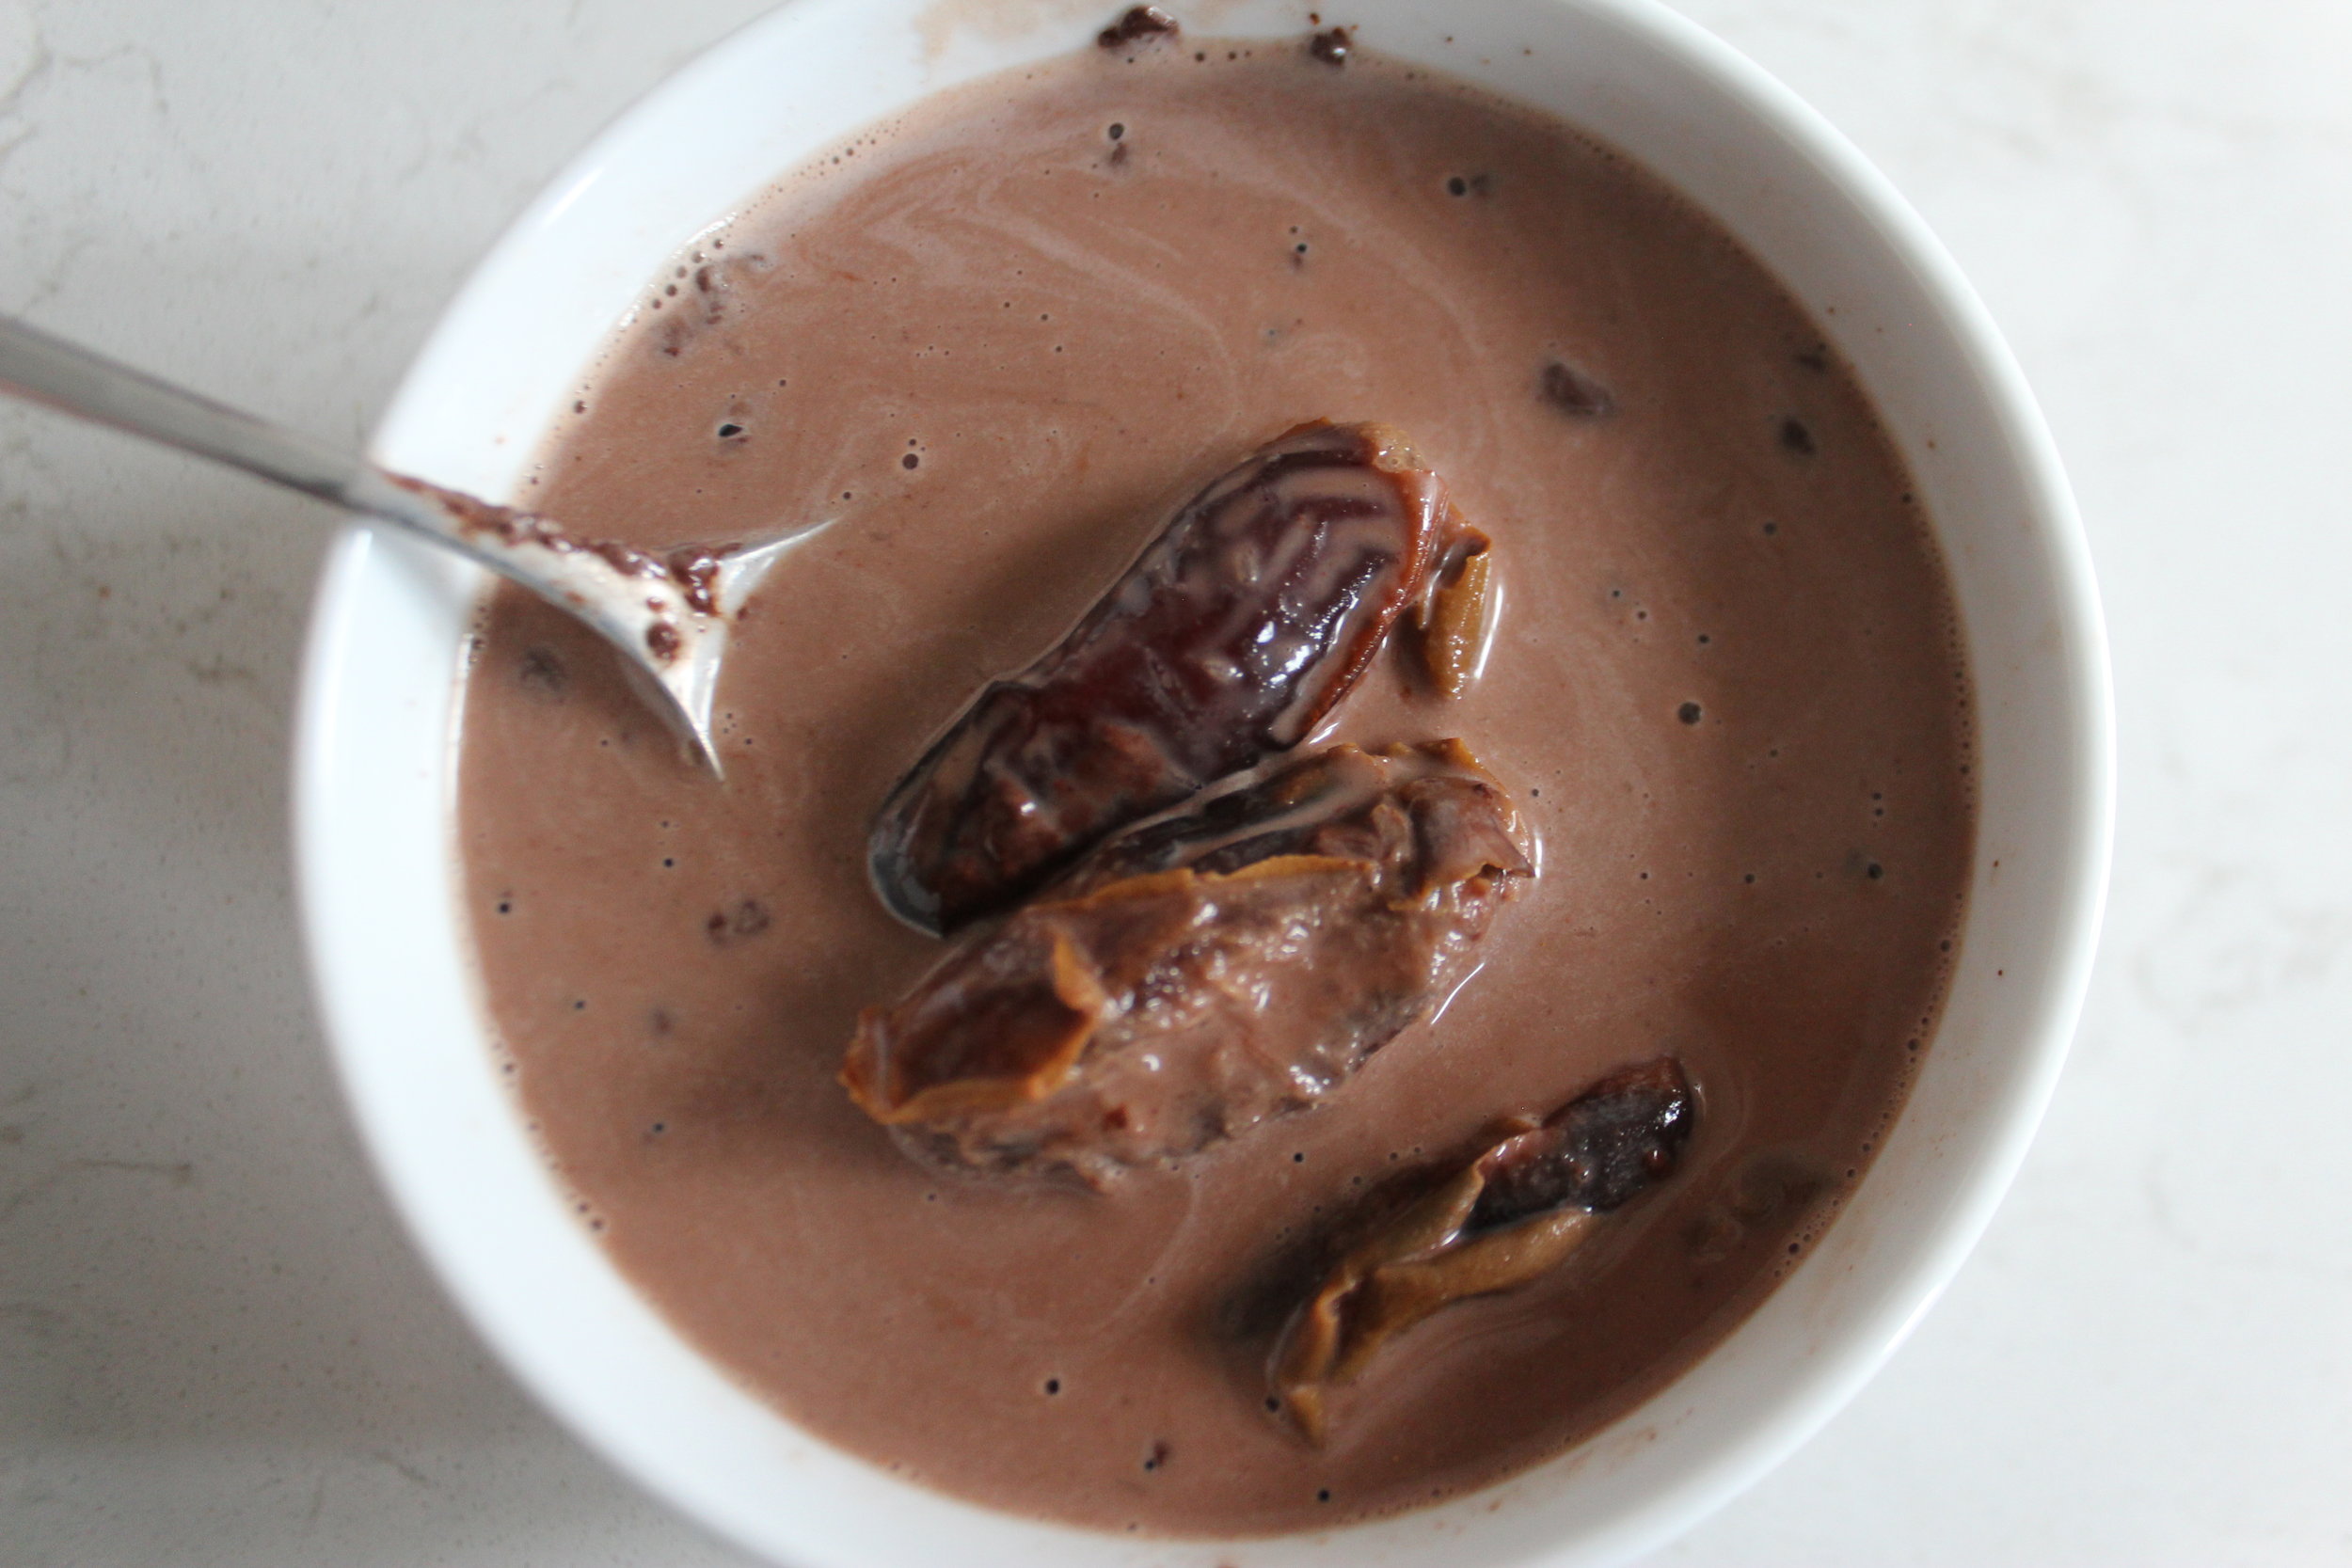
- 8 Dates, pitted and roughly chopped
- 1/3 C Extra virgin olive oil
- 2 Large egg
- 3 Tbsp Orange zest
- 2 Tbsp Orange juice
- 1 Tsp Vanilla extract
- 2 C Walnuts, chopped small for coating the cookies
Preheat the oven to 350 degrees and prepare two cookies sheets with parchment paper.
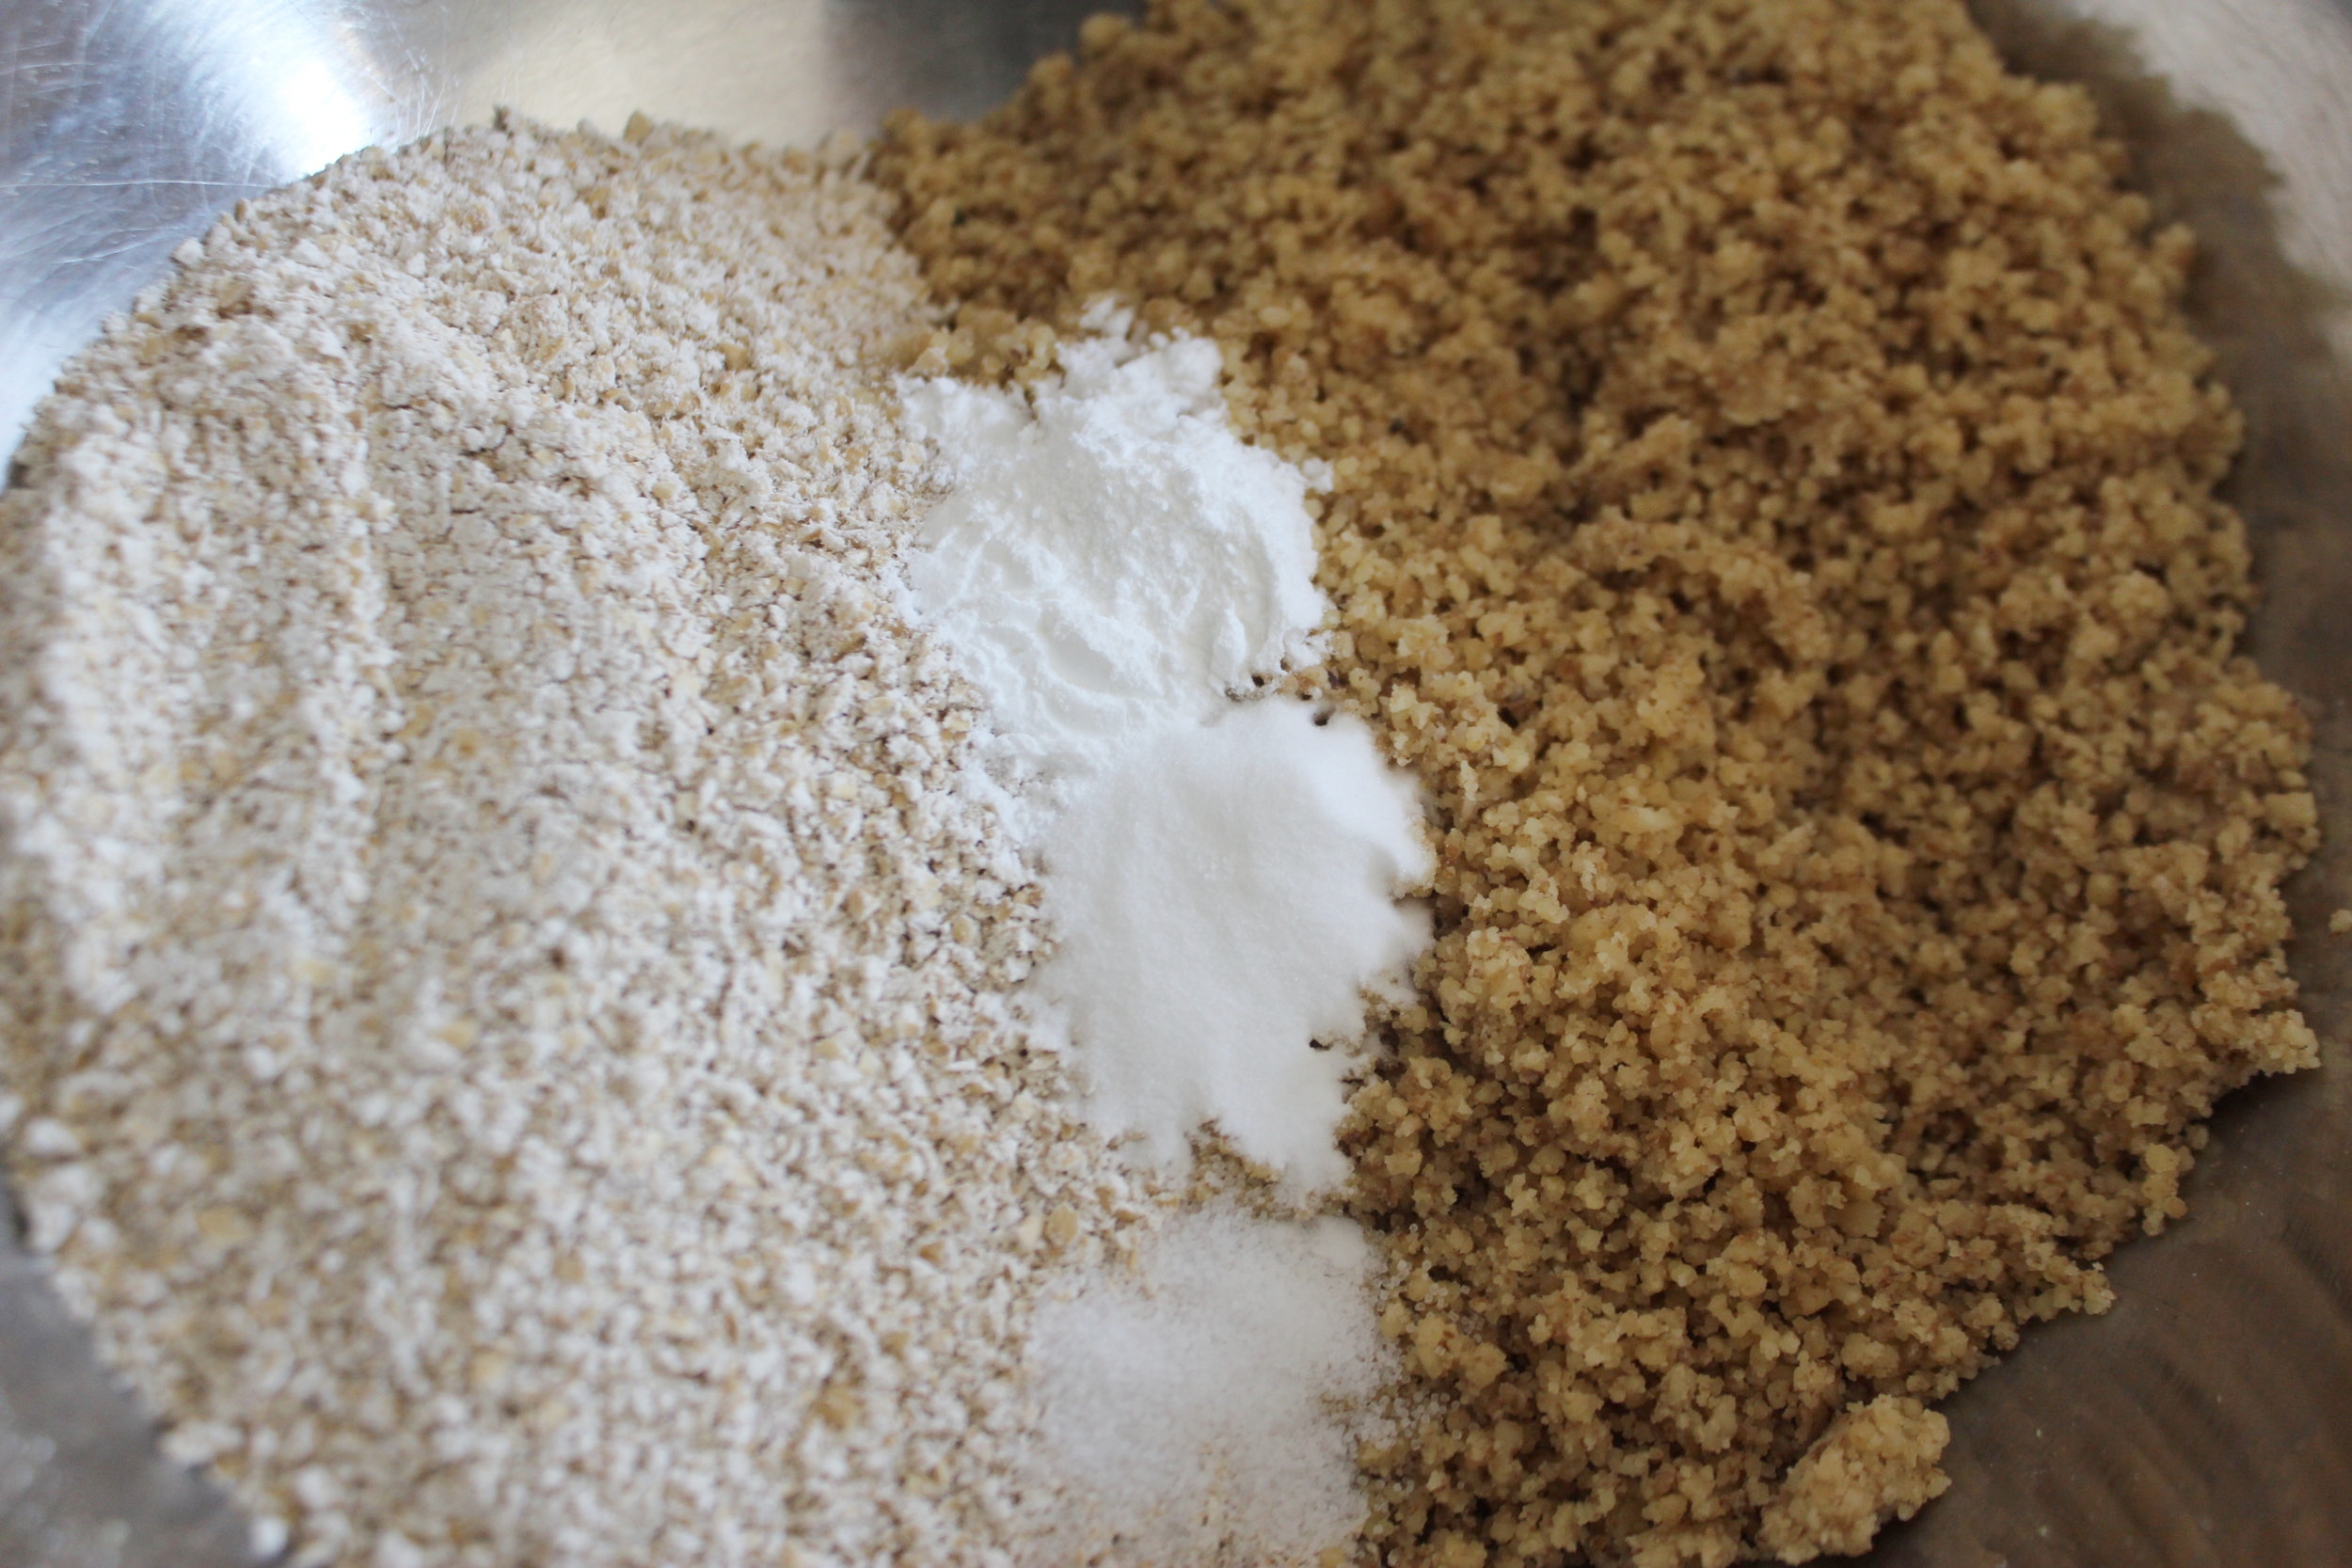
Separately grind the oats and the 1 1/2 C walnuts very fine in a food processor or blender. In a medium mixing bowl, combine the oats, walnuts, flax, baking soda, baking powder, and sea salt. Mix the dry ingredients well.
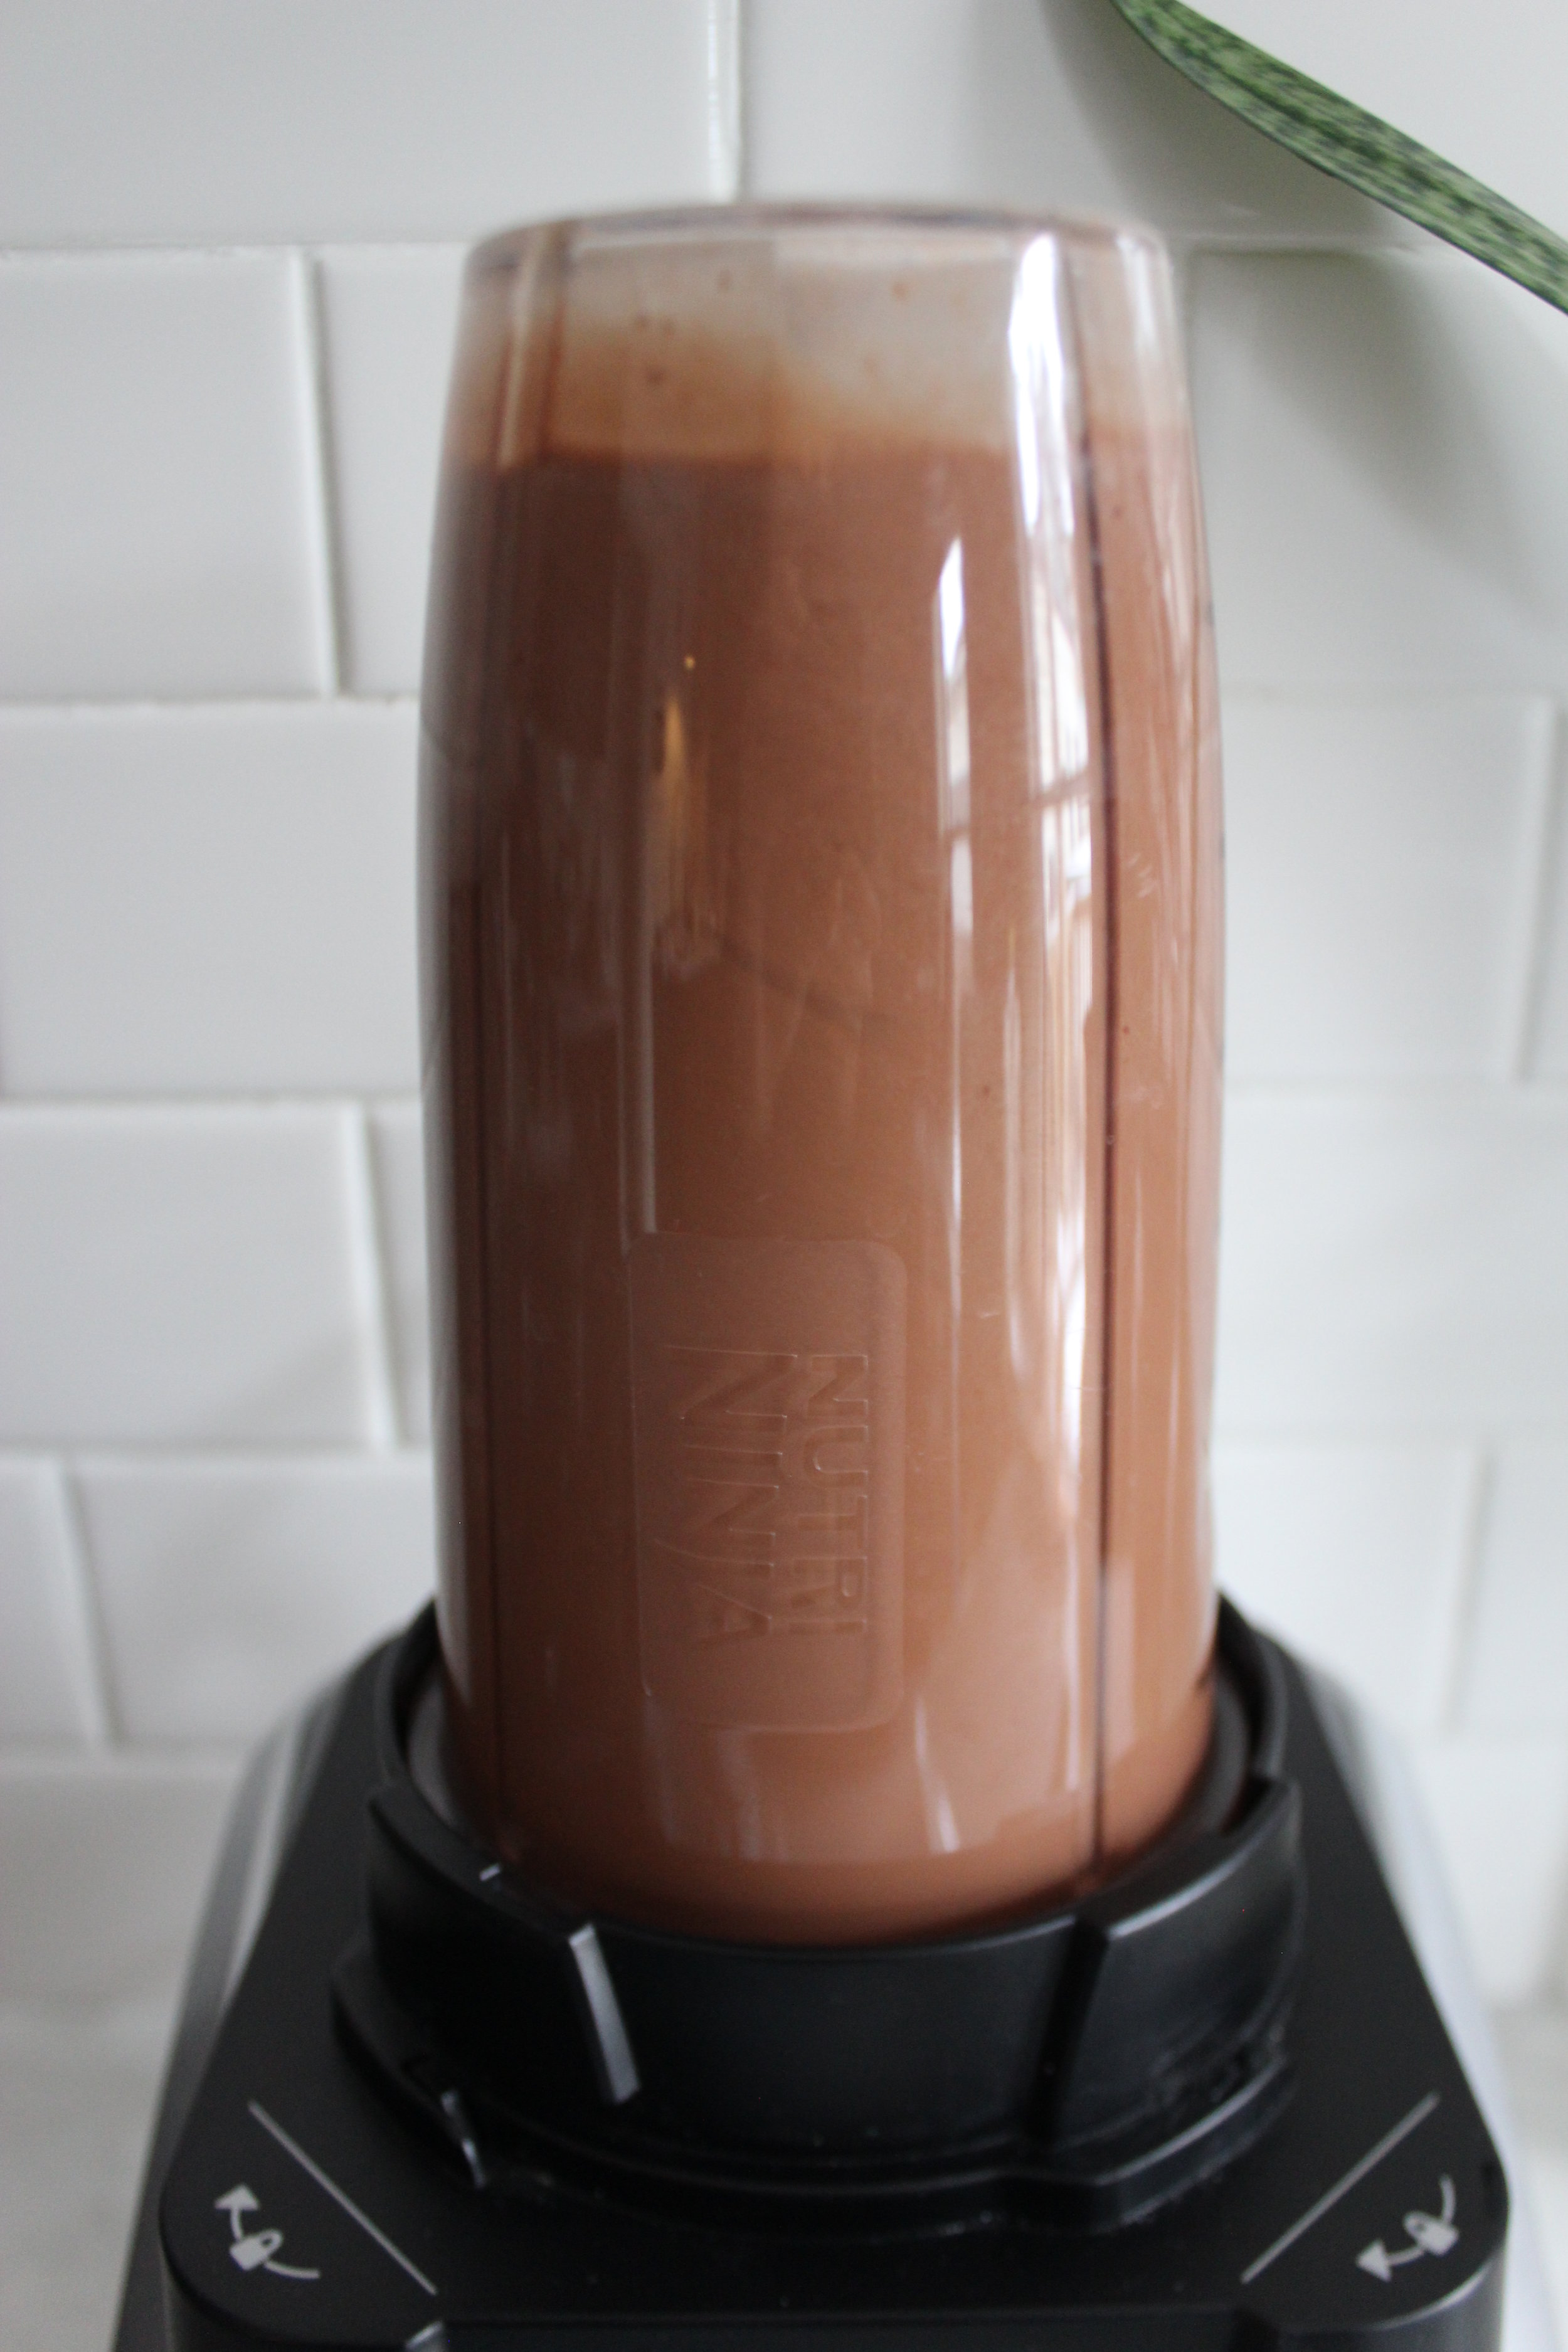
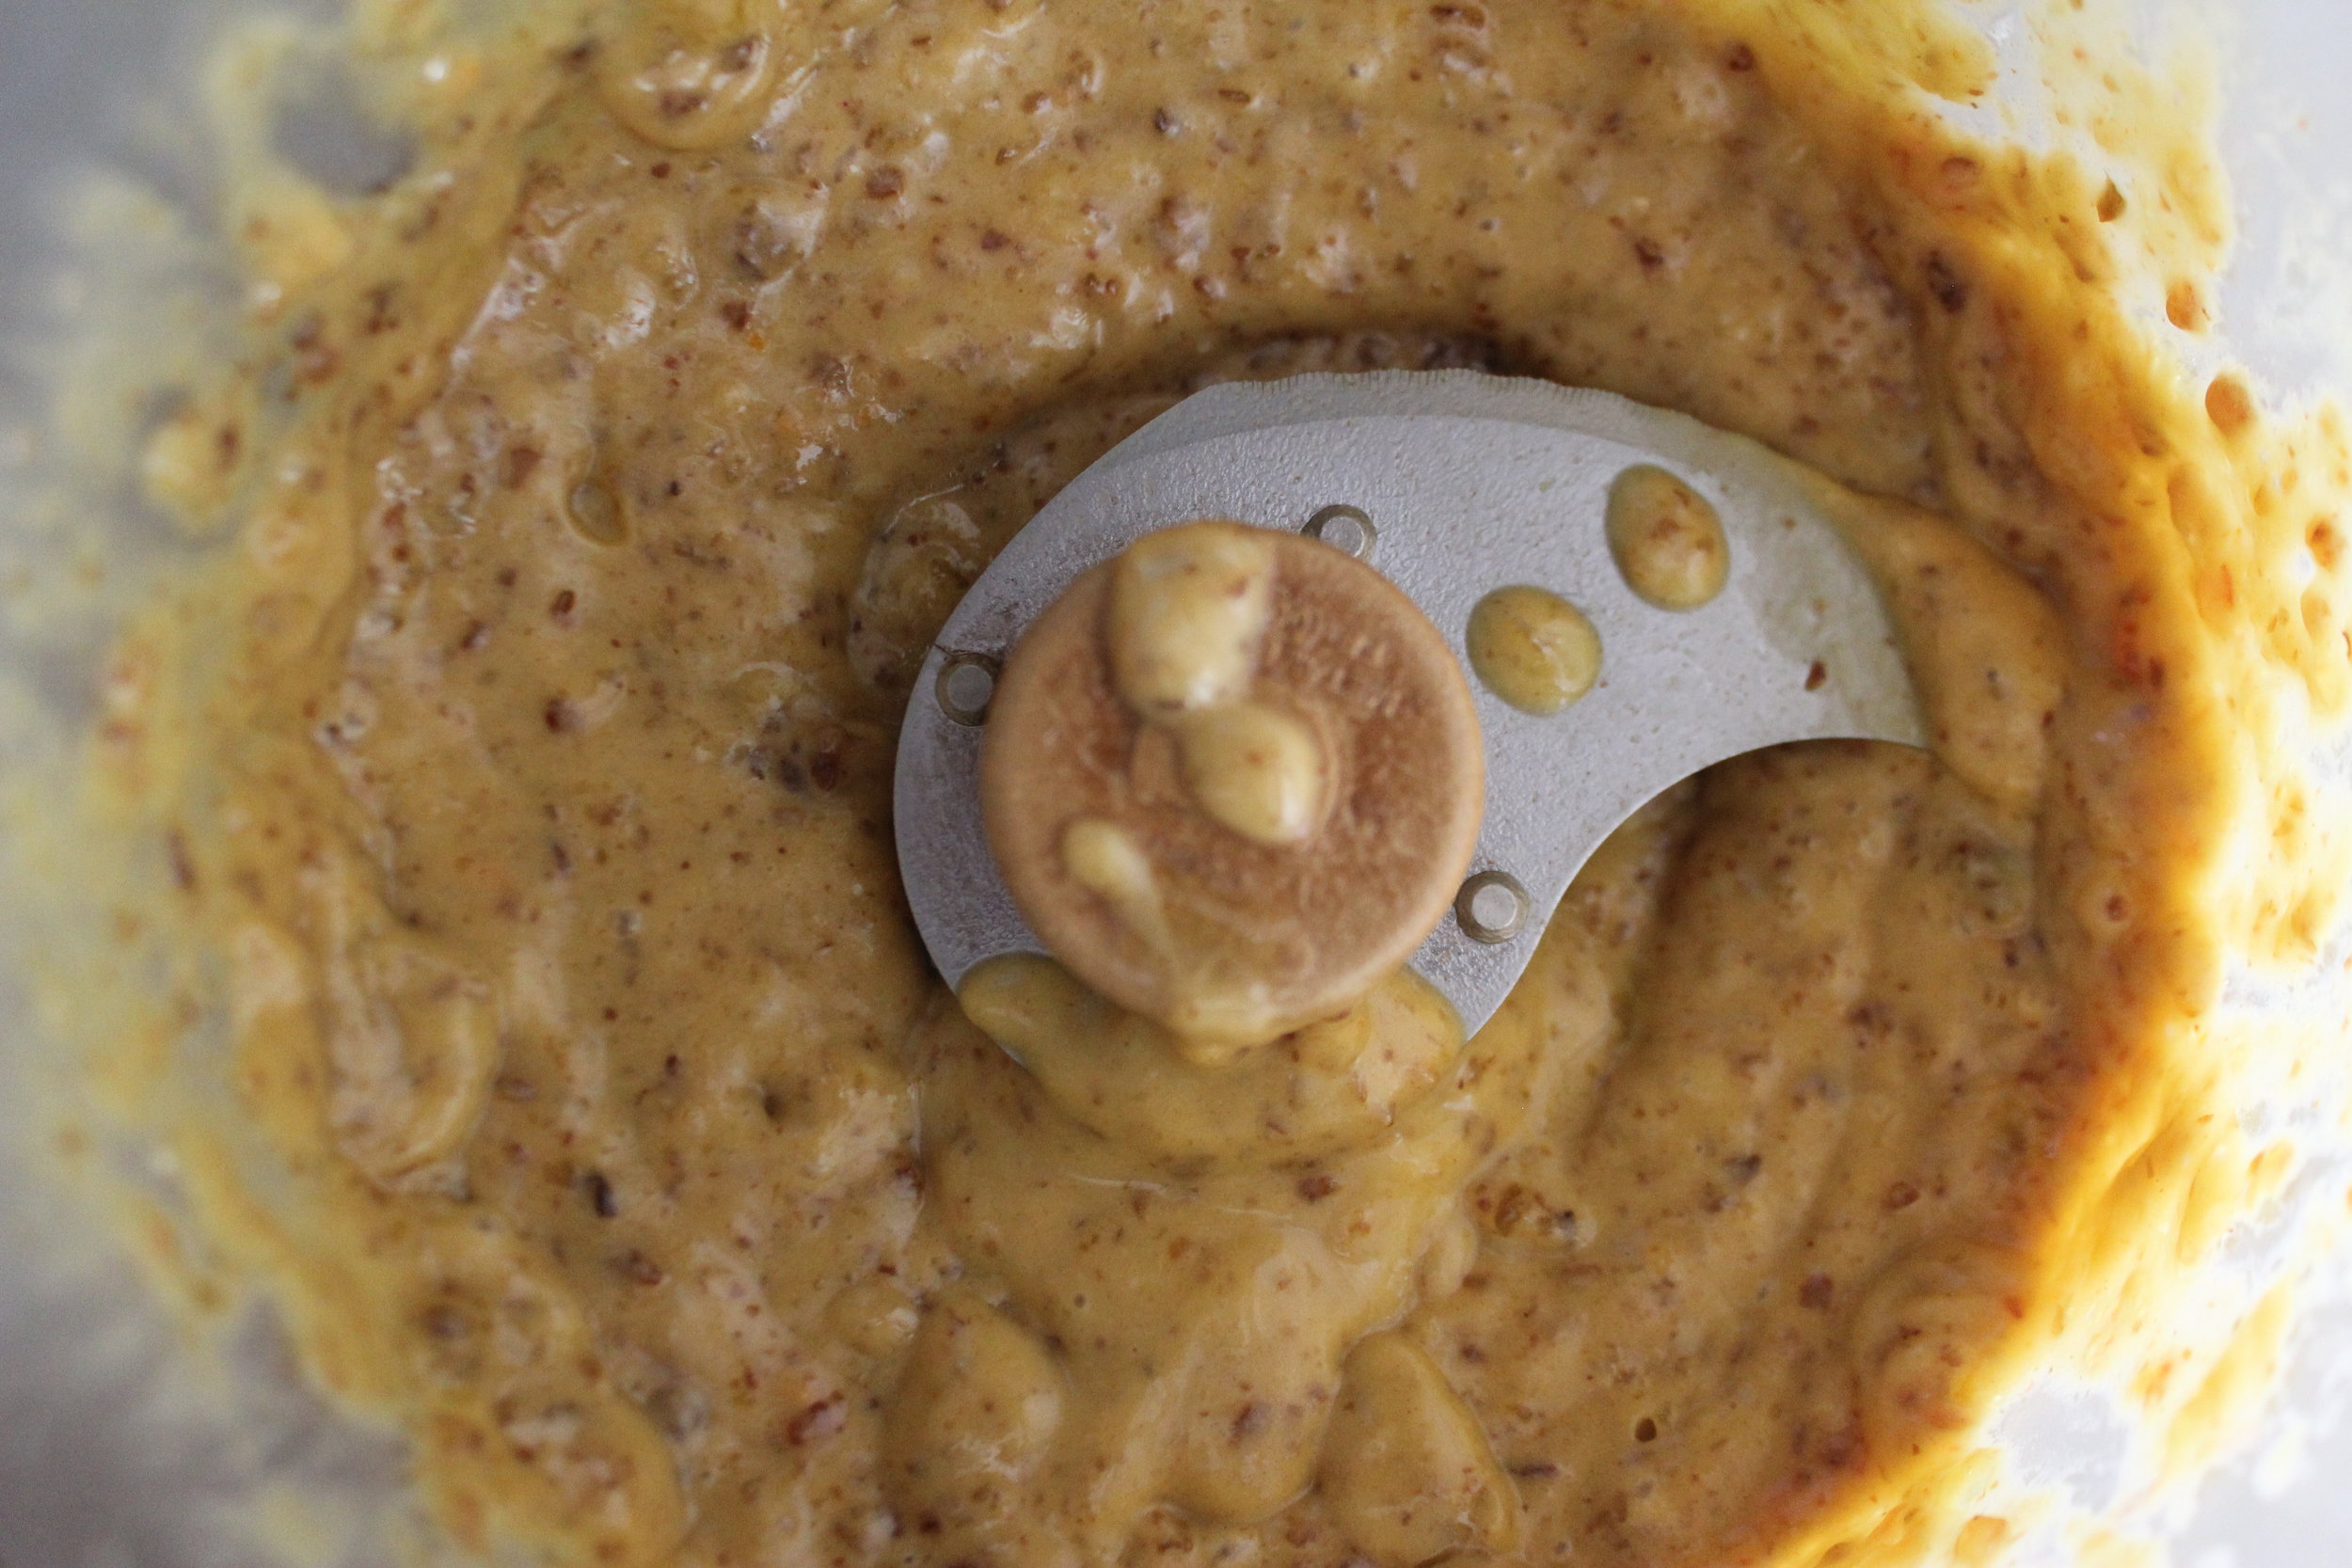
In the same processor or blender, combine the dates, olive oil, egg, orange zest, orange juice, and vanilla extract. Puree this mixture as smooth as possible.
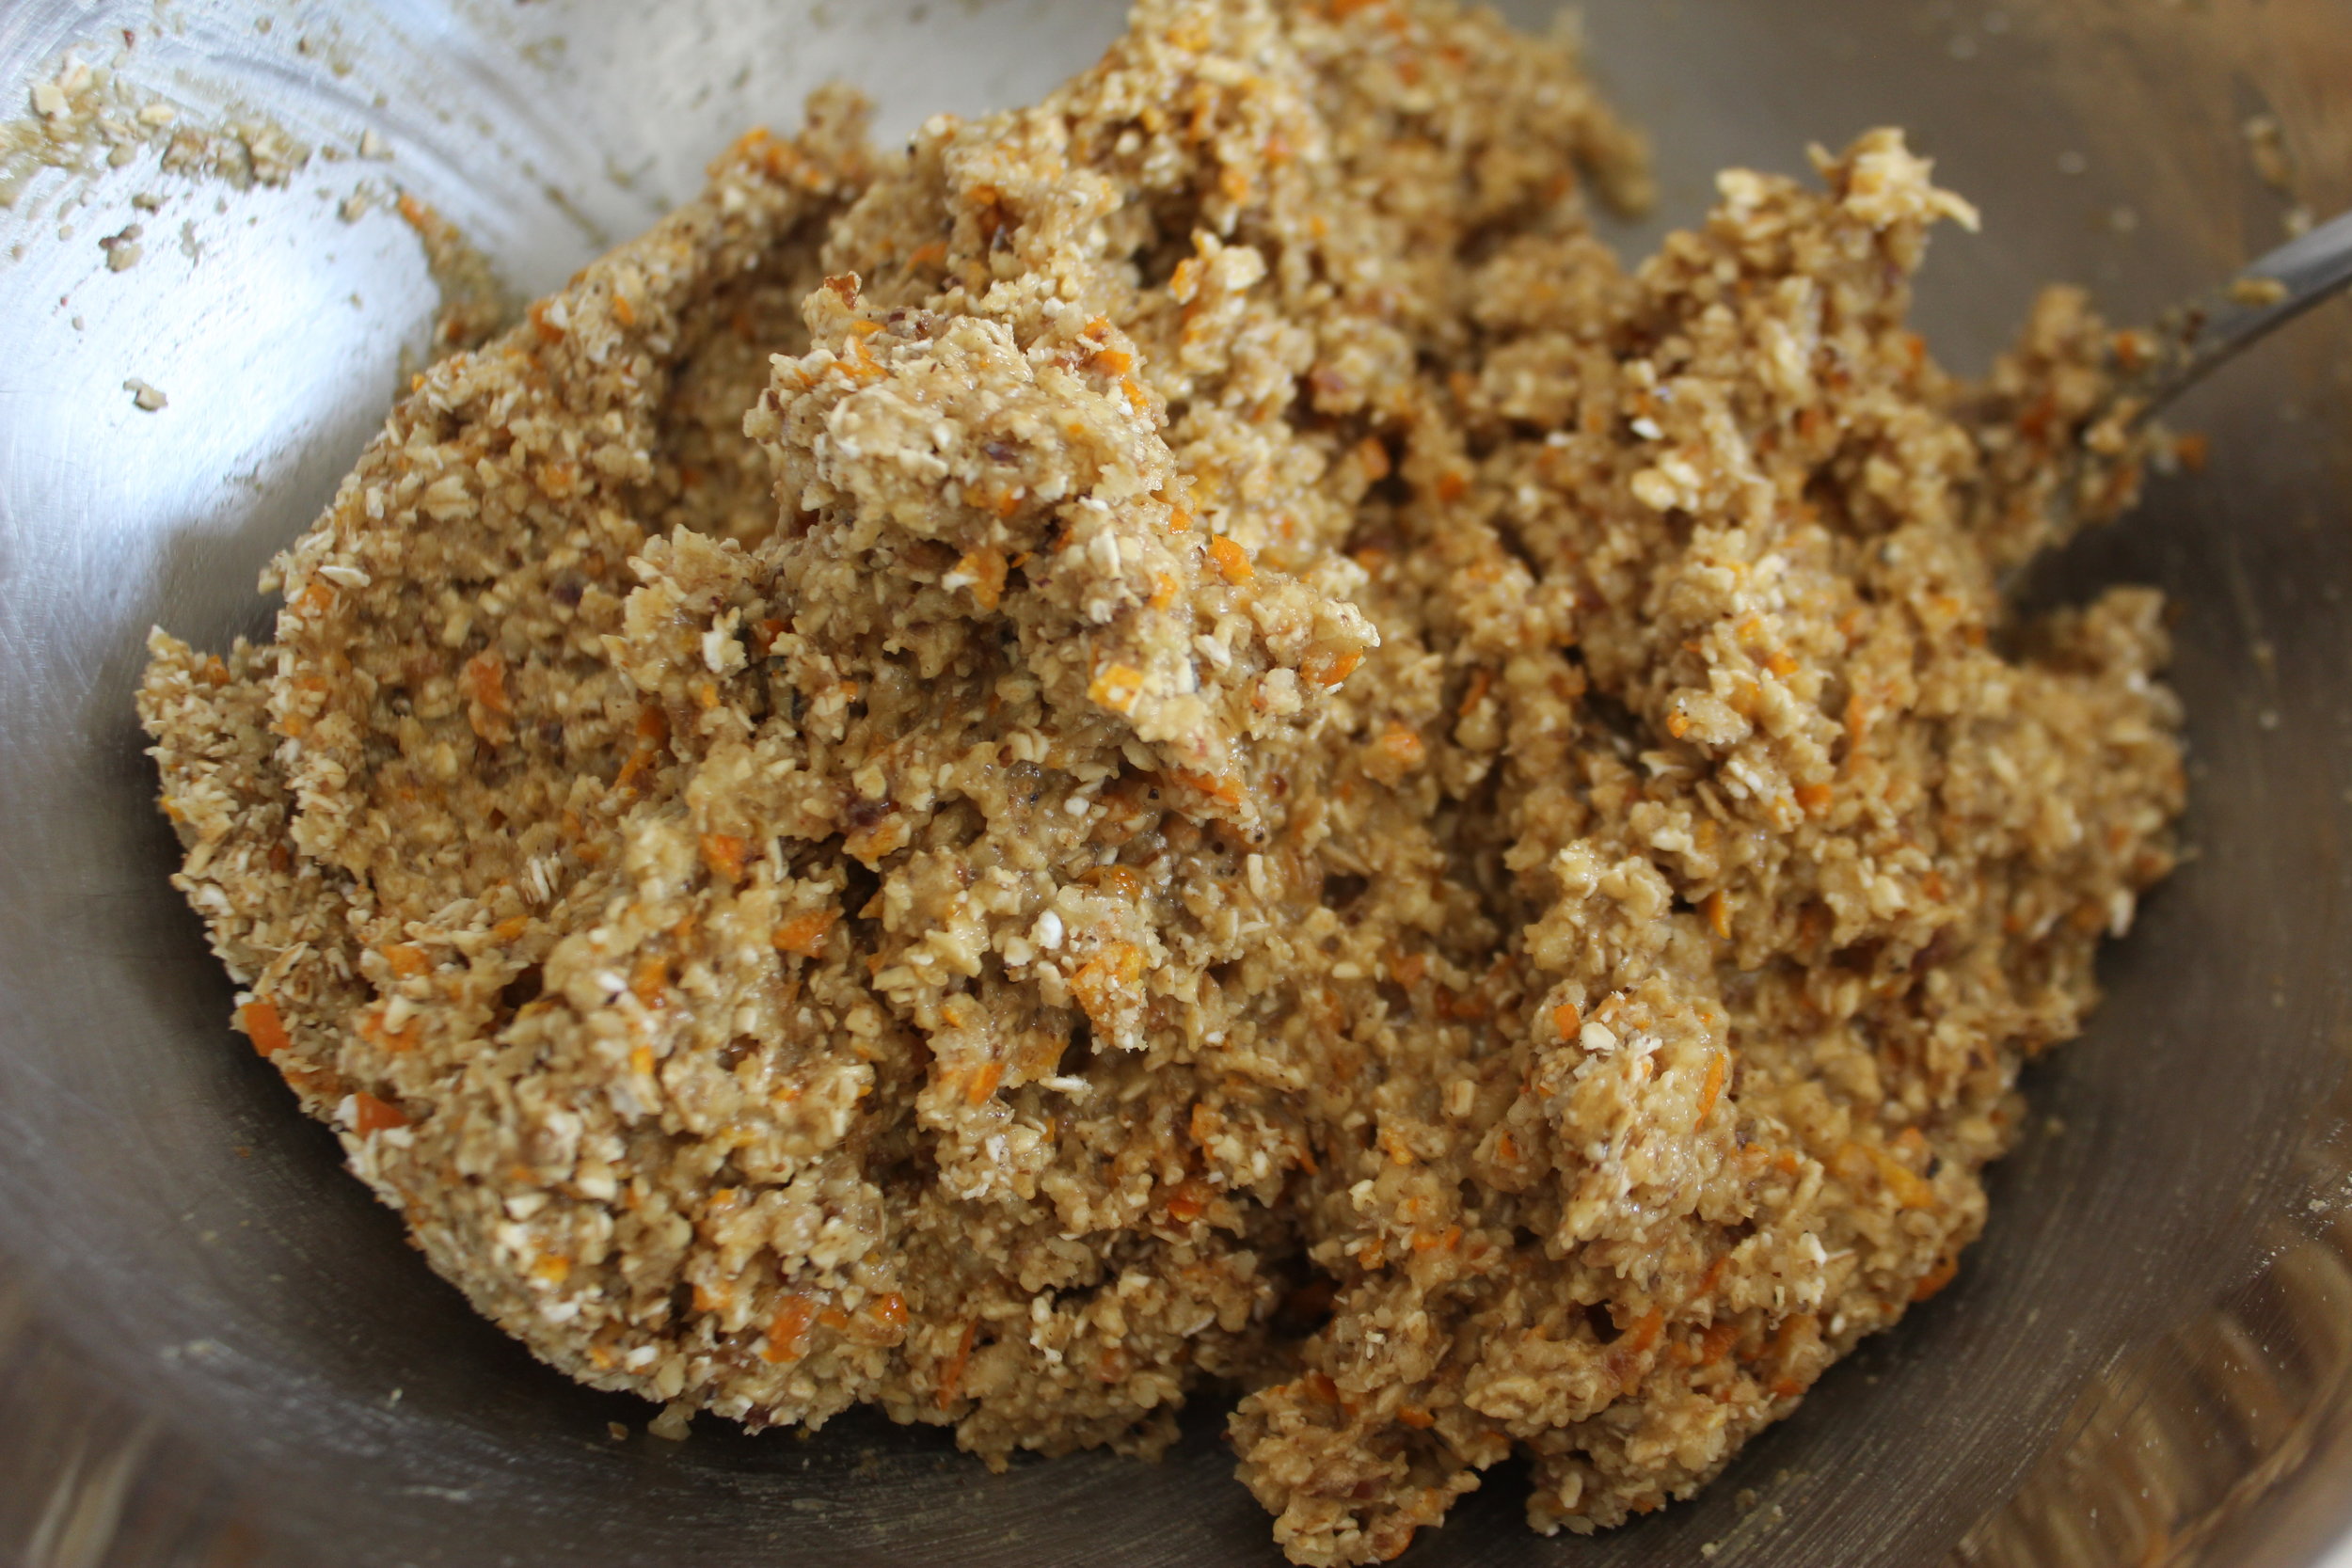
Combine the wet ingredients with the dry ingredients in the mixing bowl and stir until completely incorporated into a wet dough. Place the 2 C of small chopped walnuts in a bowl and use a Tablespoon measure to make heaping Tablespoon balls of dough. Each time you make a ball of dough, roll each completely in the chopped walnuts and press to 1/2 inch thickness on the parchment.
When all the dough is rolled, pressed, and evenly spaced on the sheet pans, bake the cookies for 12 to 14 minutes. Check the bottoms of the cookies for light browning to determine when the cookies are done. Allow the cookies to cool on the sheet pans and store in an airtight container at room temperature or simply place them on a lightly covered plate.
The cookies will keep best for 1 week at room temperature. Refrigerate them after one week.