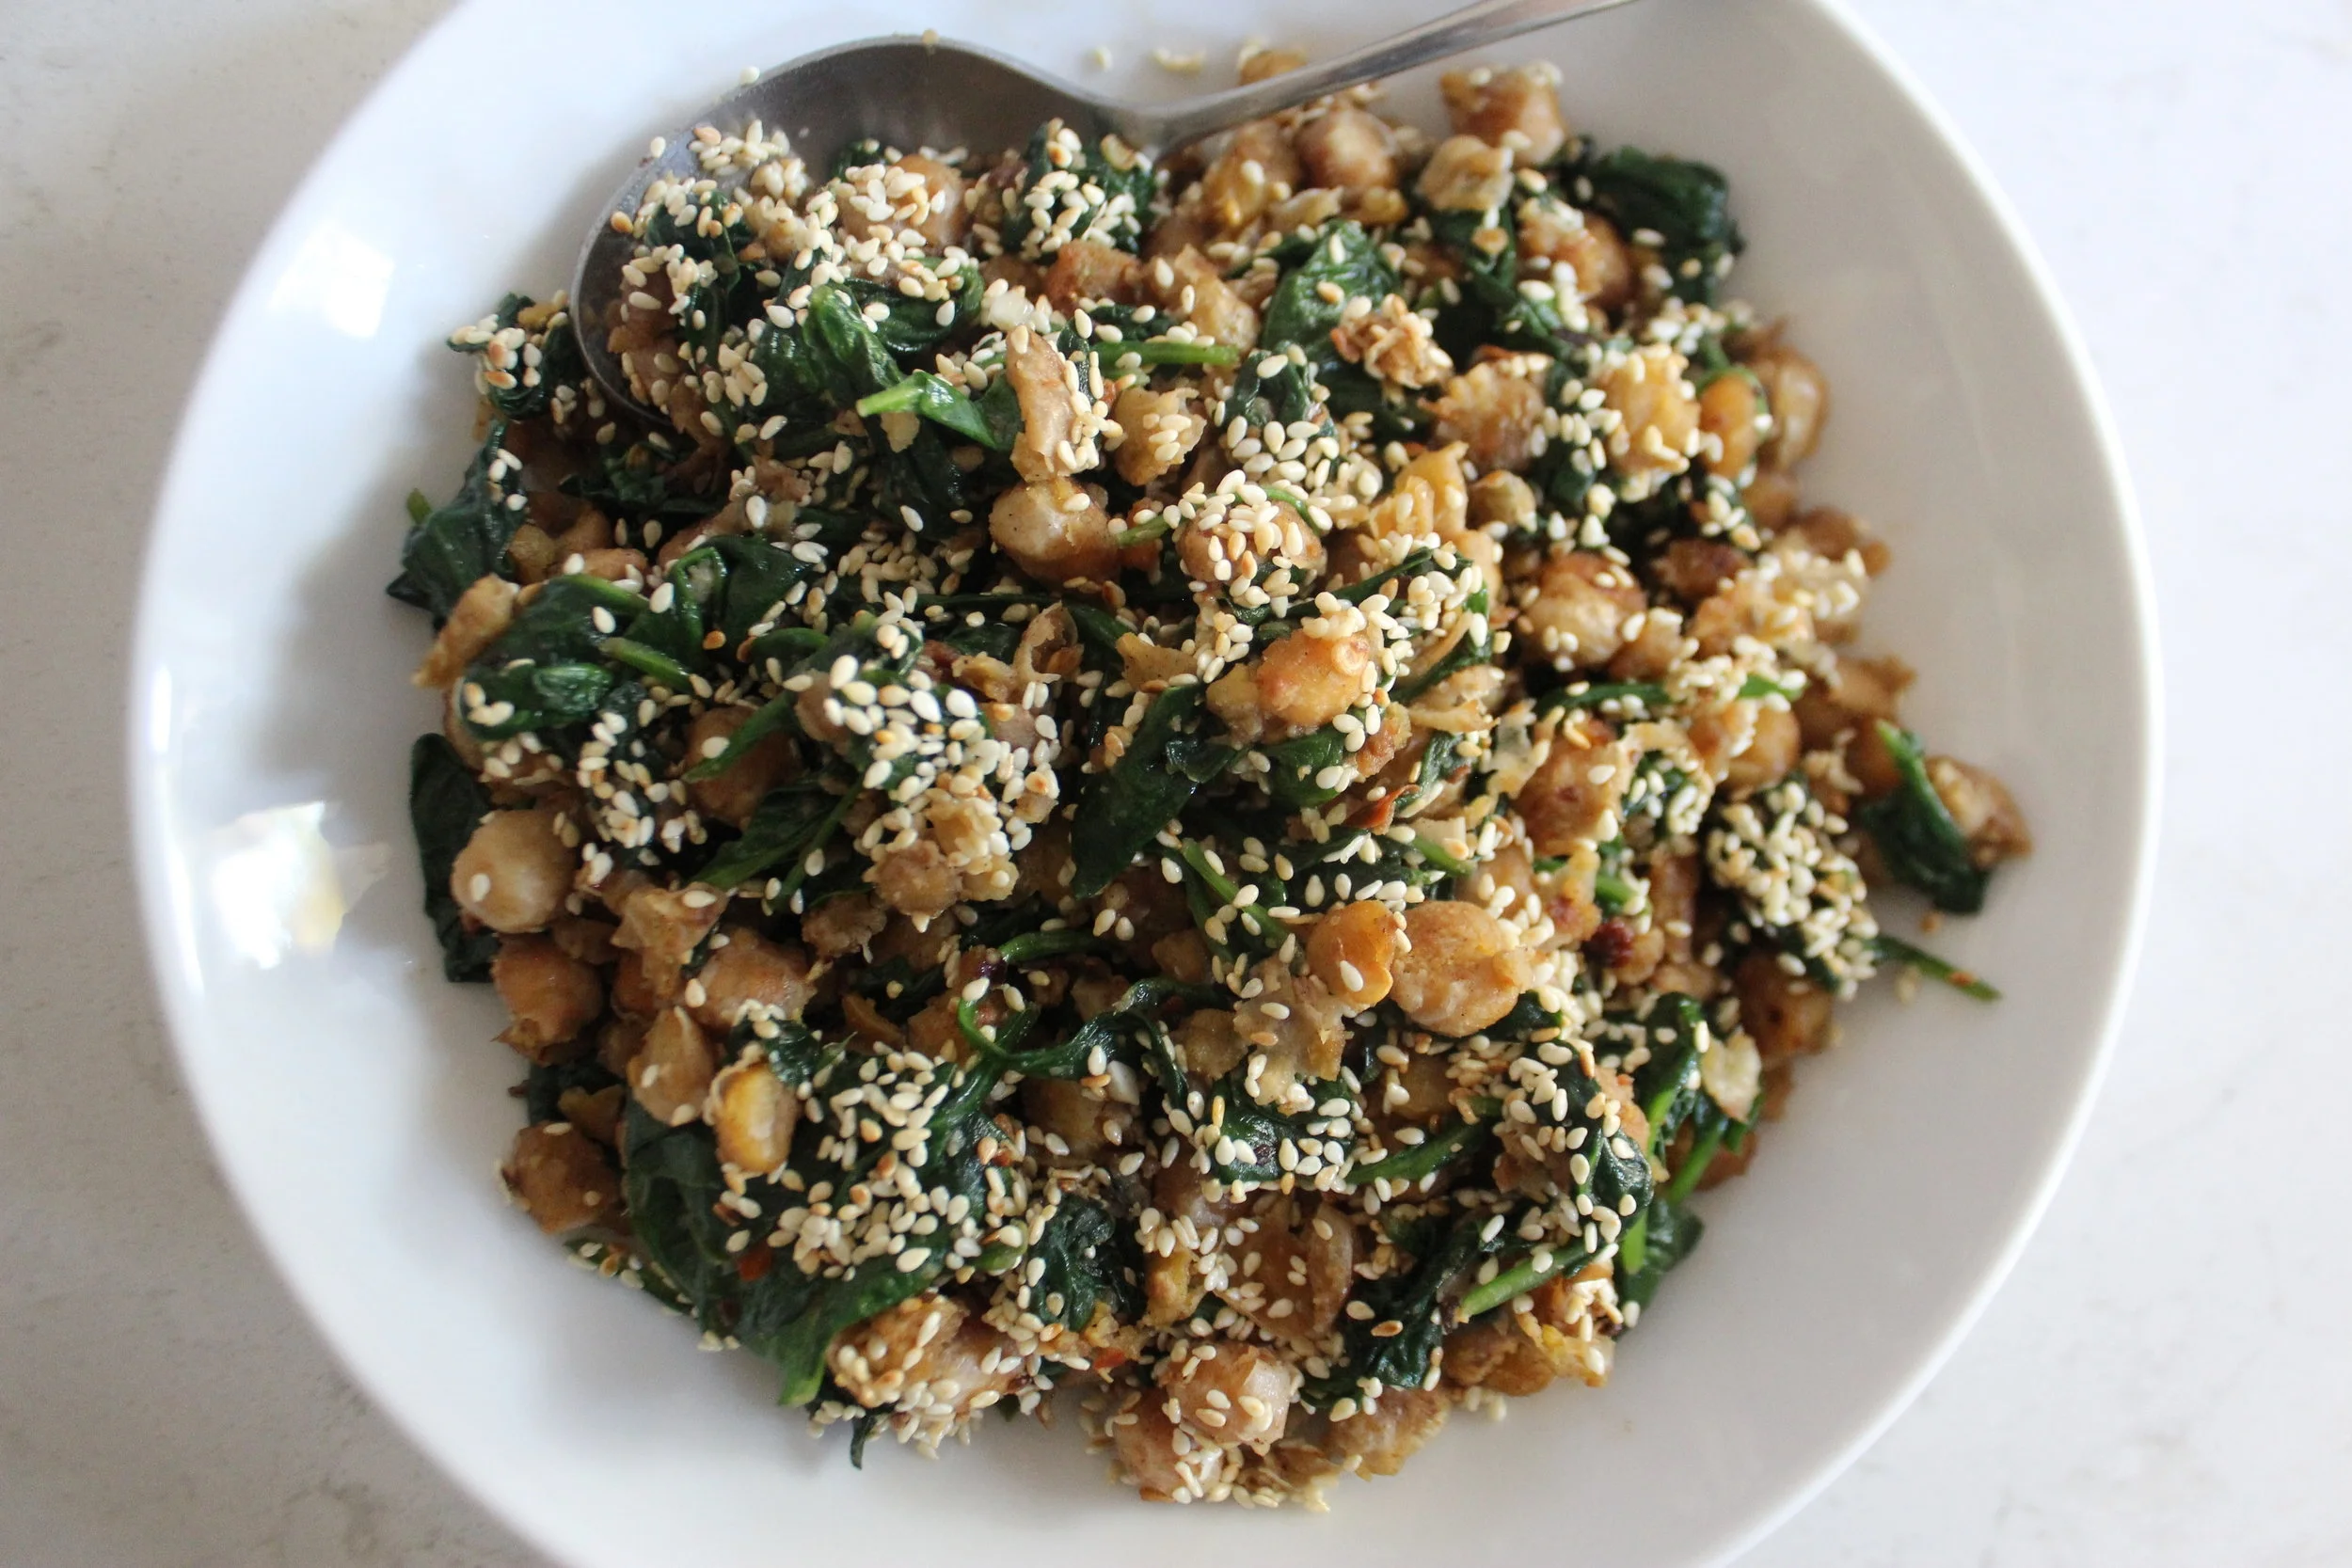
Smashed Chickpeas and Spinach with Sesame, Allspice, and Fennel
Spinach is a go to veggie for me when I need a quick green for a meal and I am short on time. It cooks almost instantly and it's so easy to pick up in huge 16 oz container, washed and dried and ready to go. I was in need of a quick dinner this weekend and was also seriously craving sesame. I reached into my brain, and my spice drawers, and pulled together a combination of spices that would play nice with the sesame. Namely, fennel seed, ground allspice, and chili flakes.
The humble sesame seed has insinuated itself into cuisines all around the world. The seeds, the oil, toasted and untoasted, and the paste all have many delicious applications. Sesame crusted fish, crisp and savory stir-fried vegetables finished with toasted sesame oil, or halva, a favorite tahini-based confection of mine. Dang, now I want halva...sigh. The sweet, unique flavor of fennel seed is a favorite of mine as well as the slow kick of chili flakes, but I wanted a warm spice to add another prominent angle to the flavors of my impromptu spinach dish. Here is where that little jar of allspice that often sits forgotten in our spice collection comes in.
Allspice has a strong earthy flavor that is deep and powerful like clove and cardamom, somewhat earthy-sweet like cinnamon and nutmeg, with a peppery aspect without the sharpness. That's my take on it. This complex but amiable flavor gives allspice the ability to meld into many world cuisines quite neatly. Try it in your next home made curry, in turmeric rice, in mashed or roasted sweet potatoes, in tropical marinades, Mexican mole, or let it stand alone in banana bread or other baked goods.
This dish is great by itself but it works well with a grain, flatbread or other carbohydrate. Bulgur wheat, pita, or cous-cous are good options. Double the coconut milk if you want it a little saucier. Now gather your ingredients!

Spinach and other voluminous greens are one of the reason I have a couple twelve inch saute pans, but you also need the space to ensure you don't crowd the chickpeas too much while frying them.
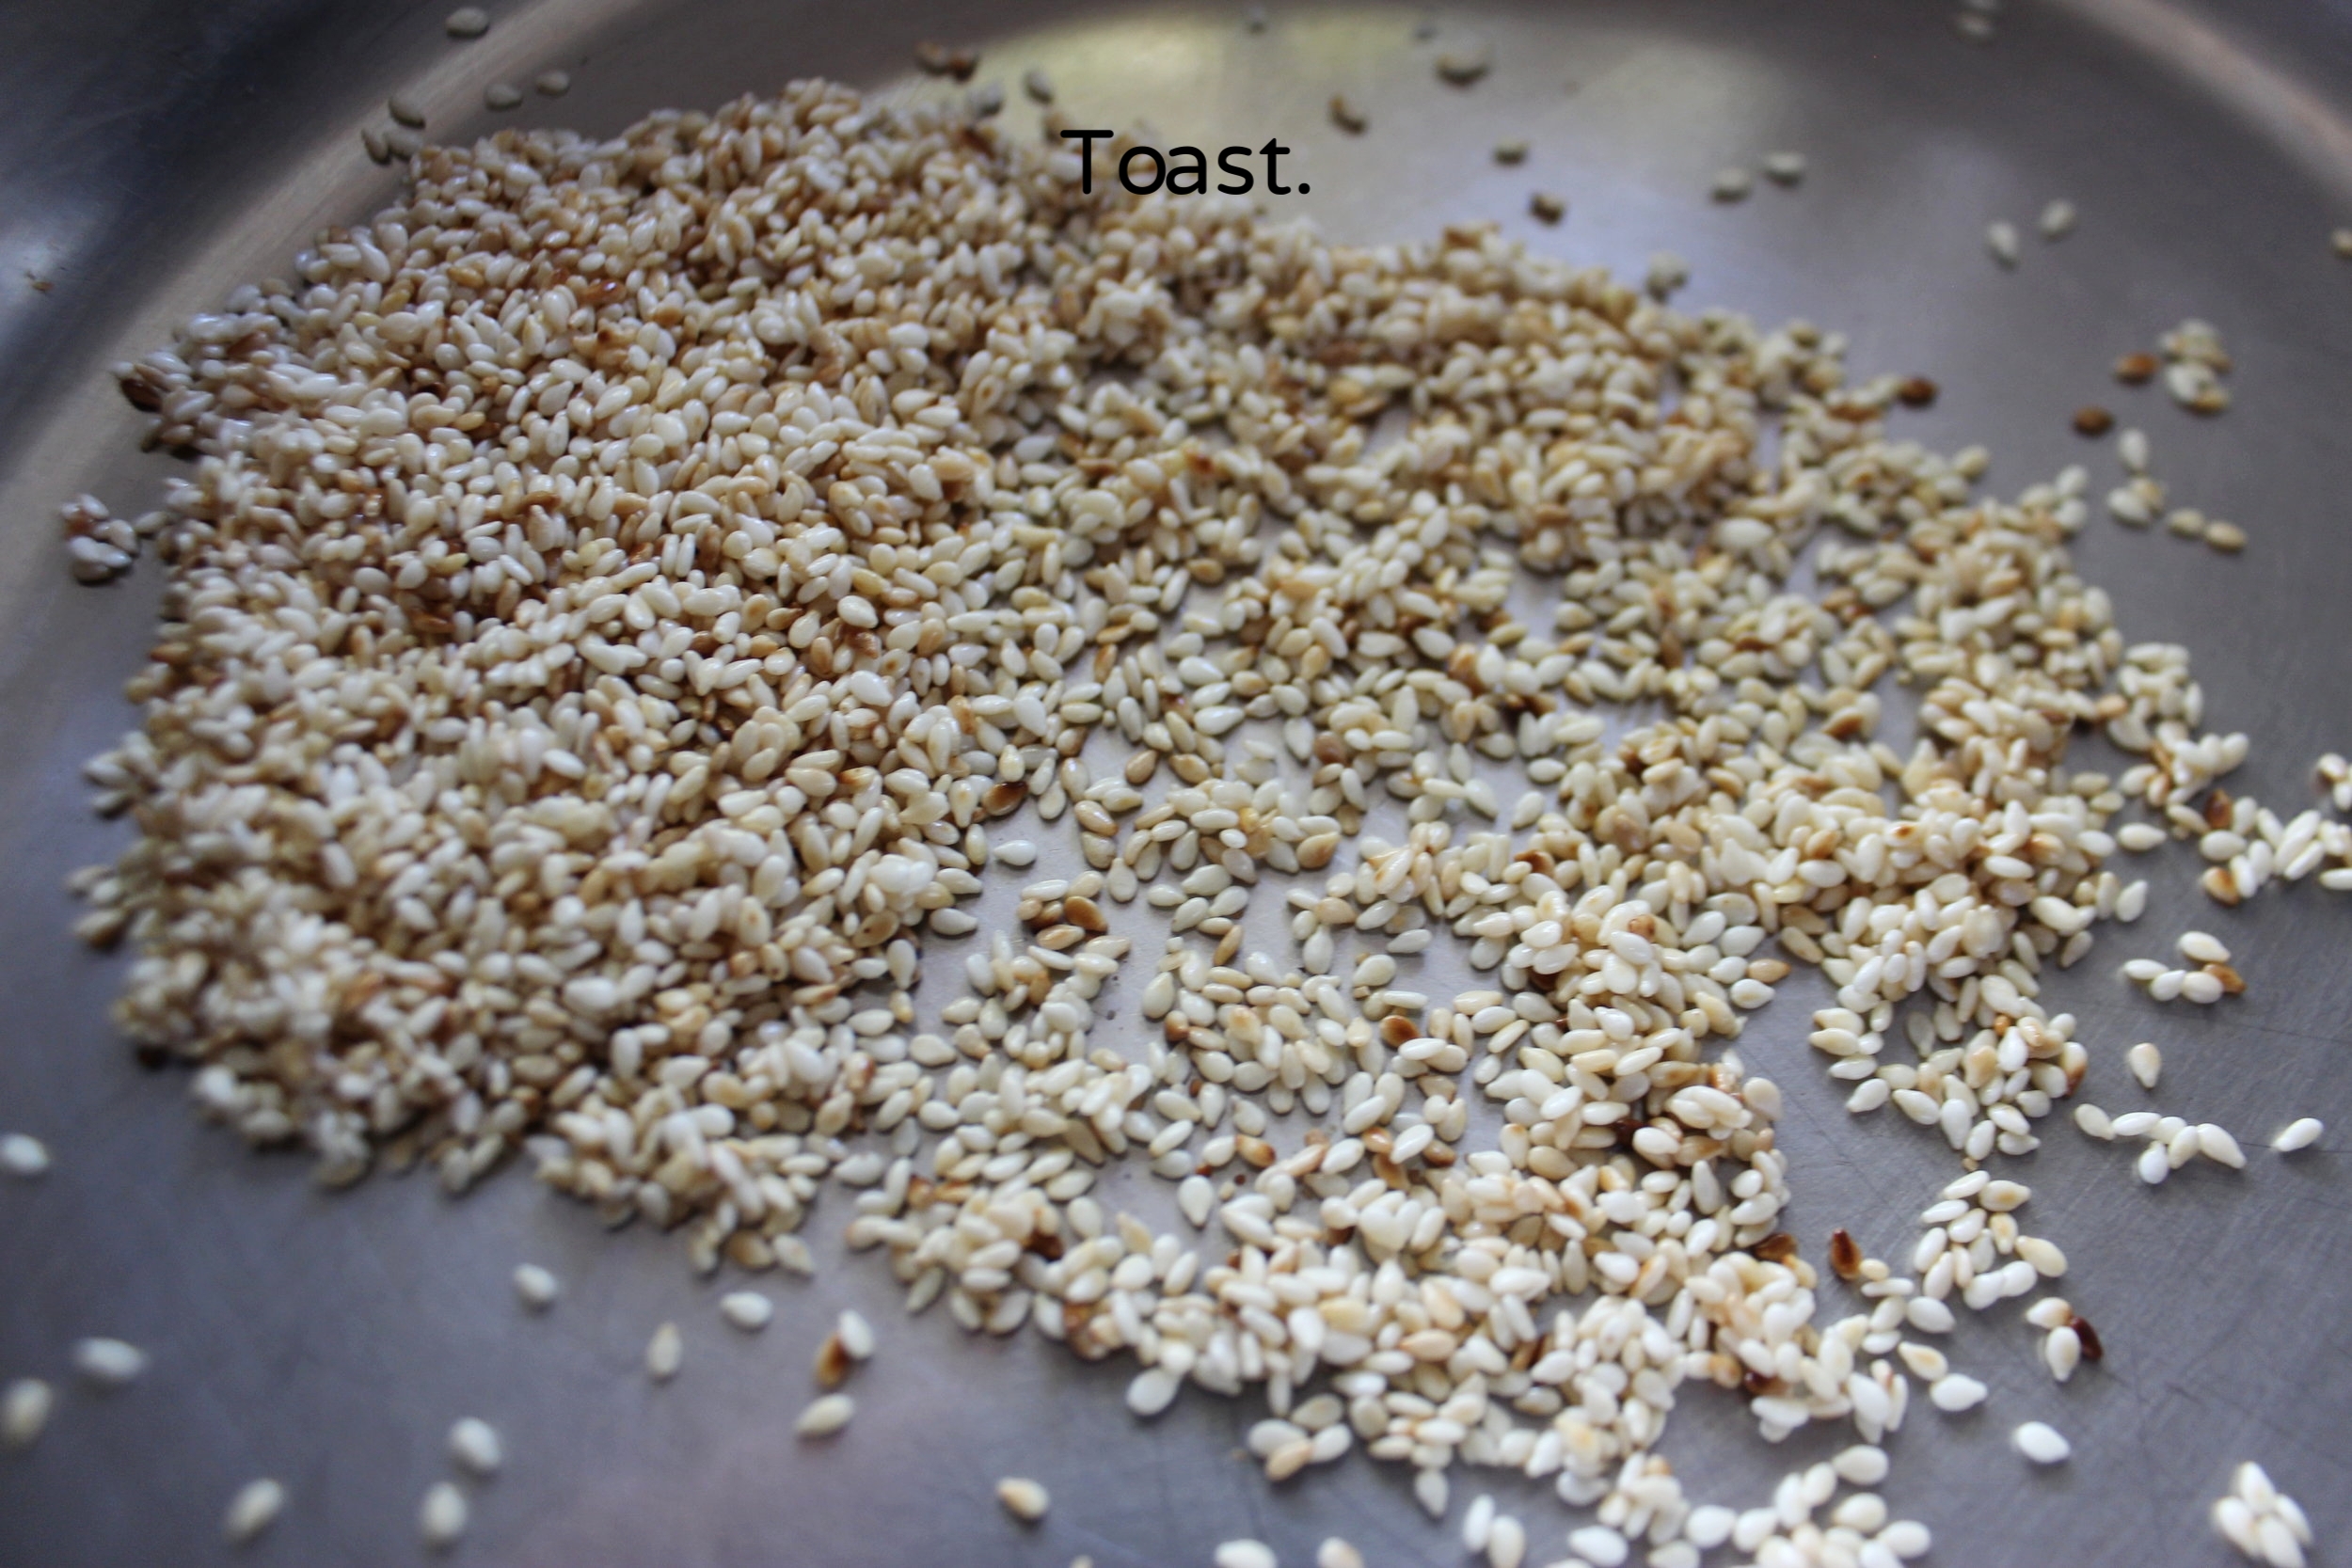
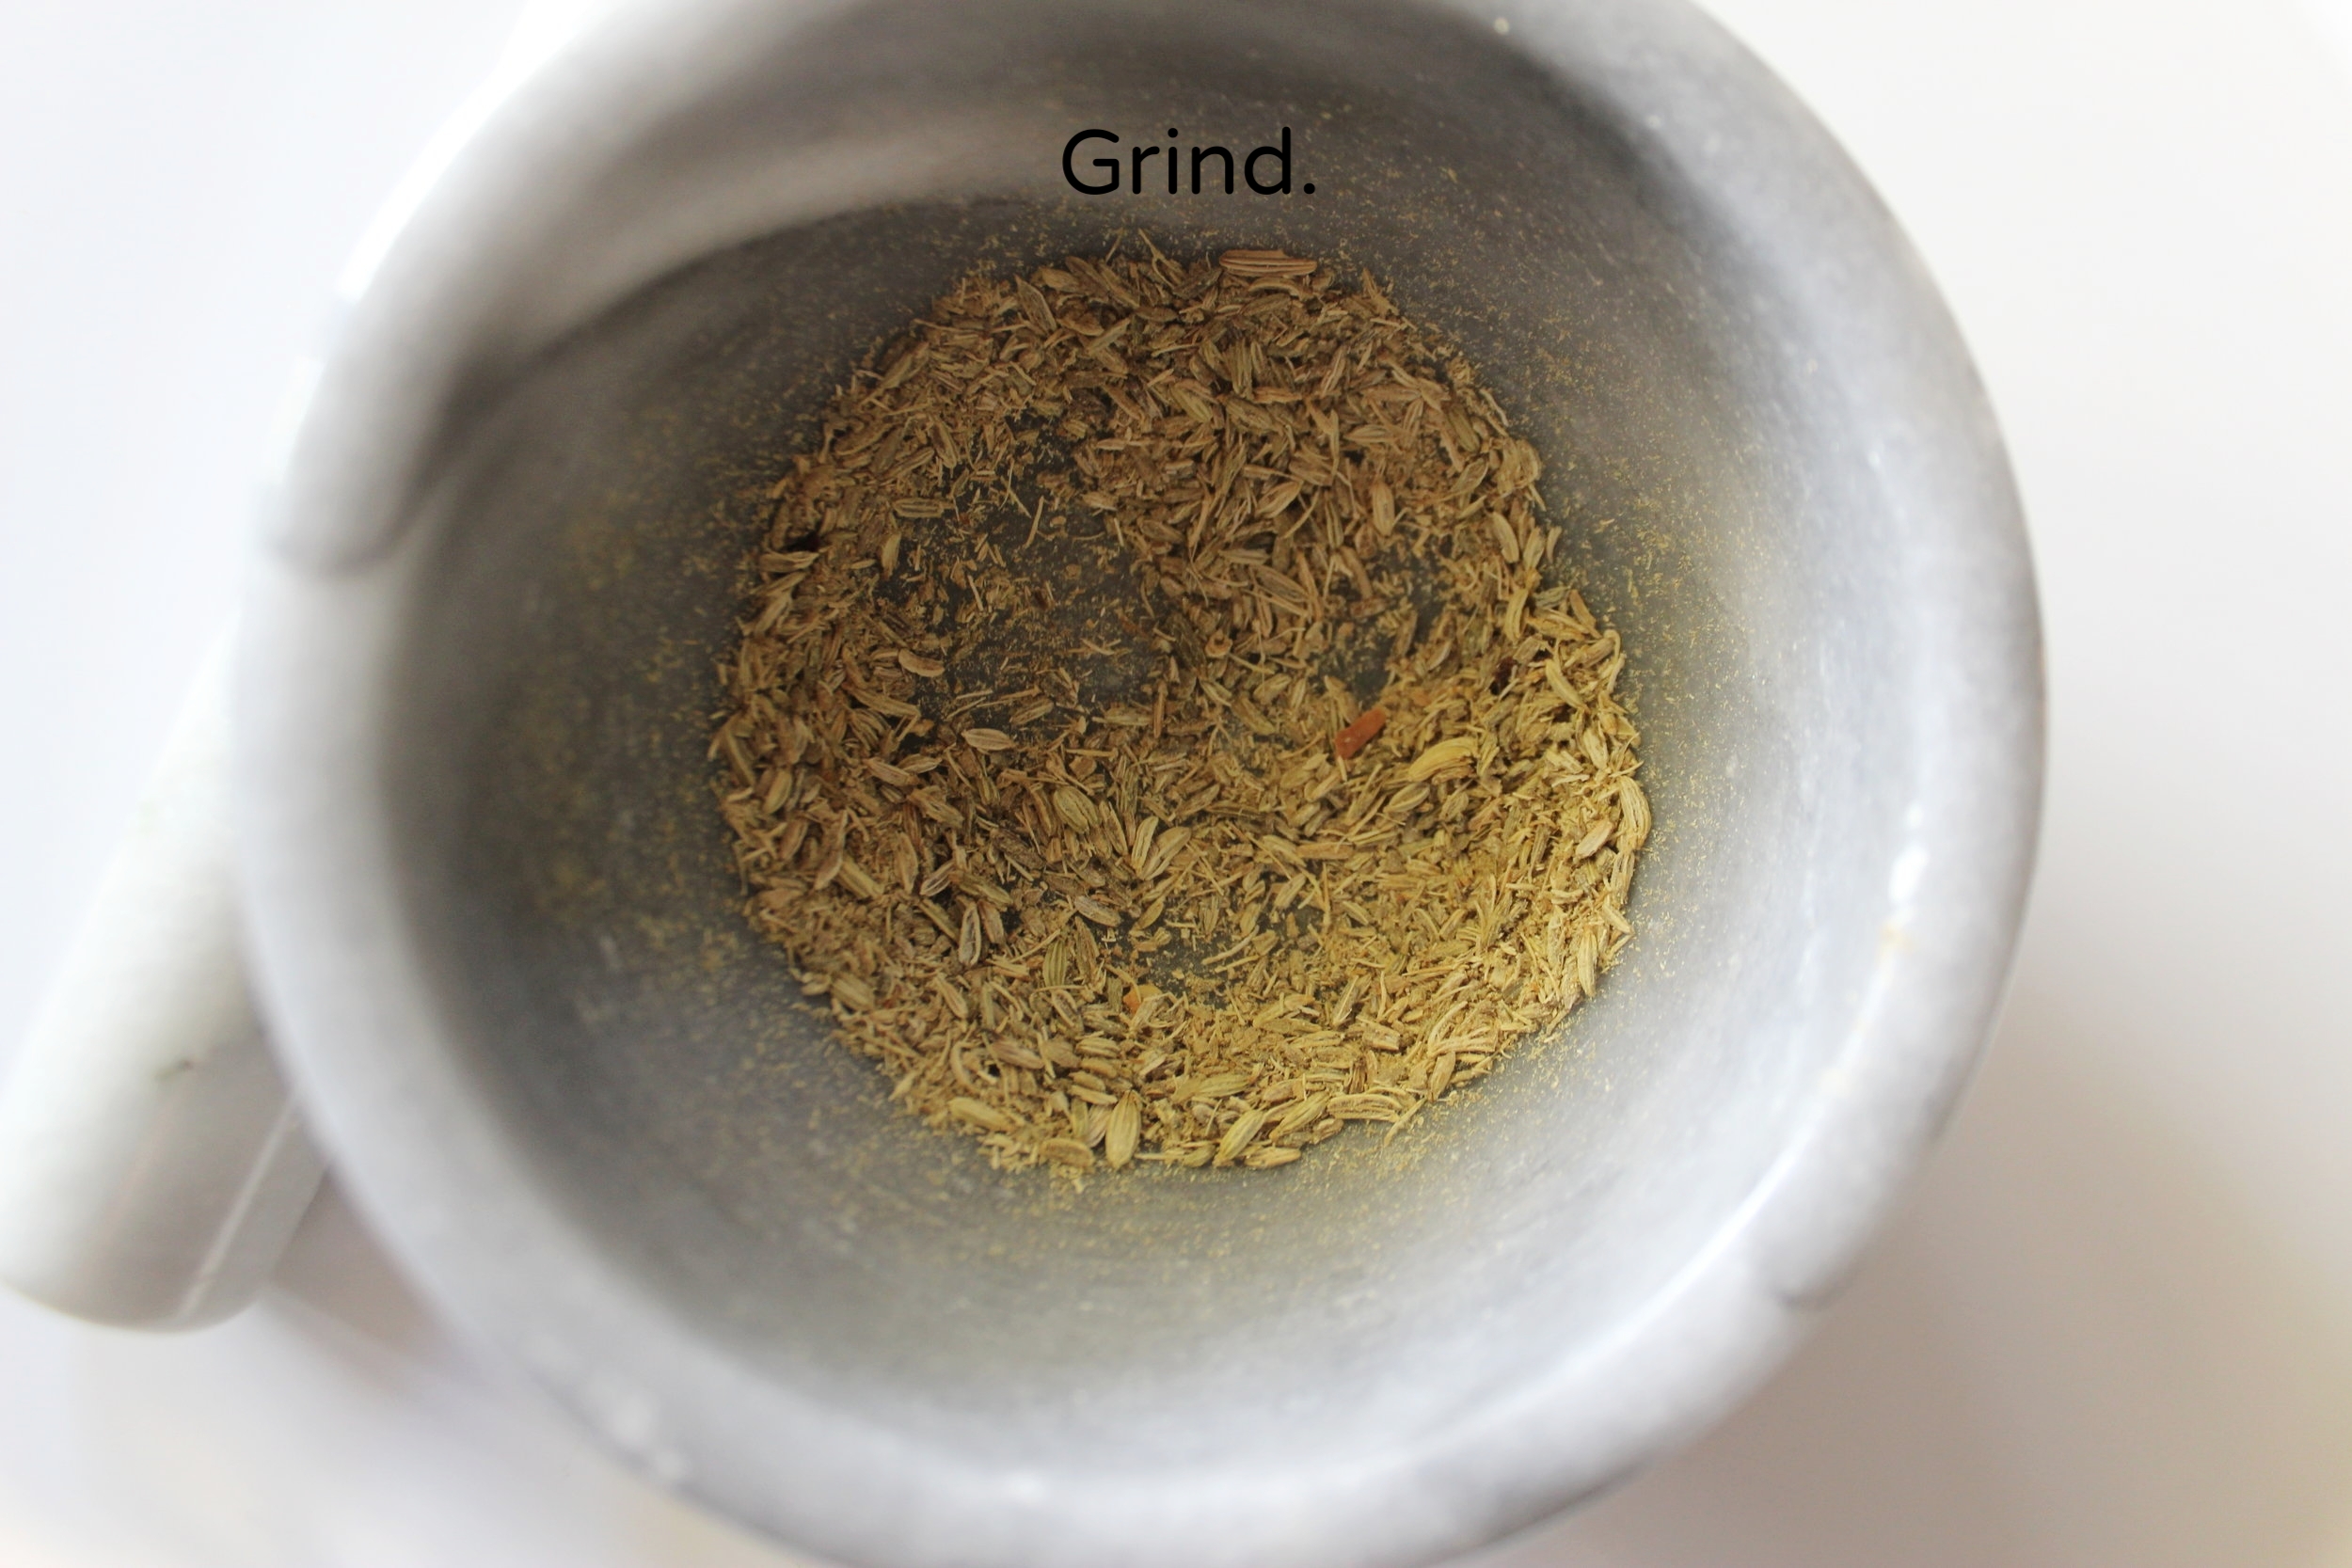
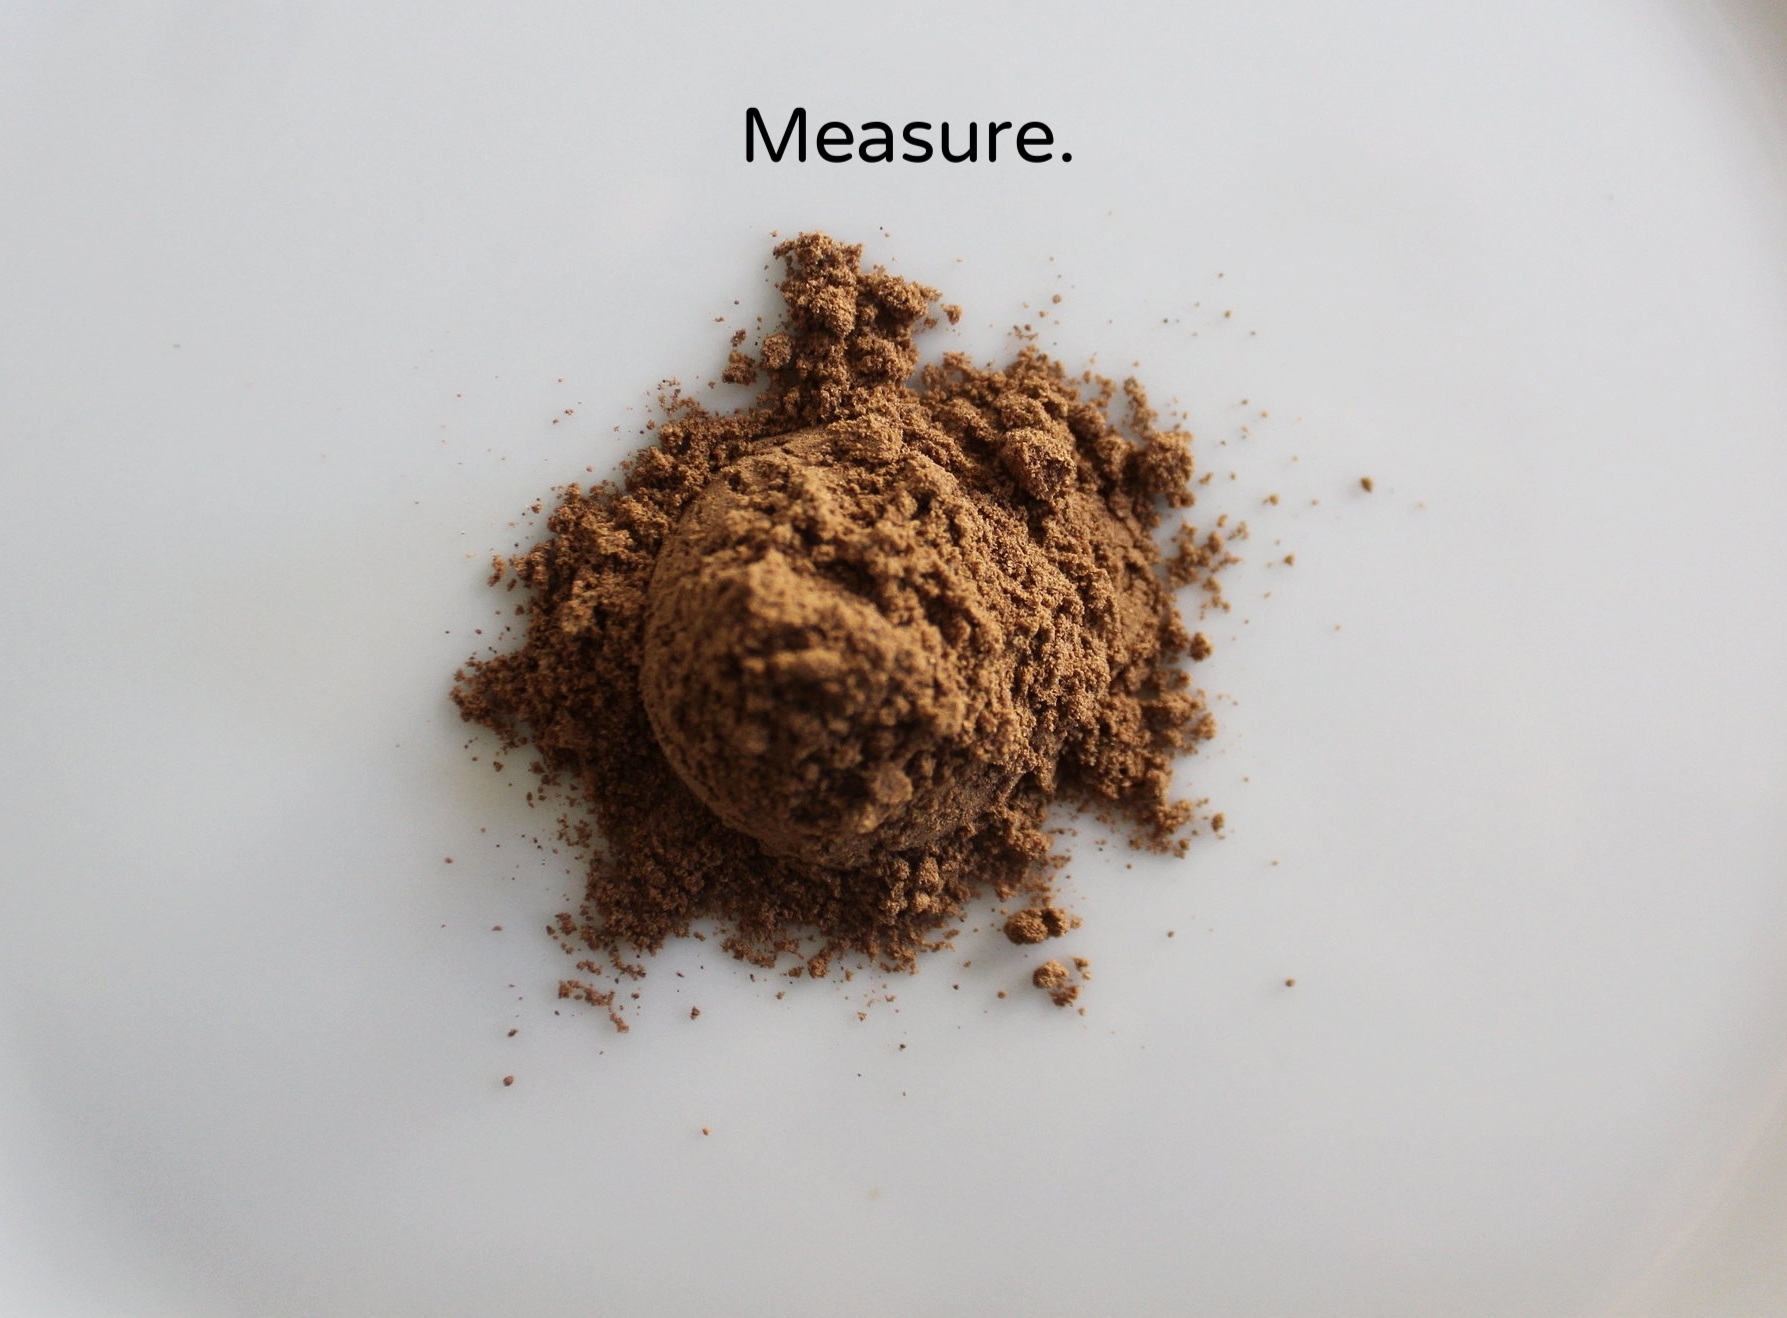
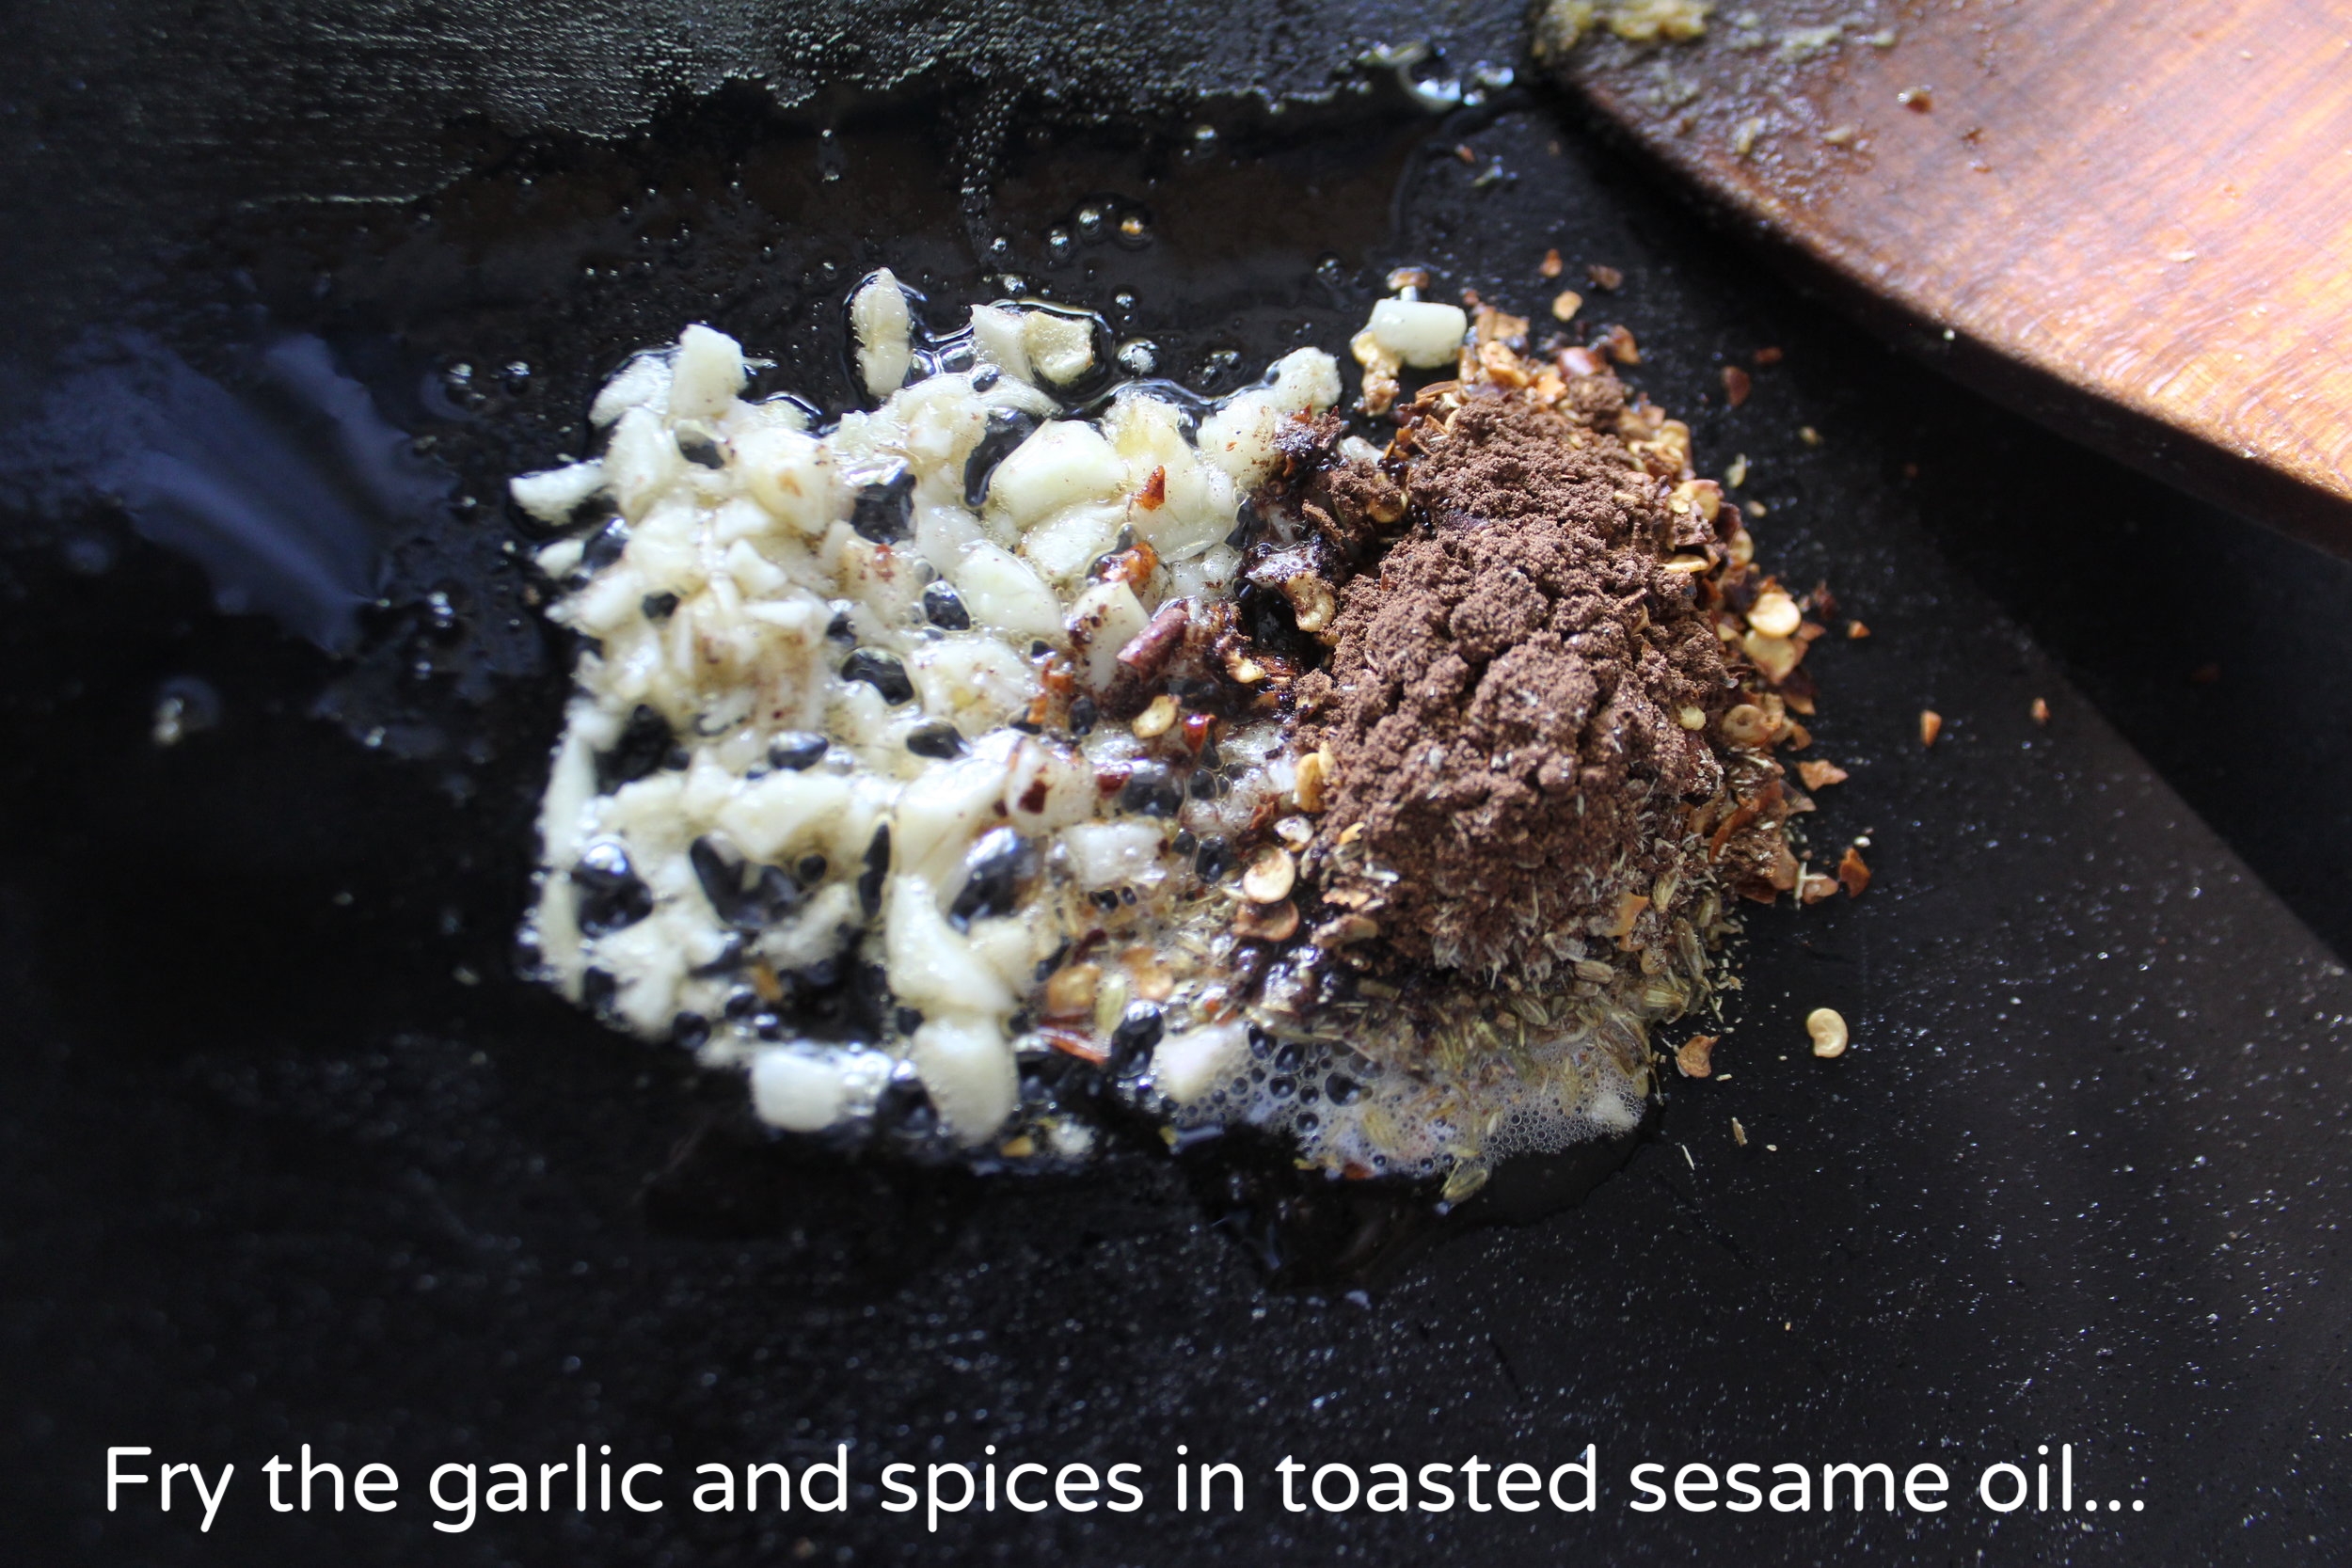
Prepare your spices and seeds! Toasting the sesame seeds is essential. It dramatically enhances the nuttiness factor. Be watchful because they will burn in an instant. You can grind the fennel seed to a rough or fine texture in a mortar or spice grinder or leave it whole if you like. The fennel seeds need not be toasted beforehand. Whole allspice berries look somewhat like large, smooth, brown peppercorns but they are quite hard. If you want to try to grind whole berries, you may want to use a mortar to grind them or make sure you have a very tough spice grinder. If you have that leftover ground allspice from your pumpkin pie, you are set. Dice up some garlic, grab some coconut milk and start with the chickpeas.

To get nice crispy fried chickpeas, make sure you drain them well, rinse them, and pat them very dry. When you have everything measured and ready to go, get out your largest saute pan, non-toxic nonstick if you have one, and fire it up to medium high. Add the olive oil and make sure it is hot by looking for a slight rippling on the surface then add those chickpeas! I used a potato masher to gently squish about half of the chickpeas halfway through frying. This is the time to get out your splatter guard if you have one. This process can spit oil a bit. Put your apron on too!!!
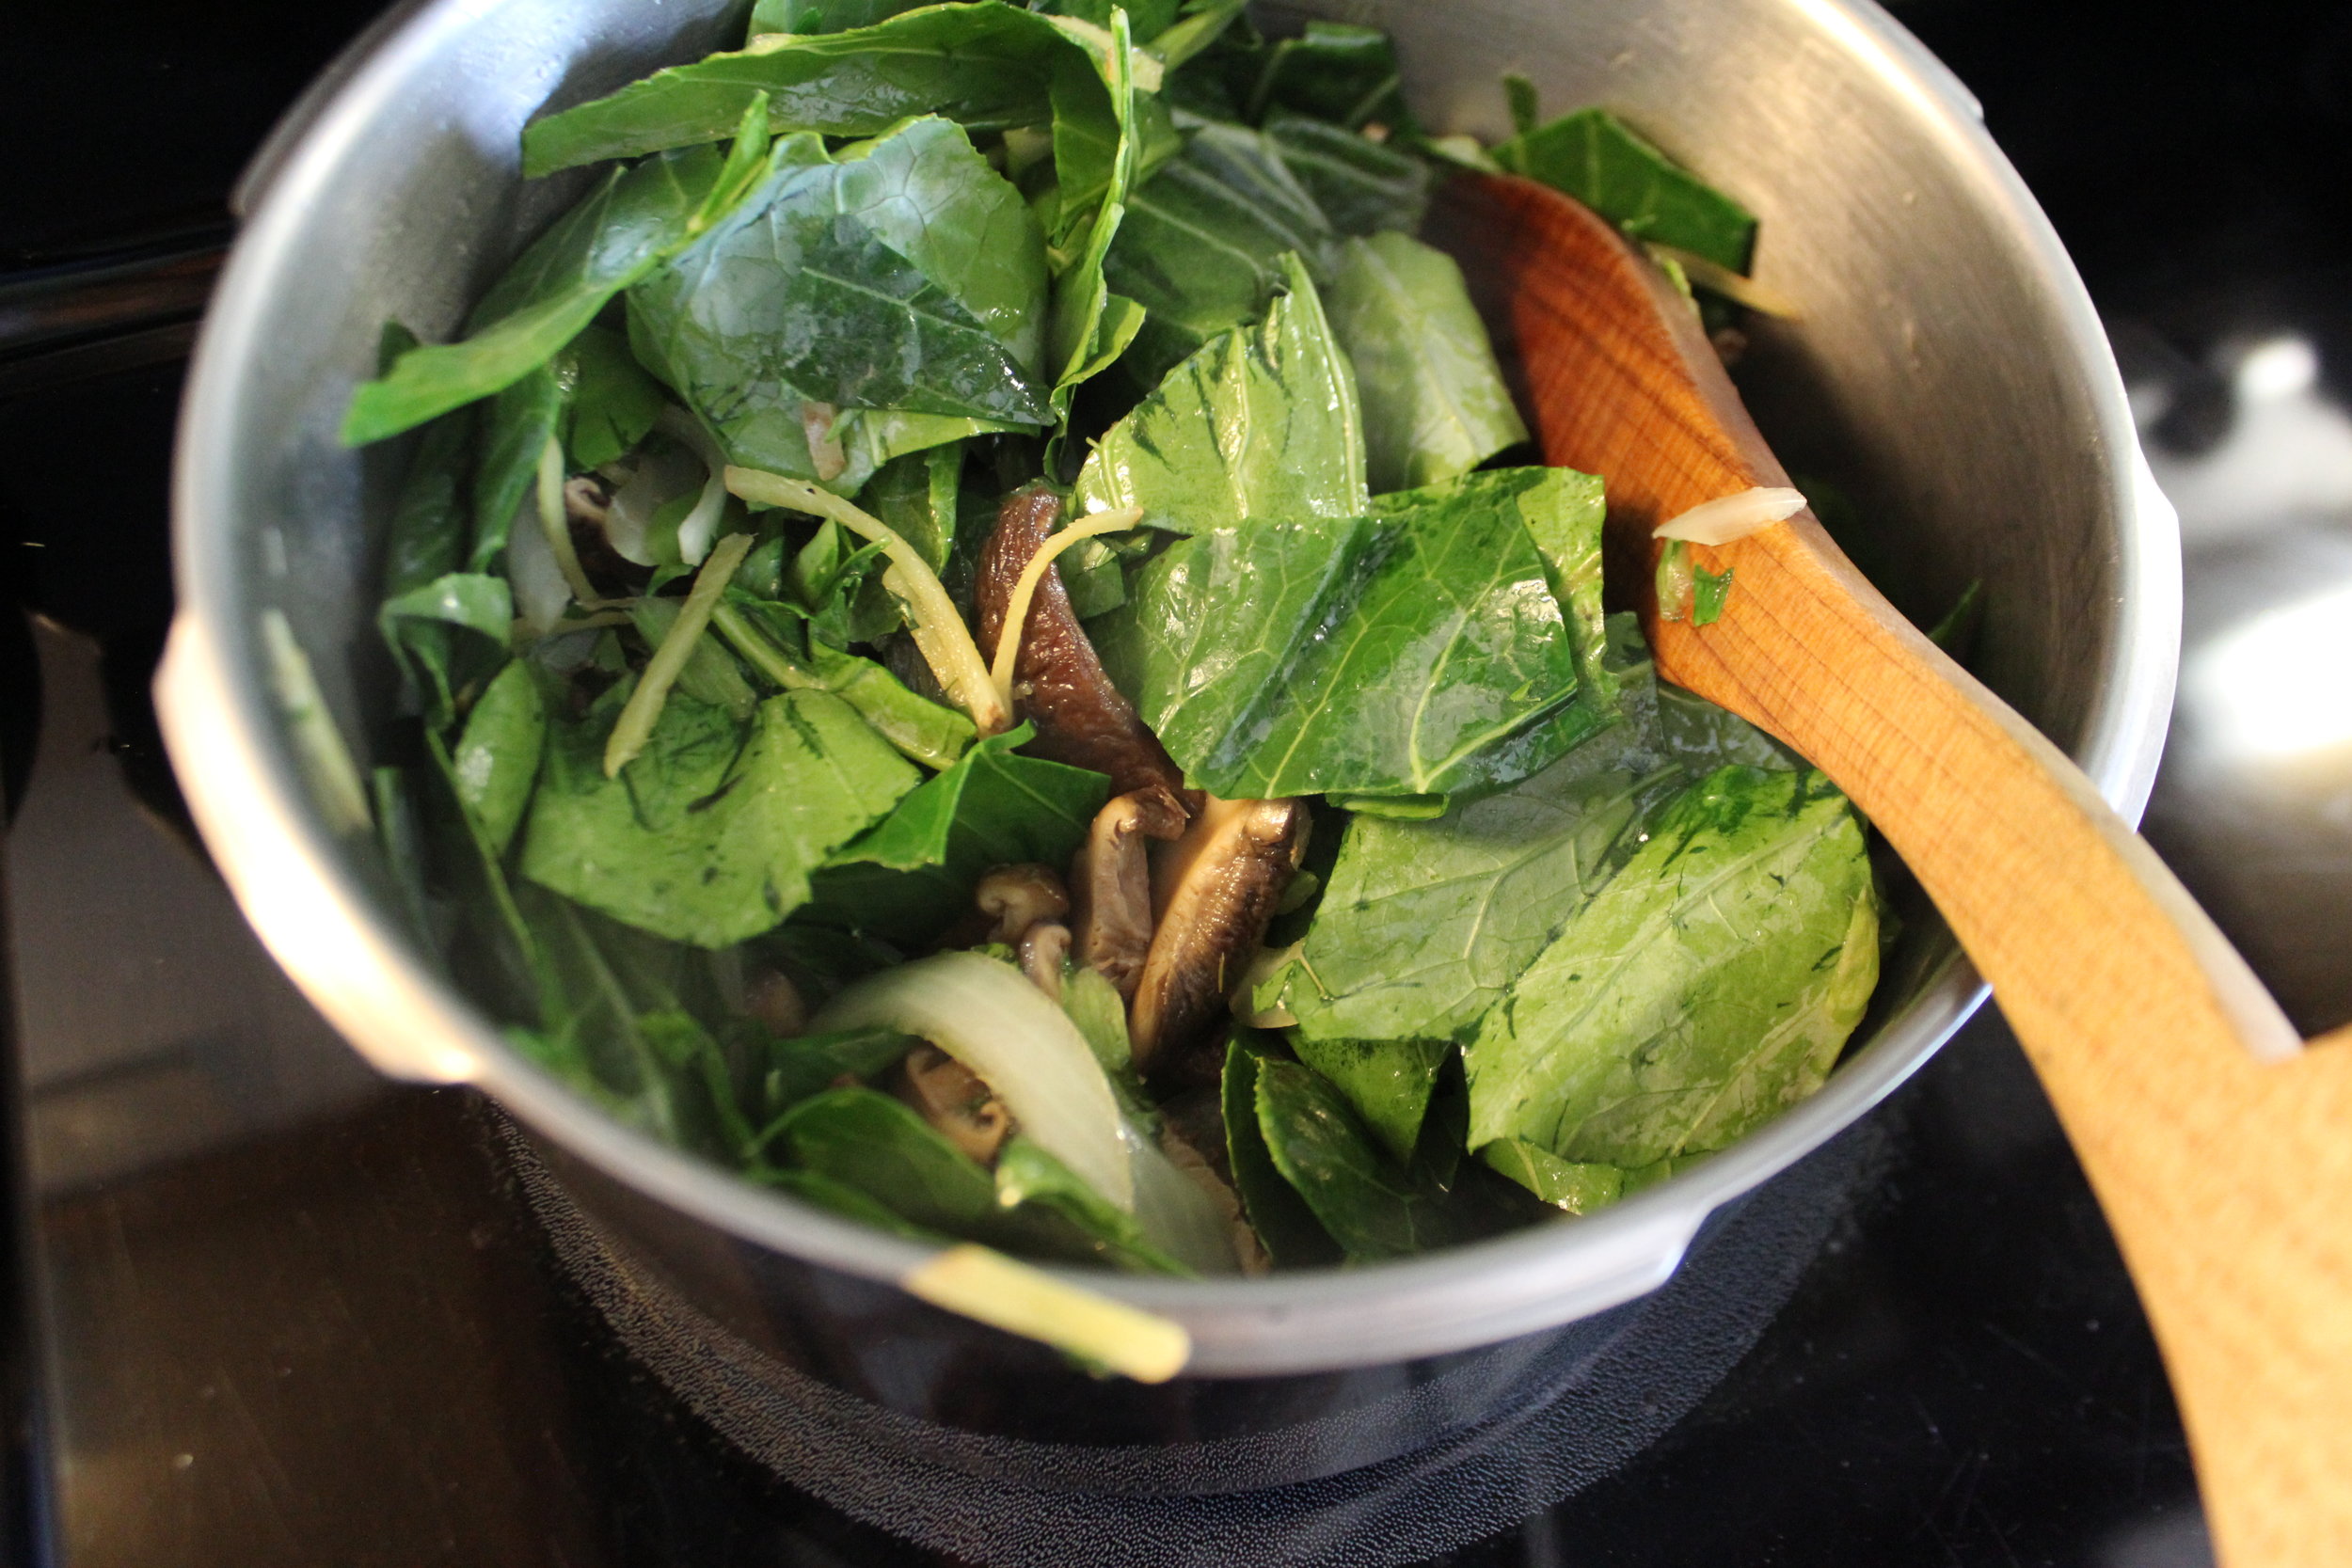
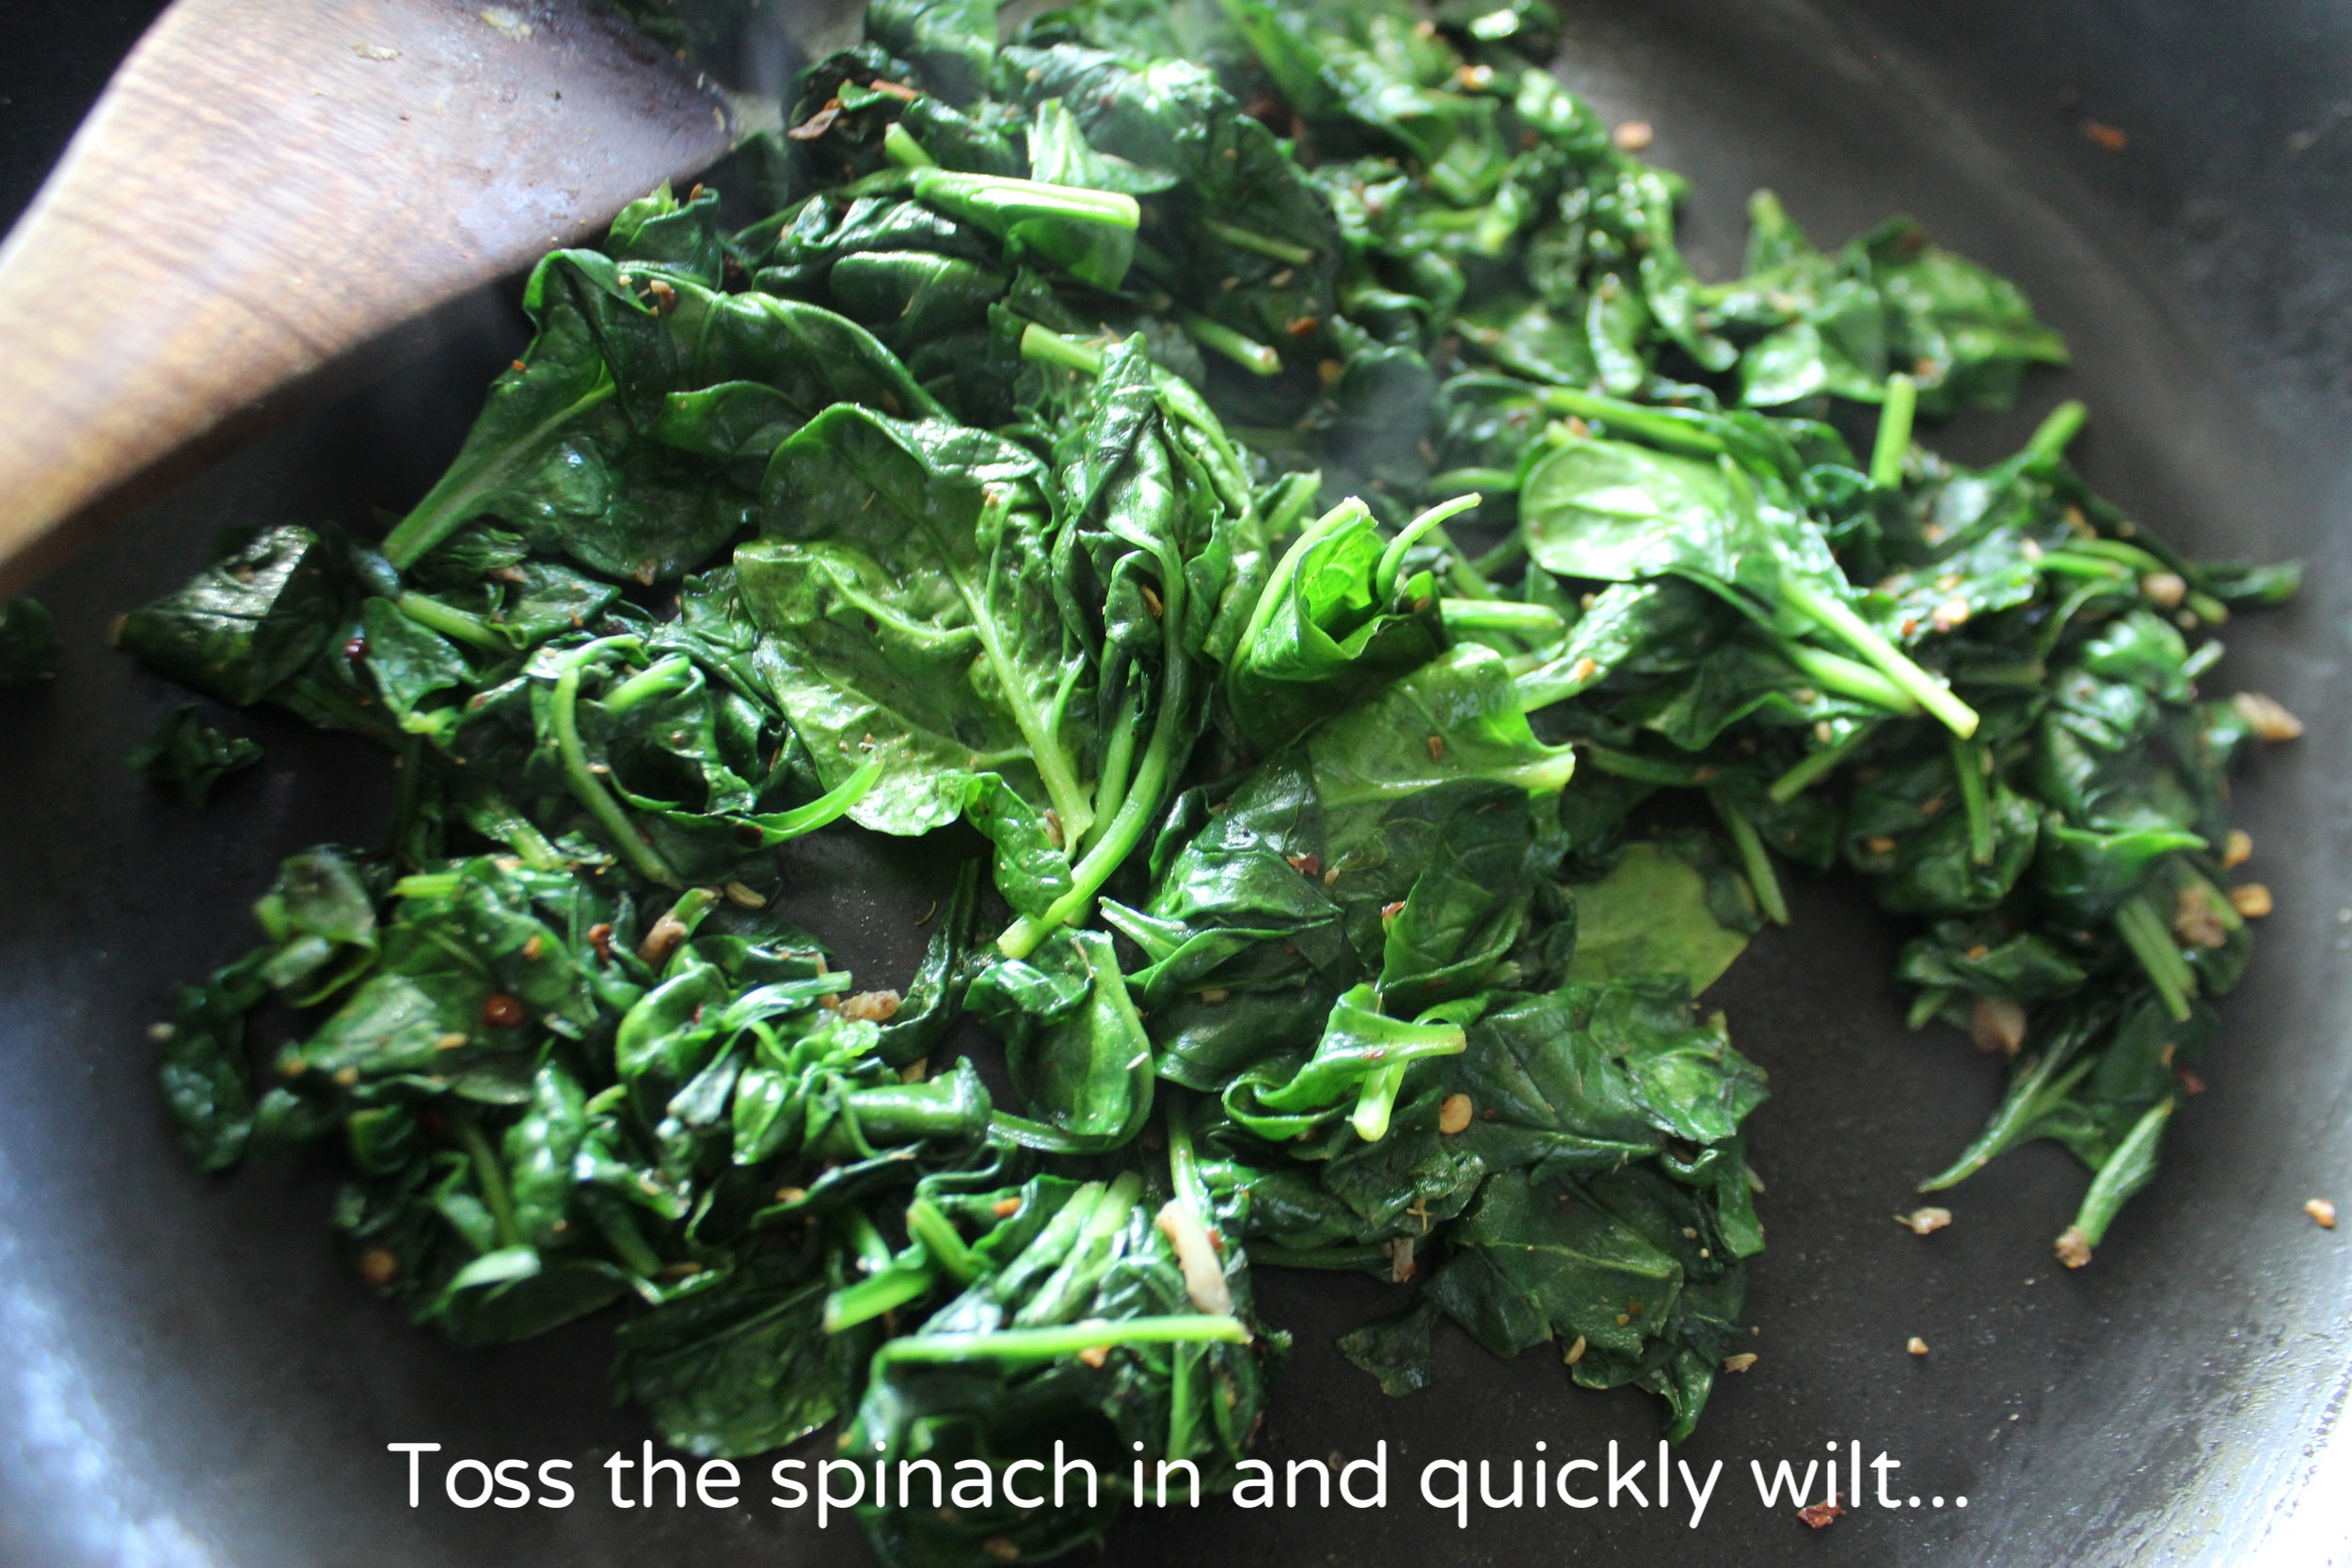
When done, move the chickpeas to a plate, remove the pan from the heat, and get the sesame oil, garlic, and spices in the pan. If you have some stuck on chickpea in your pan, gently scrape it clear in one small area to make room for the garlic and spices. Once you add the spinach and coconut milk it should loosen and incorporate into the dish with the help of a spoon or spatula.

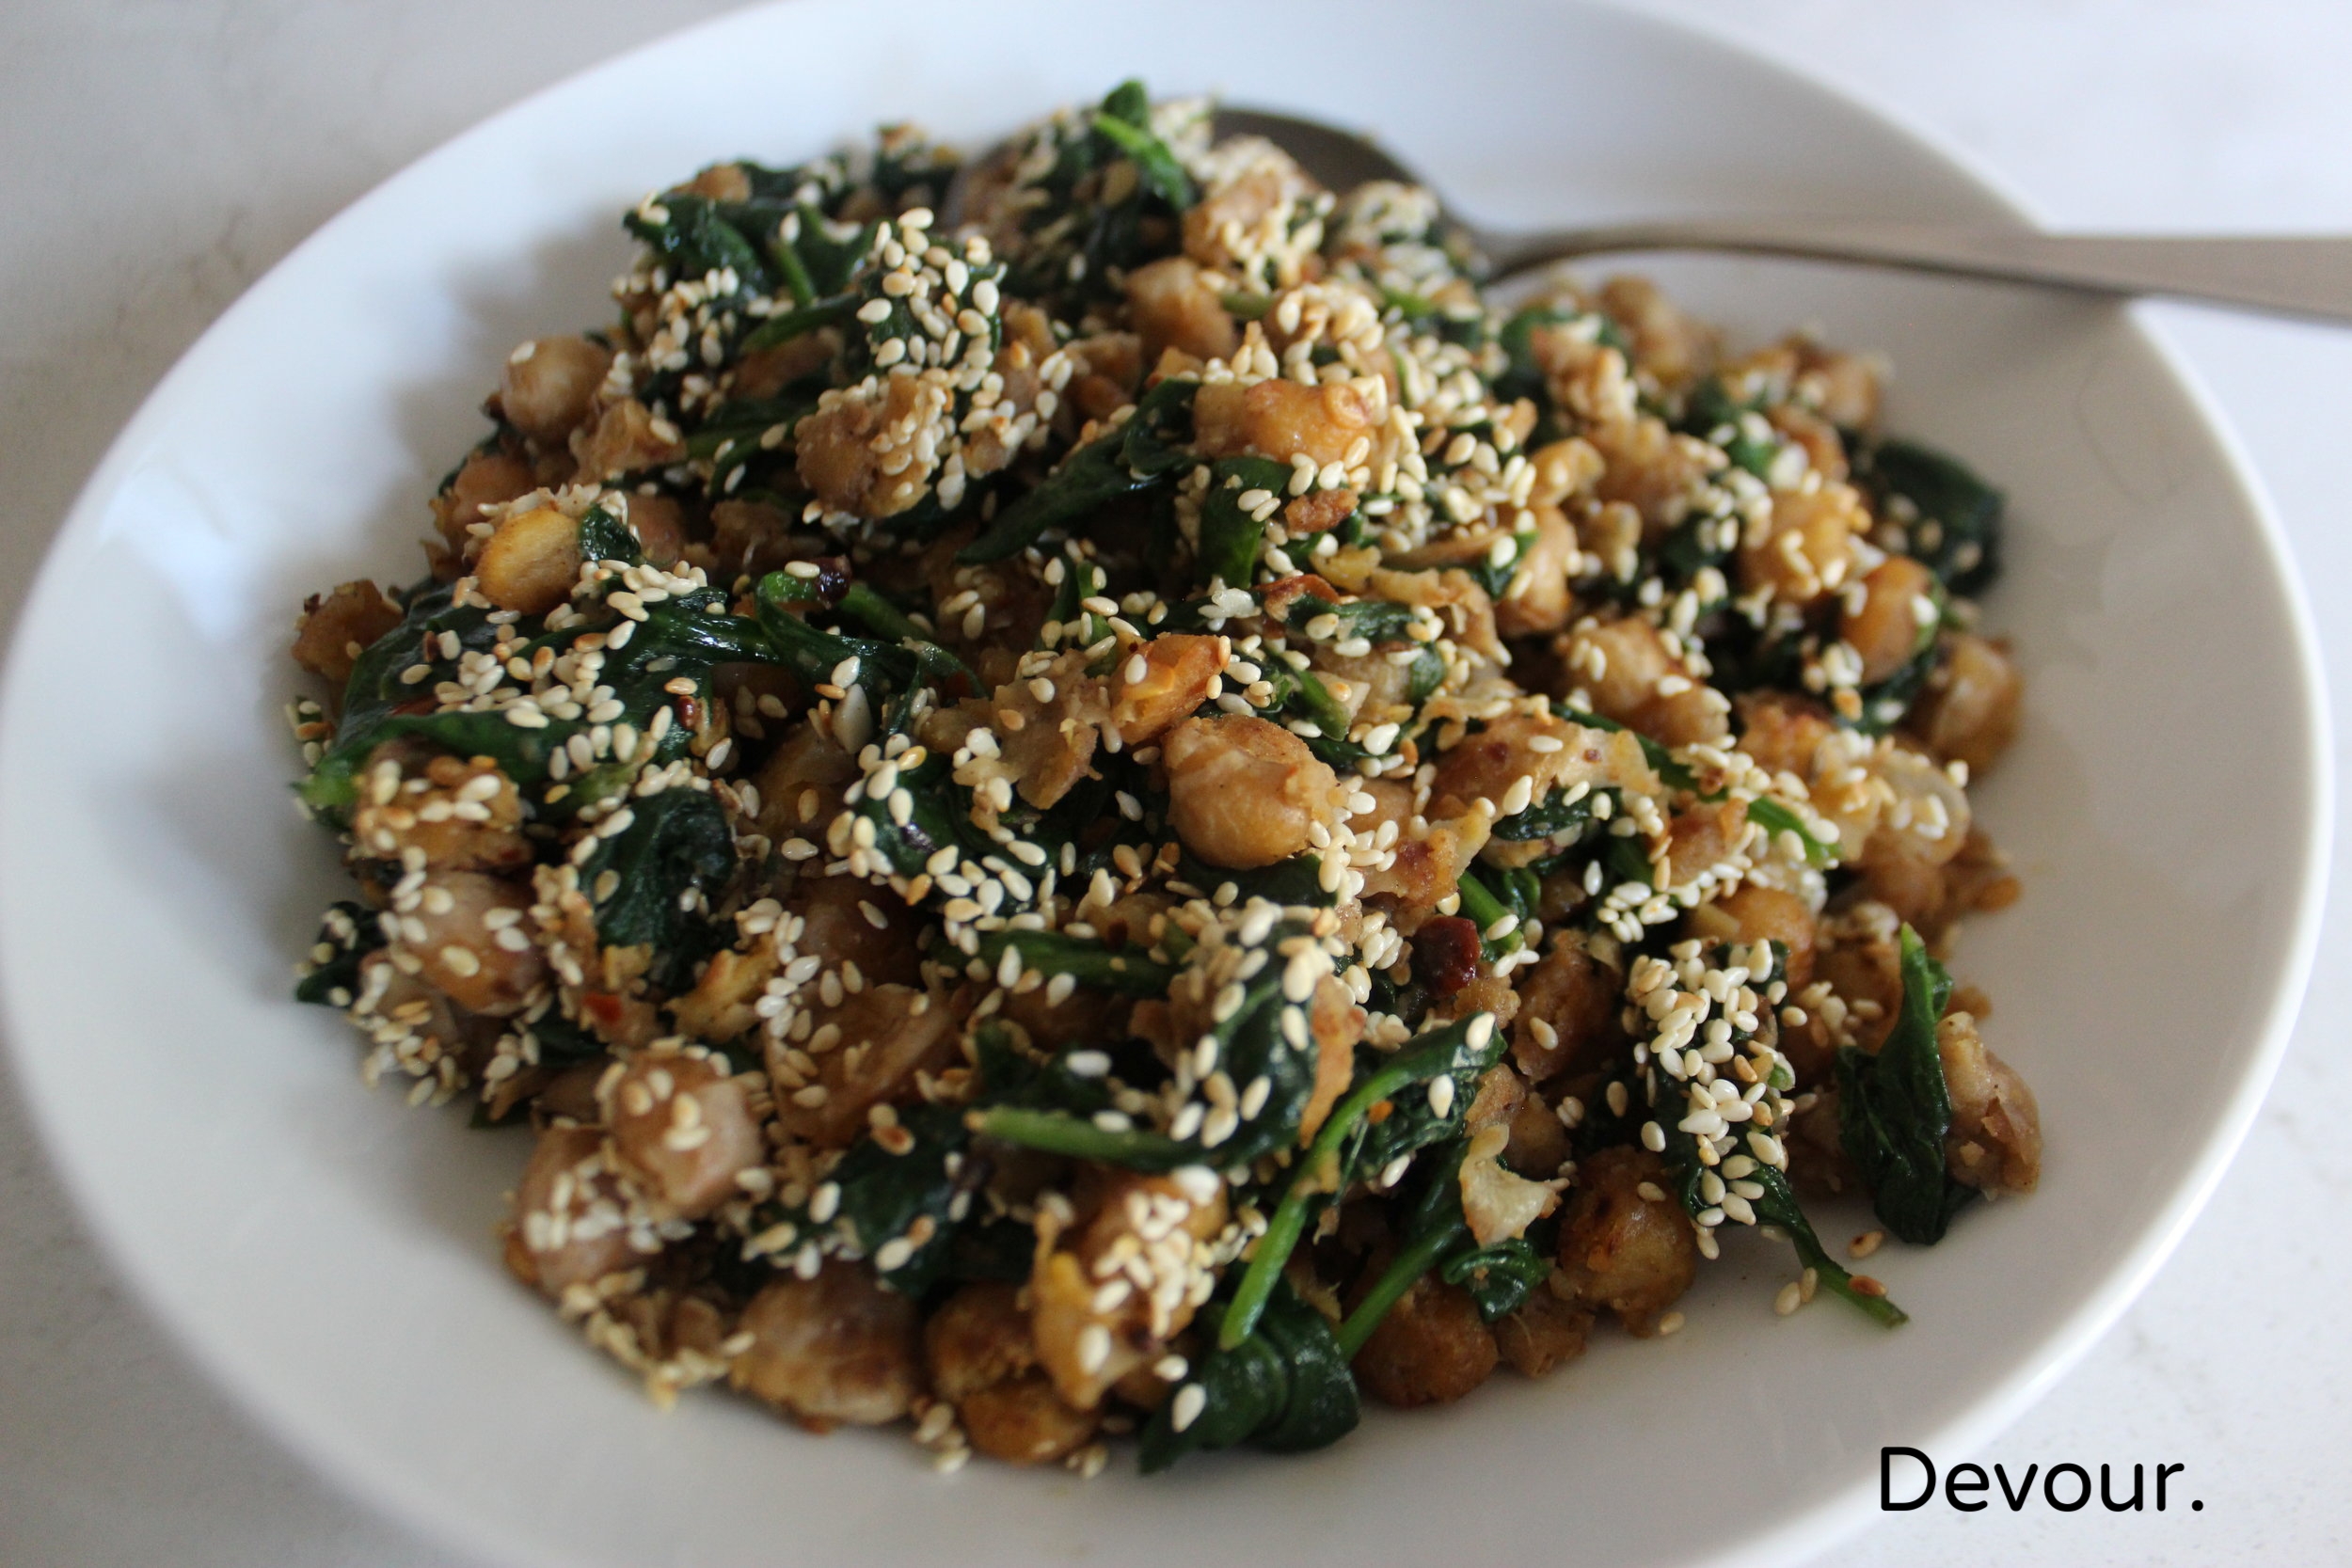
Smashed Chickpeas with Sesame, Allspice and Fennel
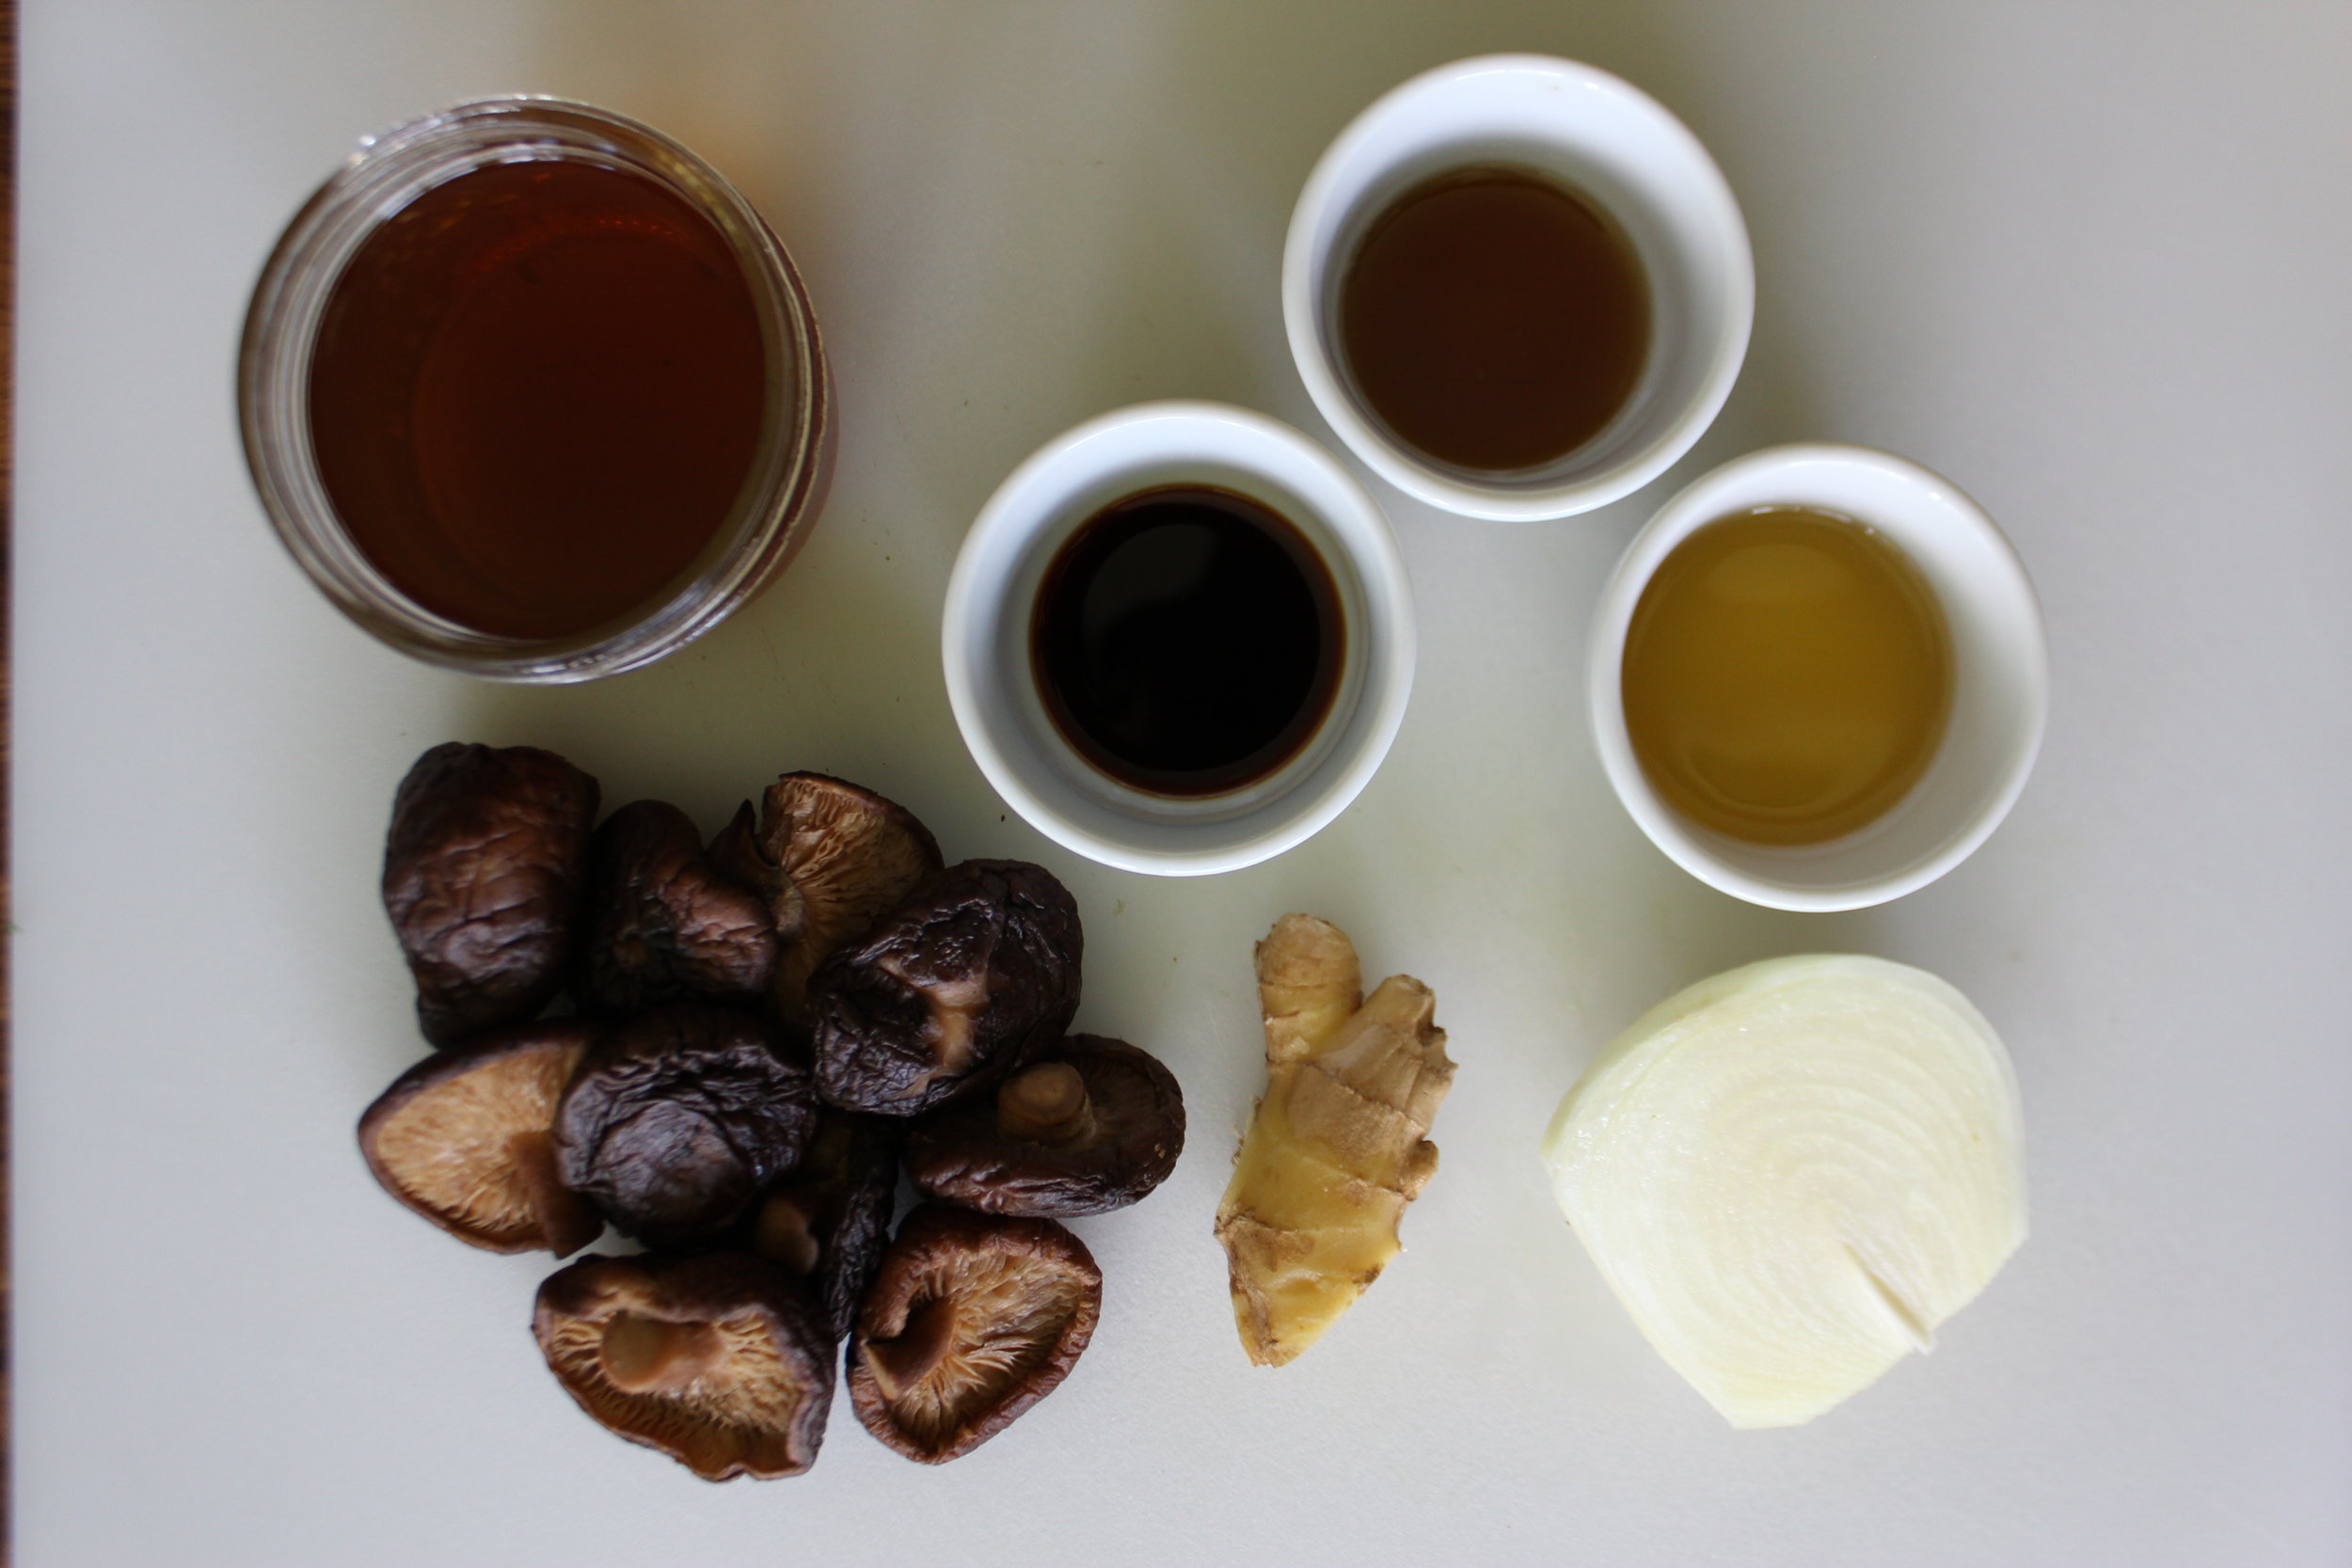
Ingredients:
- 2 Tbsp sesame seeds
- 15 oz can chickpeas
- 3 Tbsp extra virgin olive oil
- 1 Tsp whole fennel seeds
- 1/4 Tsp ground allspice
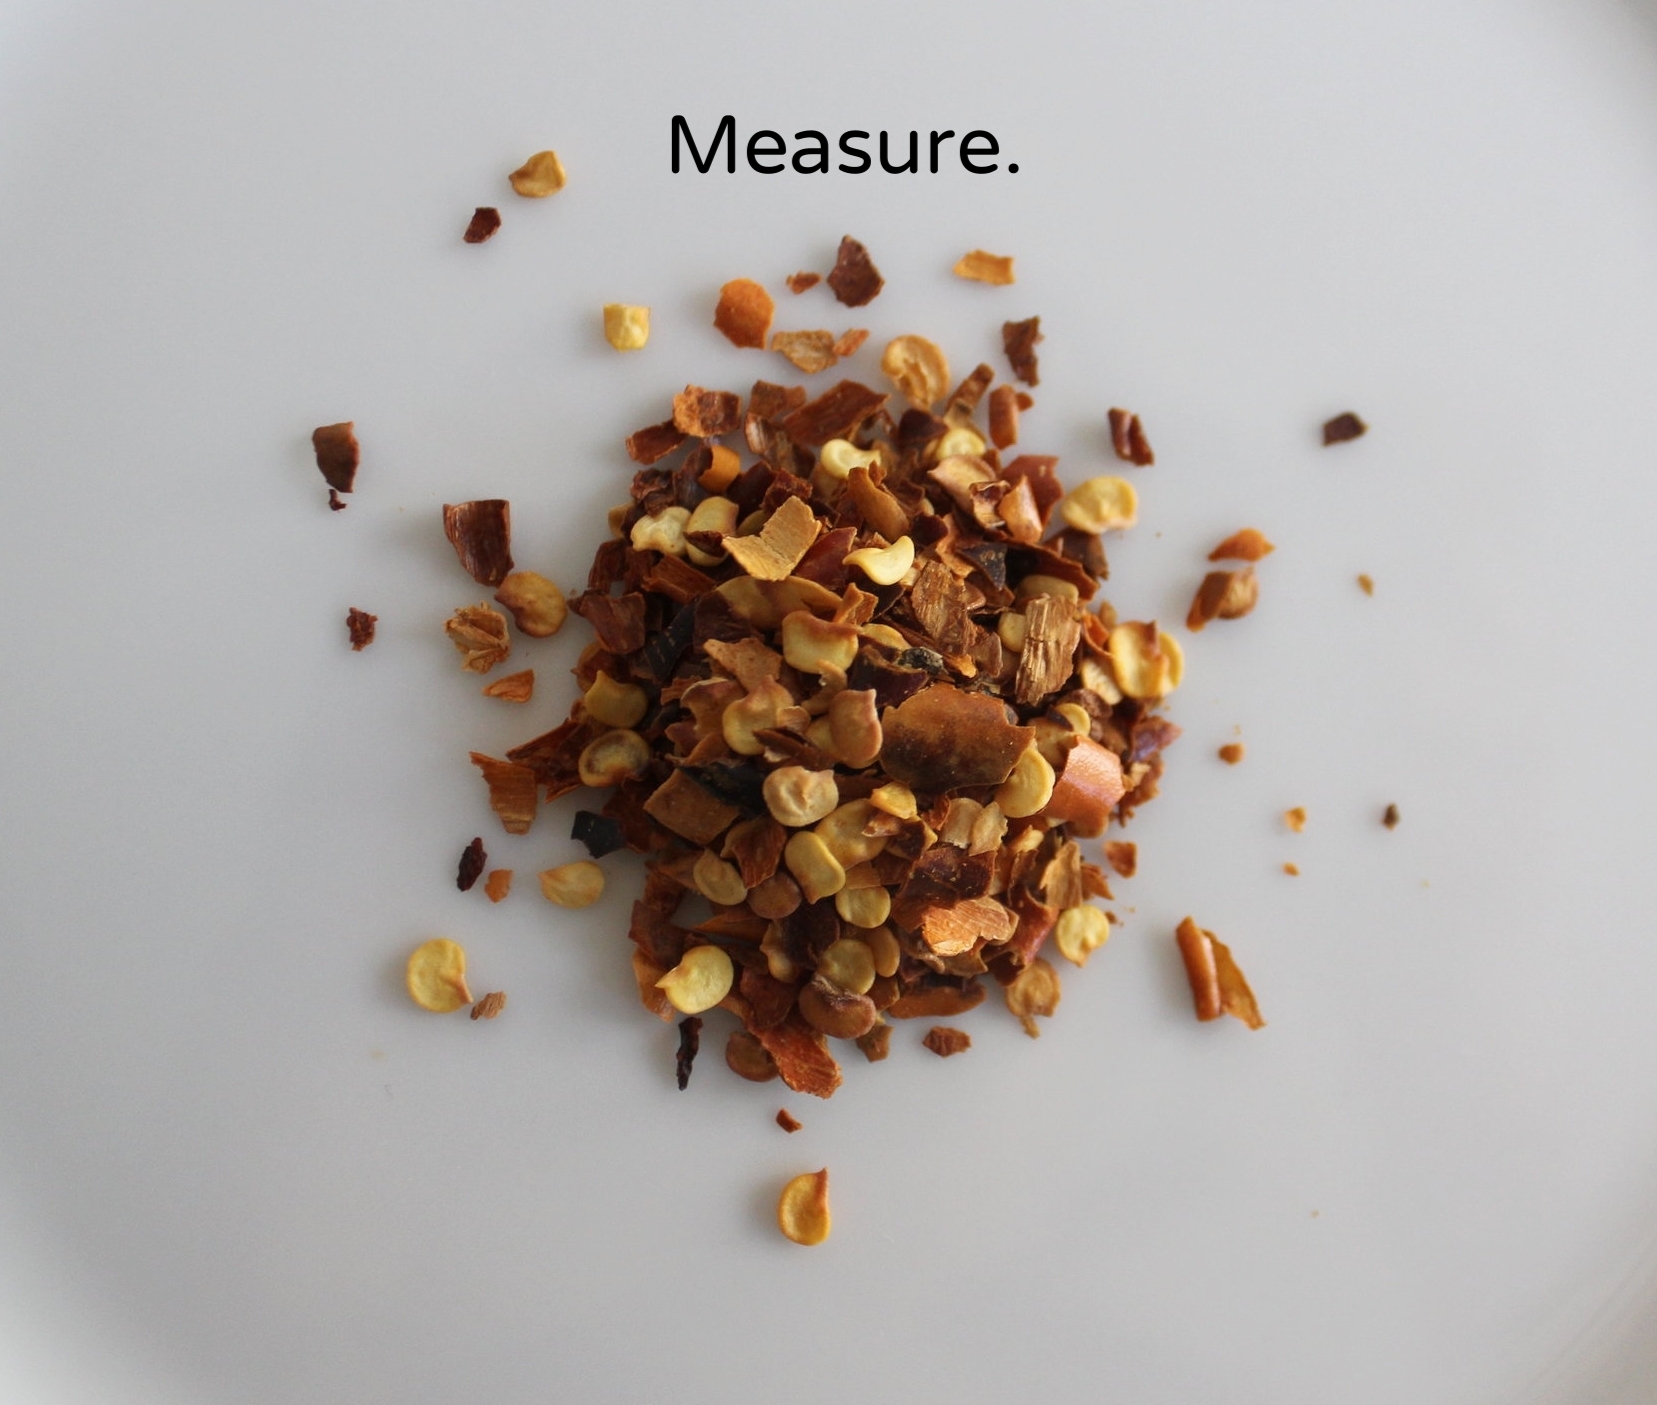
- 1 Tsp chili flakes
- 1 large clove garlic
- 2 Tsp toasted sesame oil
- 8 oz baby spinach, completely dry
- 1/4 C coconut milk
- 1/8 Tsp sea salt
*Note: If using home cooked chickpeas make sure the chickpeas are not too soft. They must hold together for the frying process. If using a bunch of spinach, make sure to wash well and pat as dry as possible.
Heat a large, heavy bottomed saute pan over low to medium-low heat. Add the sesame seeds and stir frequently until they become glossy and about half begin to brown. Remove the sesame seeds from the pan and set aside. Drain, rinse and pat the chickpeas completely dry.
Now prepare the spices and garlic. Grind the fennel seeds in a mortar or in a spice grinder. You may prefer it fine, roughly ground, or even leave them whole. Smash and roughly mince the garlic. Combine the fennel, ground allspice, chili flakes and garlic in a small bowl. Measure the coconut milk and set aside.
Heat the pan to medium high or high and add the olive oil. You may want to keep the heat lower if you are using a pan with a thinner bottom. When the olive oil is hot but not smoking, carefully add the chickpeas and begin frying them. Stir them only occasionally to allow them to brown and crisp. Smash about half with the back of a fork or a potato masher half way through frying them.
When the chickpeas are nicely browned and crispy, remove them from the pan and remove it from the heat. Gently scrape any sticky chickpea bits and make a little room for the garlic and spices. Add the toasted sesame oil, garlic and spices in the cleared part of the pan and fry them together for about two minutes, returning to low heat if necessary. Return the pan to medium heat and add the spinach a handful at a time, stirring until it is just wilted. Stir the coconut milk into the spinach until you see it bubbling, then add the chickpeas and sesame seeds back to the pan, mixing completely. Serve hot and enjoy!