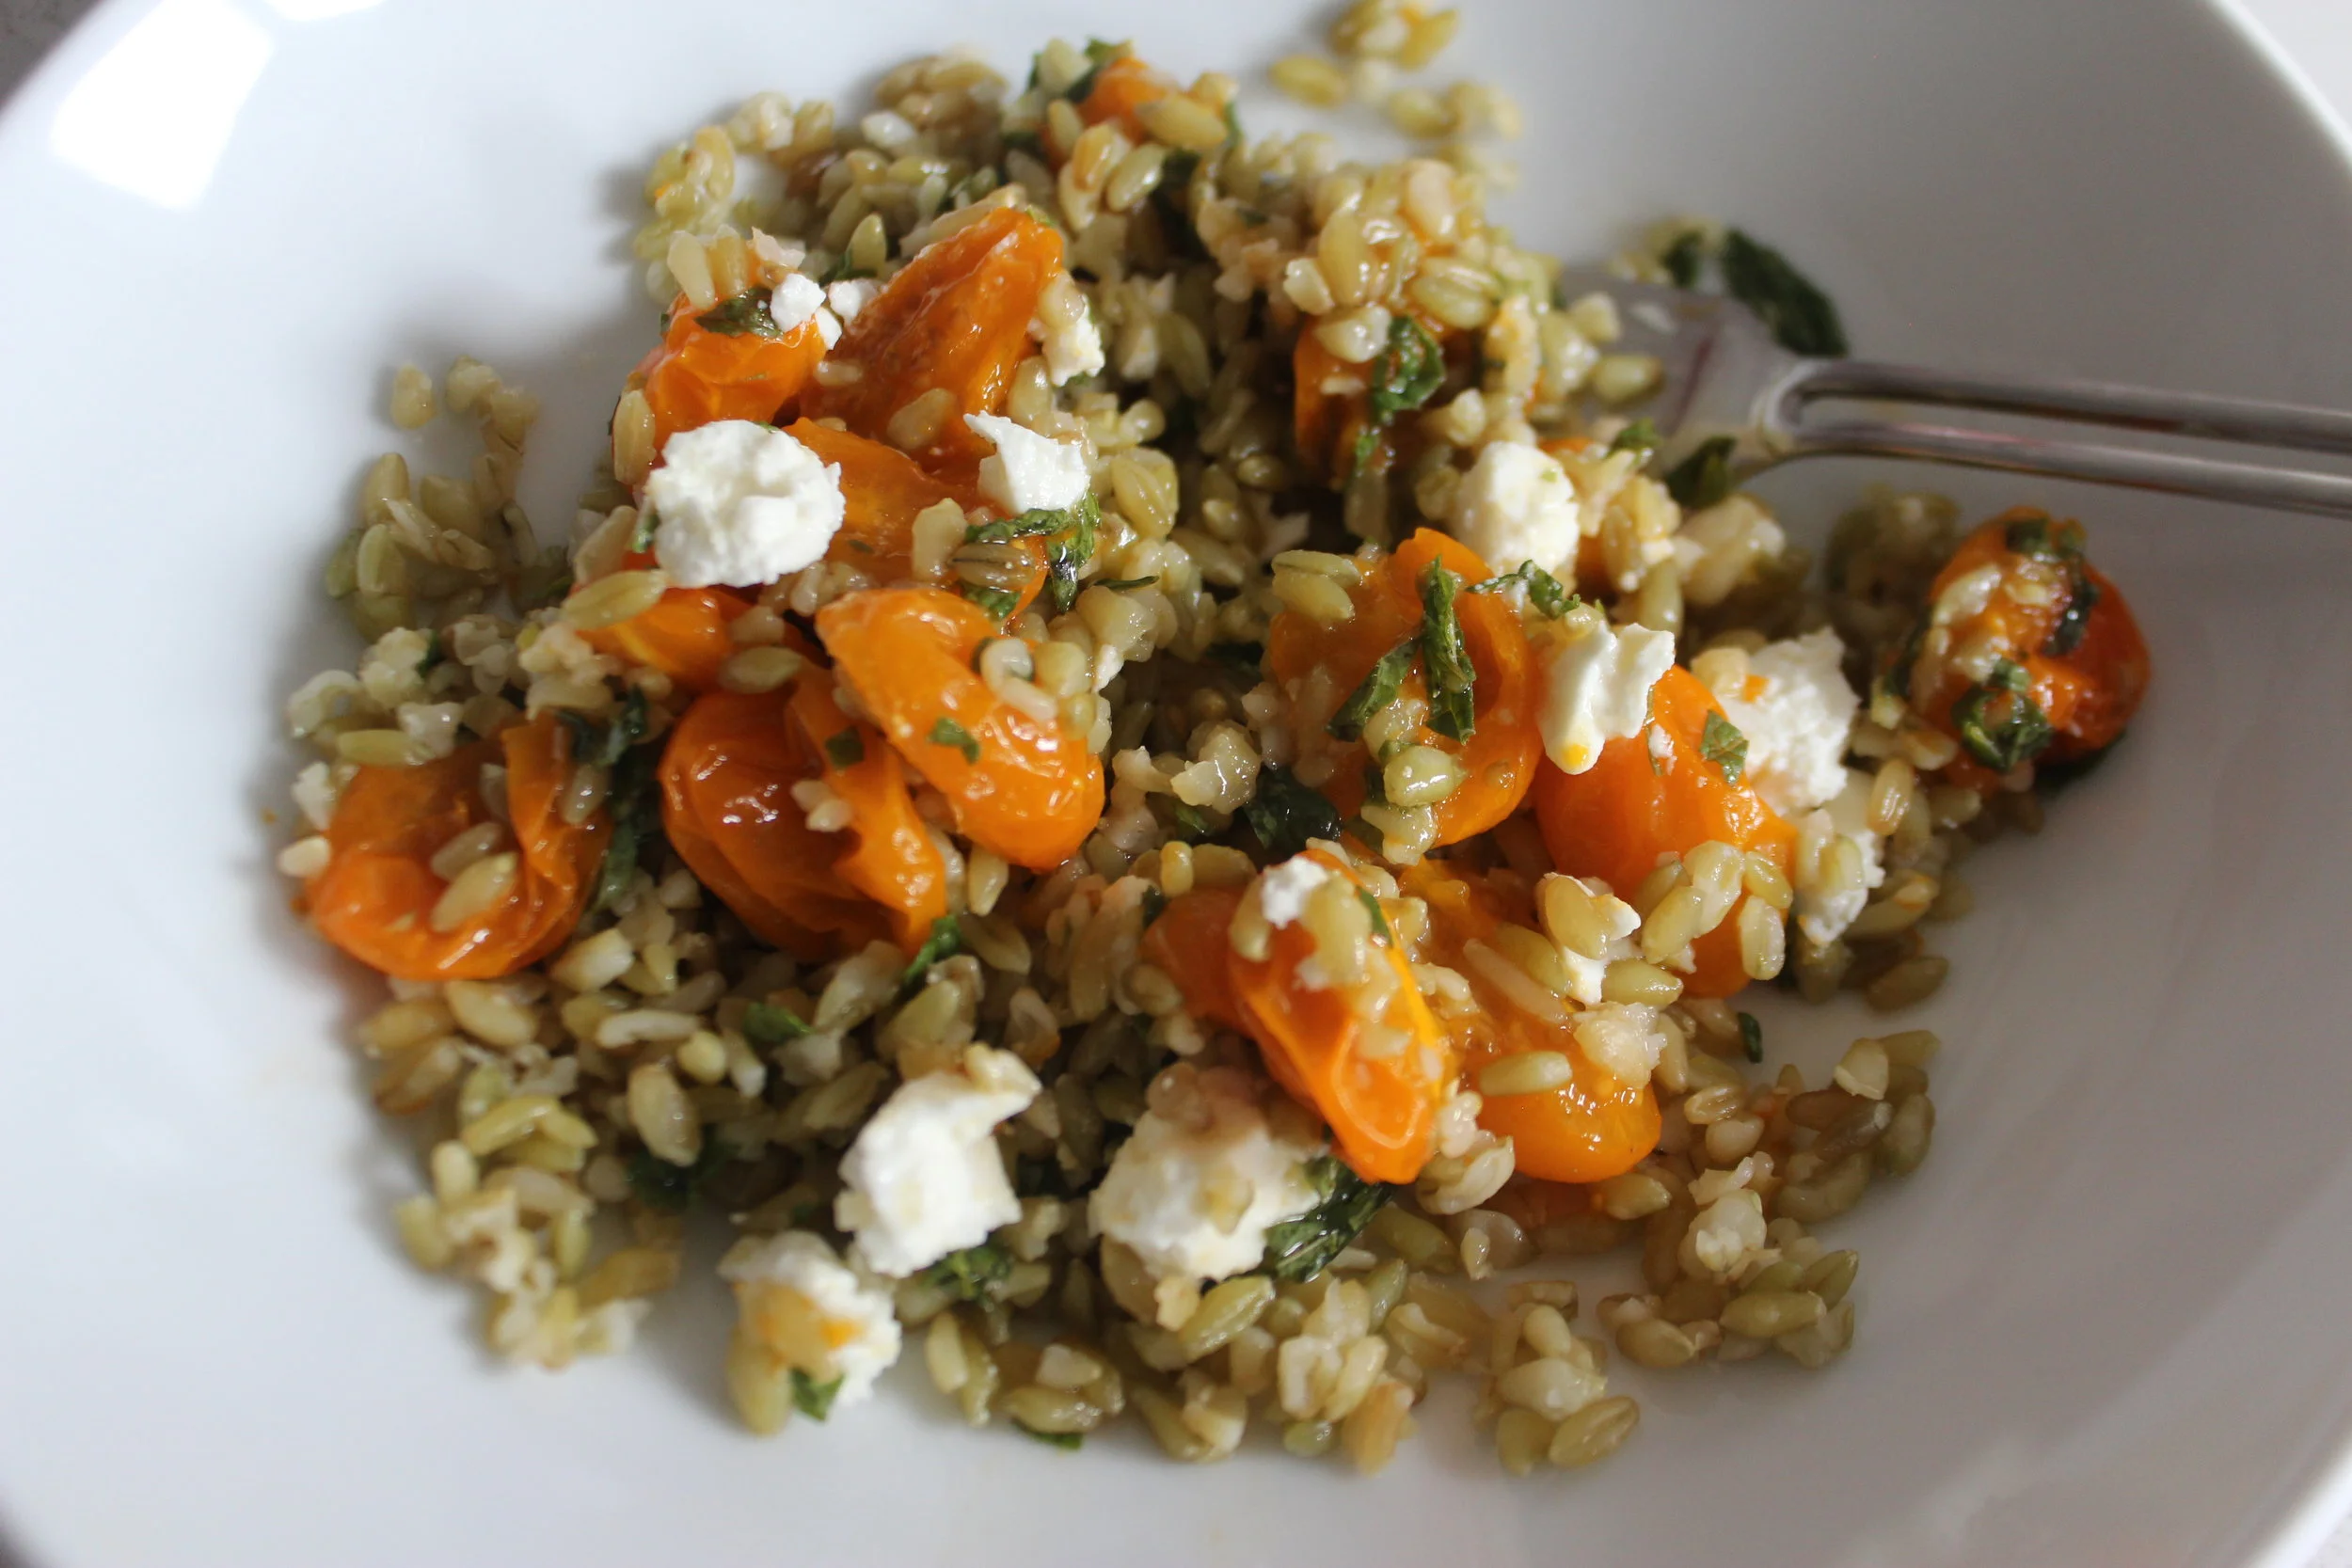
Warm Freekeh and Broiled Tomato Salad with Mint Vinaigrette
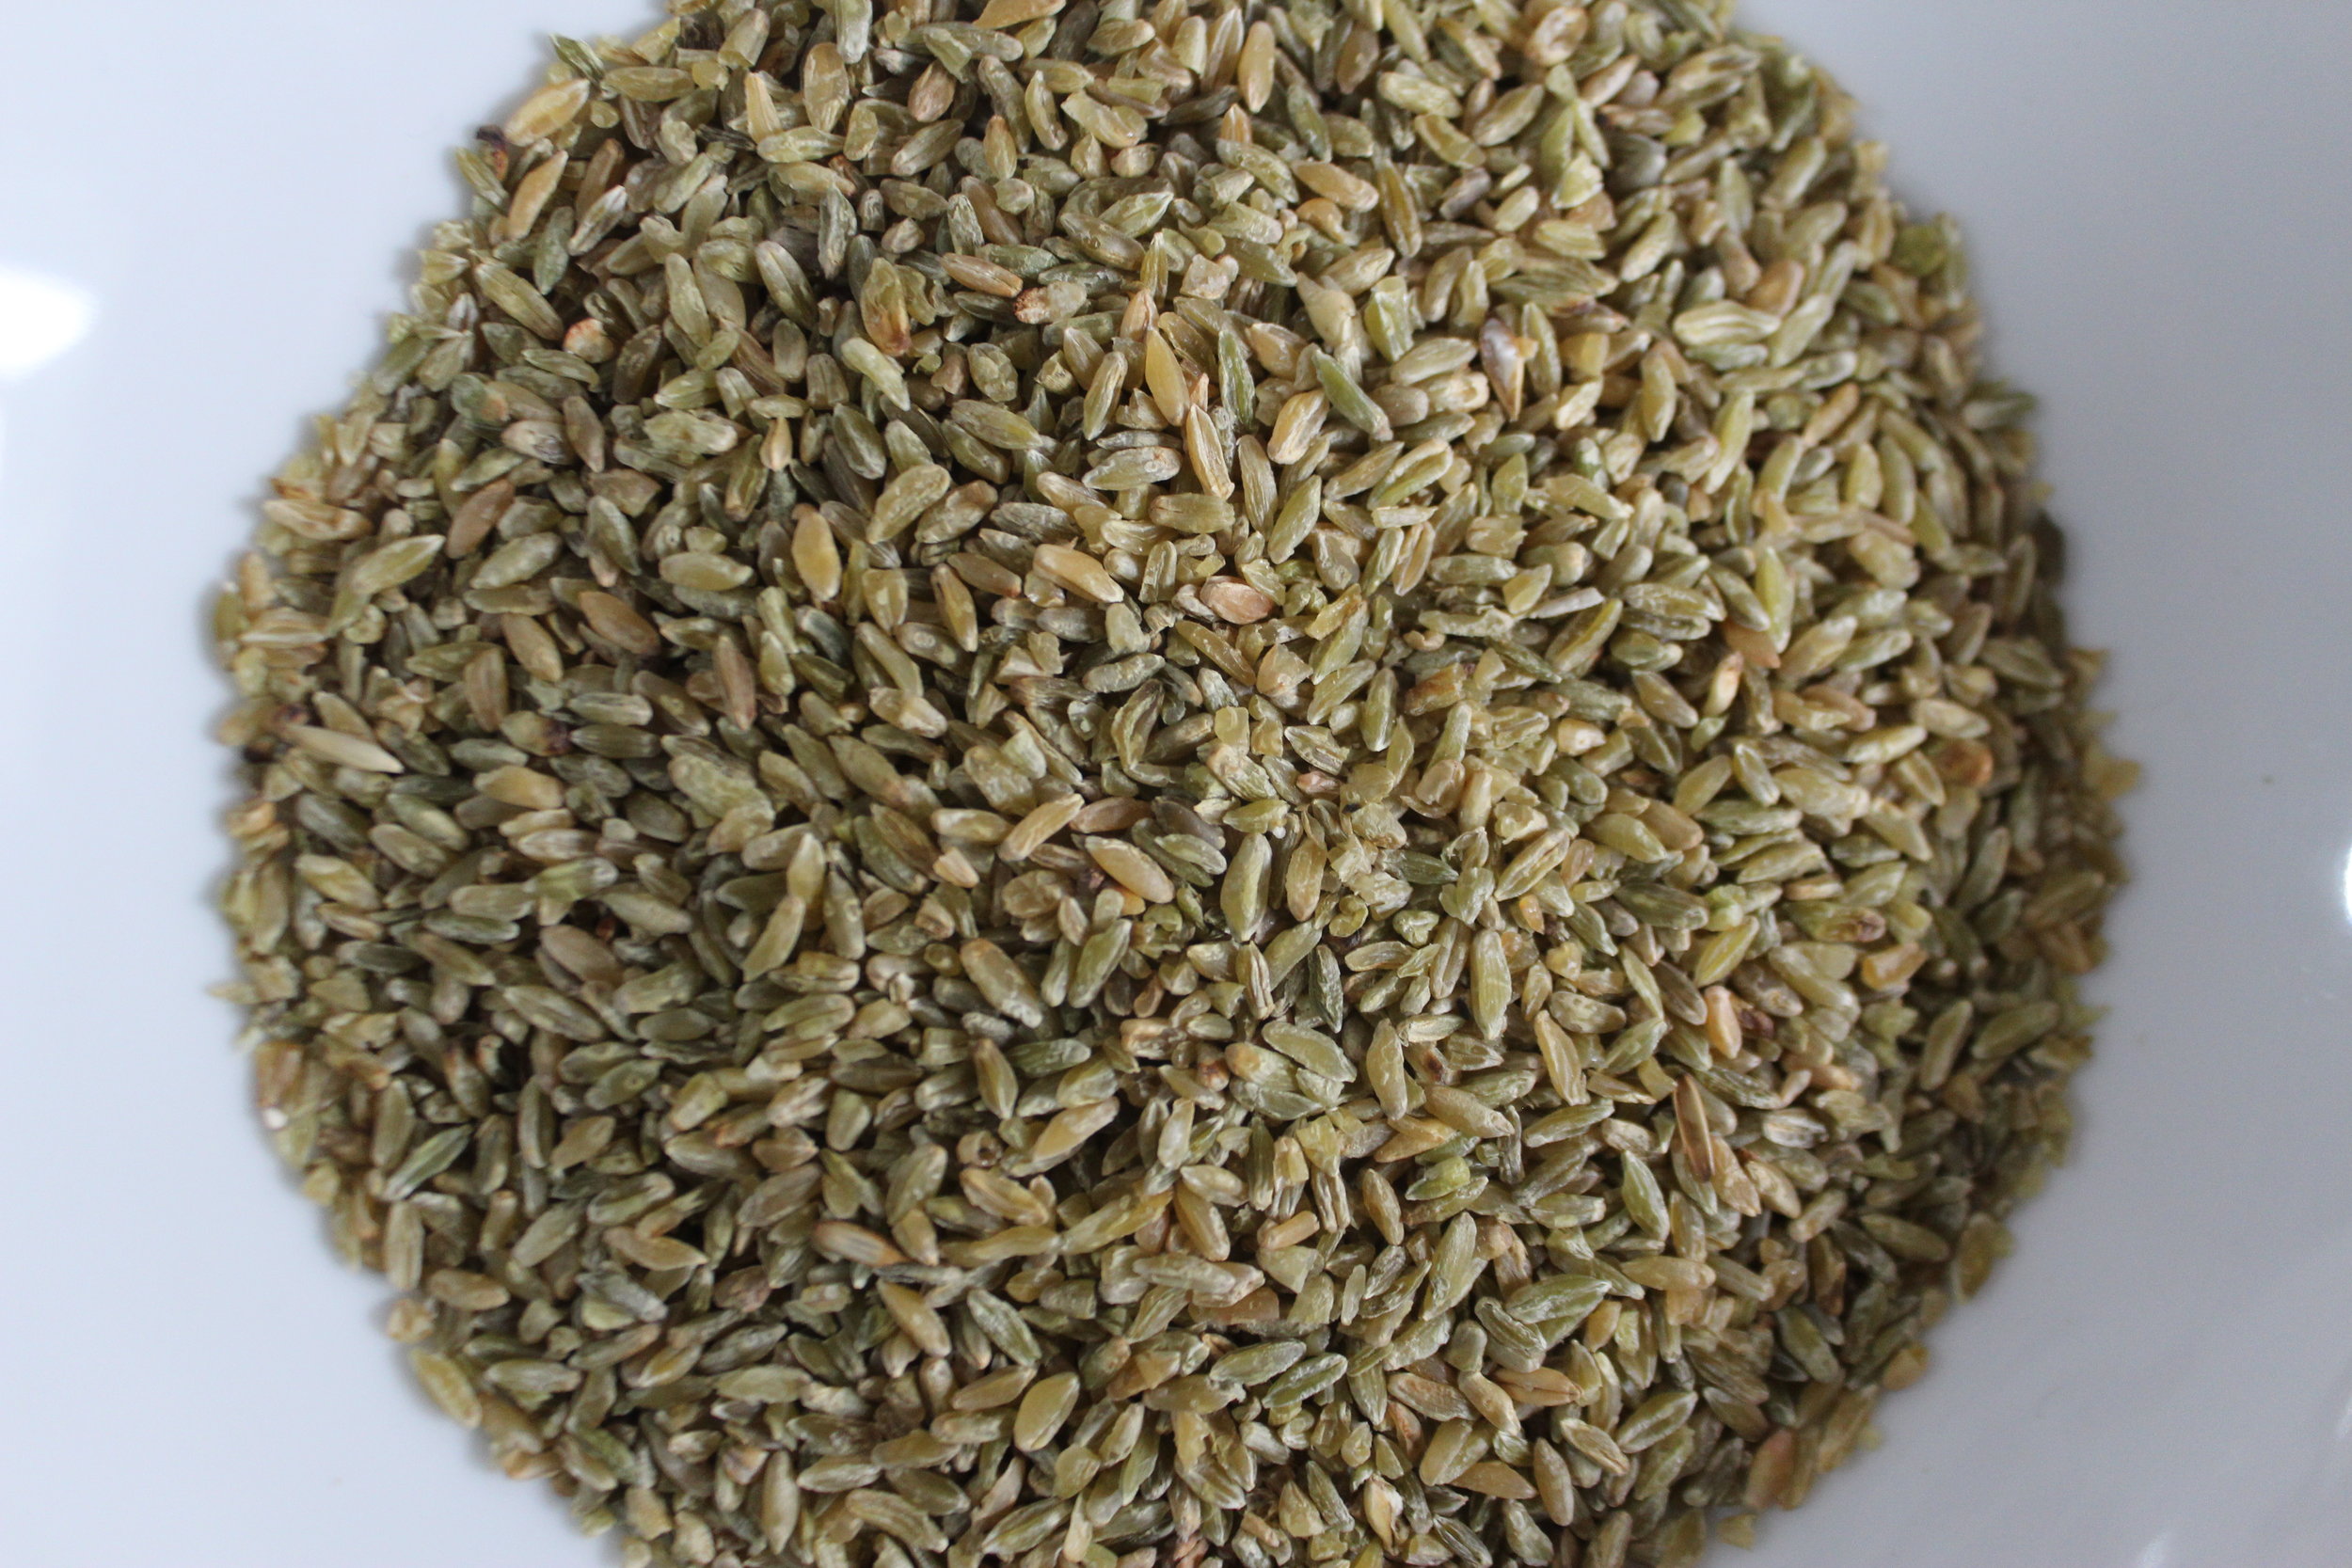
For some reason I haven't gravitated toward the wheat family of whole grains for a while. Wheat berries, kamut, farro...all of these are delicious whole grains, but my taste buds have wandered elsewhere recently. Maybe I was tired of chewing so much (just kidding). Then, a couple of weeks ago to be exact, I finally tried freekeh. I knew about it, but was skeptical that it could really be all that different from other whole kernel wheats. Well, I was wrong, and I am glad to say so.
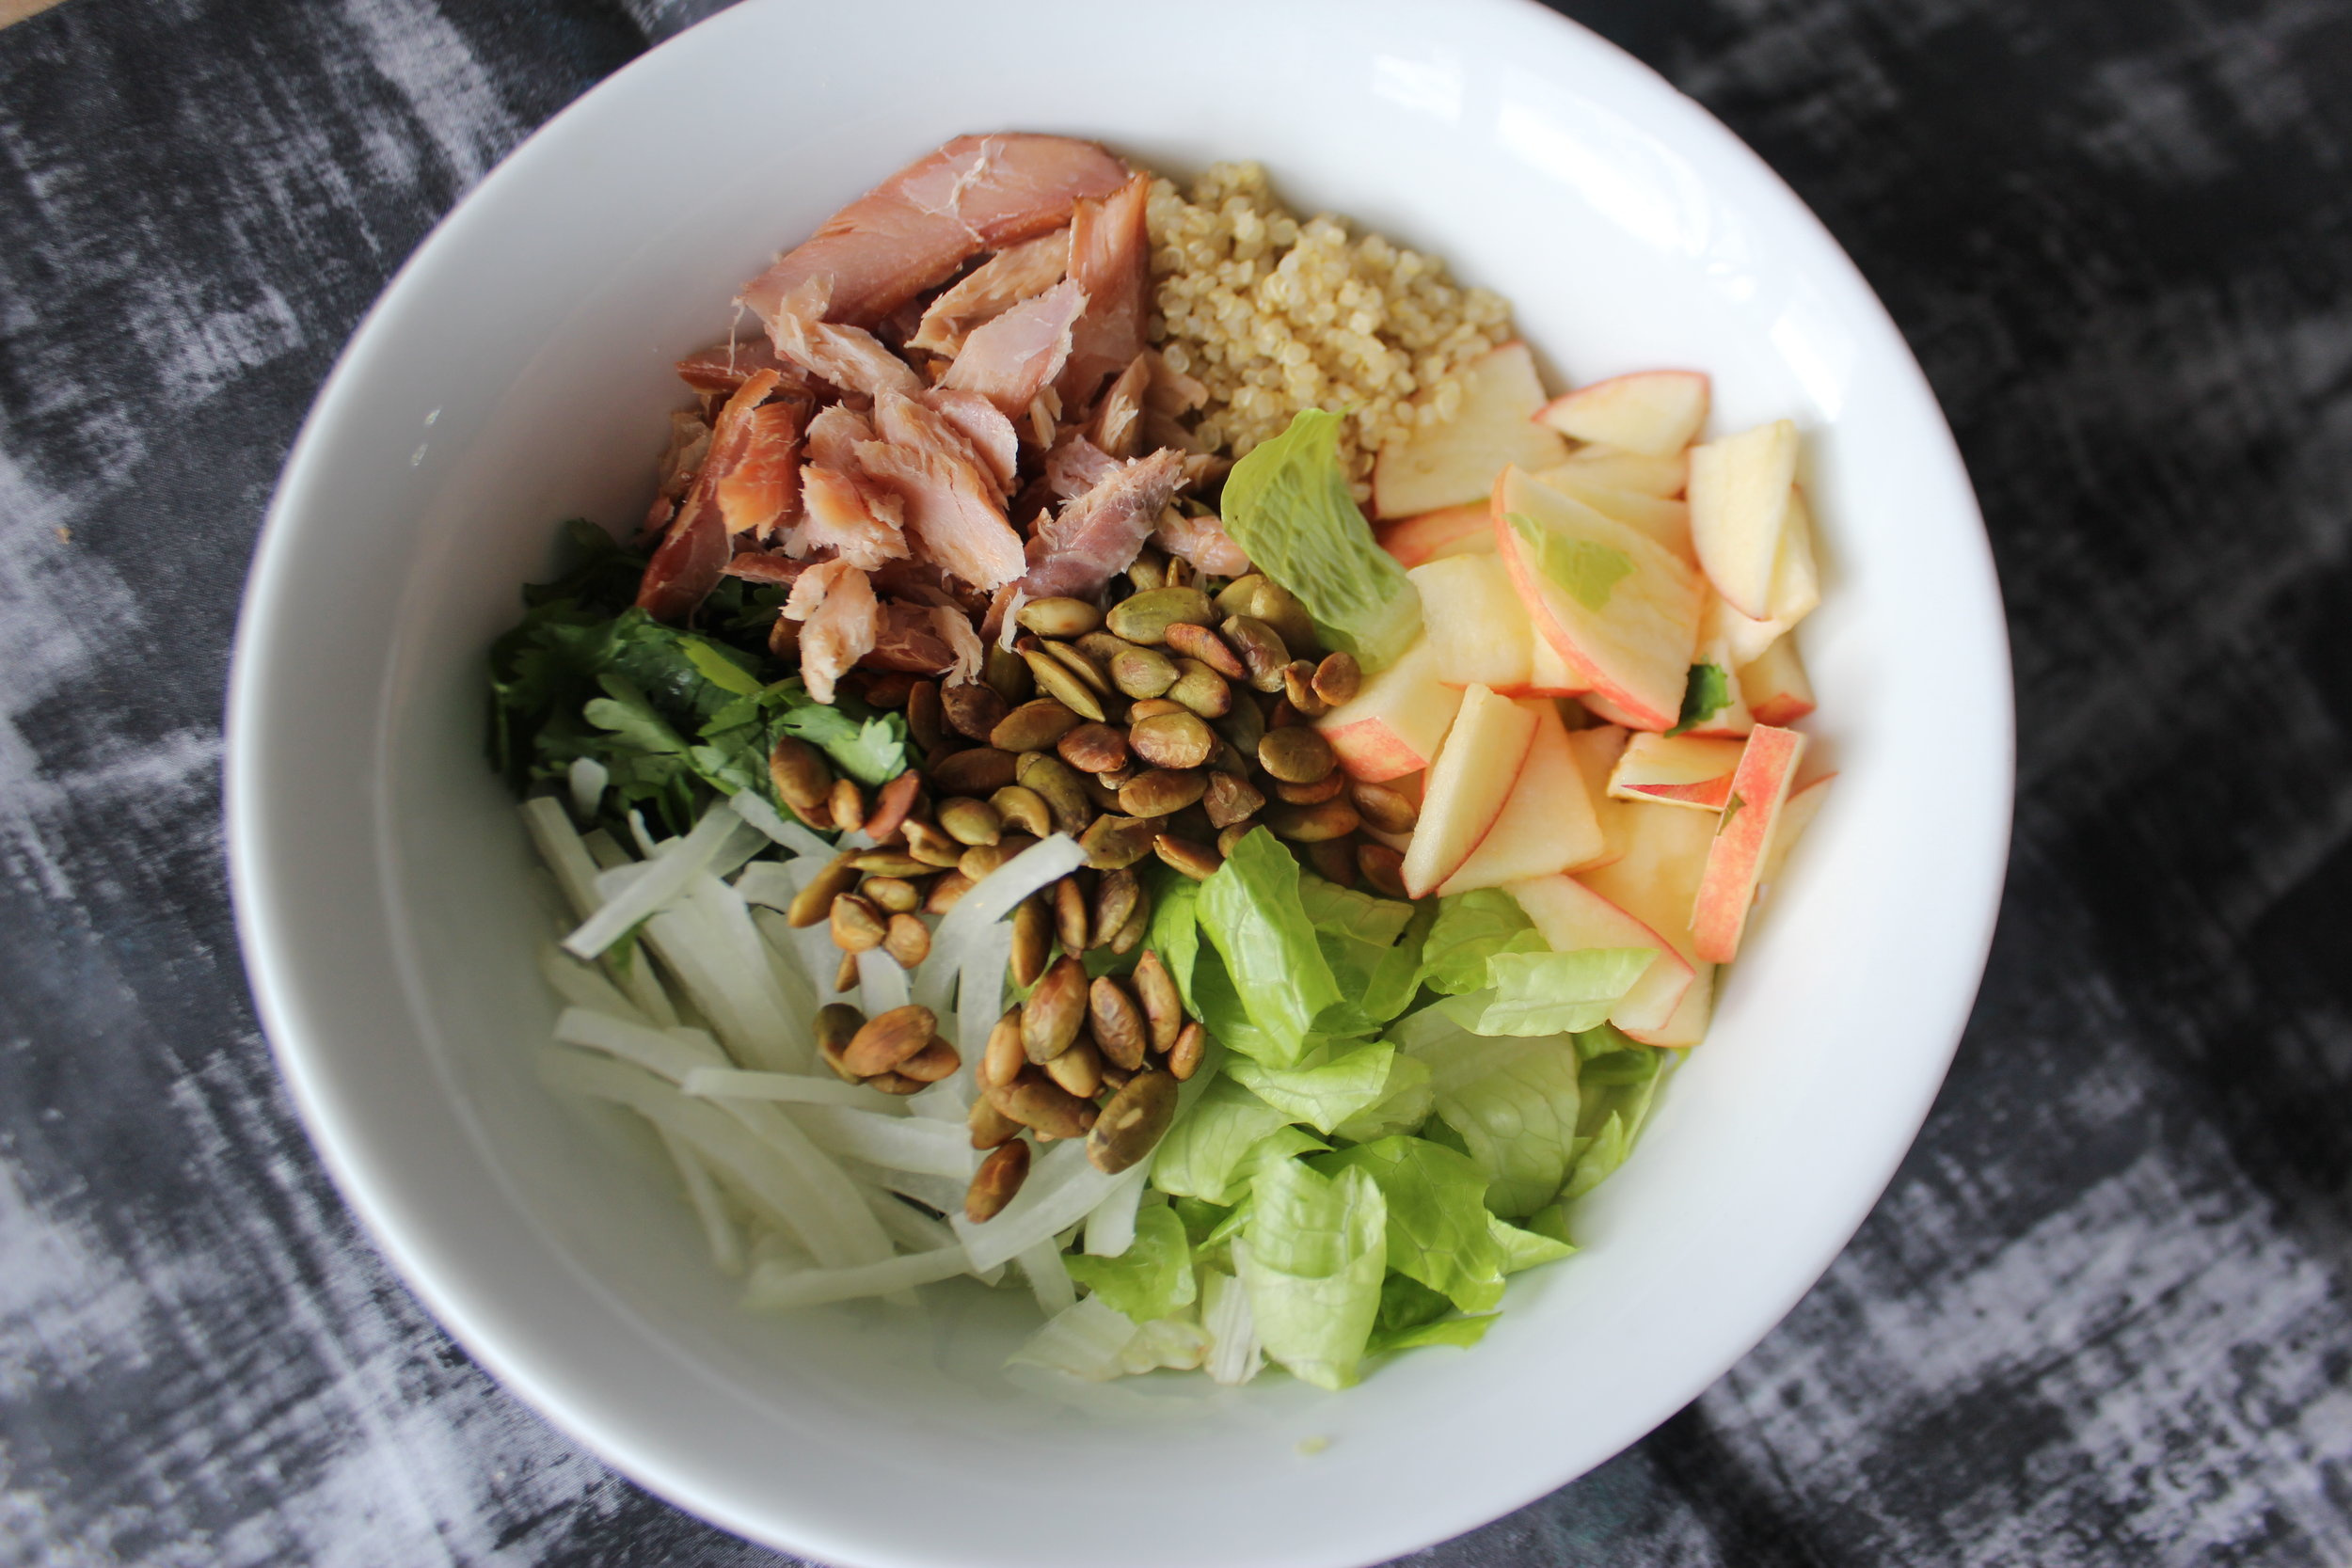
Freekeh is immature or "green" durum wheat that is roasted after harvest. Roasting may be a euphemism because the un-threshed wheat stalks are apparently heaped in piles and actually set on fire, causing the straw and chaff to smoke and toast the grains. And smokey these grains are. The wheat is then threshed and rubbed to remove chaff and hulls. I was really surprised by the flavor the first time I tasted it, and it smells beautiful before and during cooking as well. You will find cracked freekeh, which is not unlike bulgar wheat, and you will find whole grain freekeh. Whole or cracked freekeh makes a stellar grain for tabouleh or other grain salads, is often included in soups and stews, and adds an unexpected pop of flavor and texture to green salads. Could it be awesome in a veggie burger maybe?


This recipe is going to satisfy your yearning both for spring and summer. The feta is completely optional as it has tons of flavor without it. I am partial to the salty-soft cheese myself, and had a little on hand so I added it! This salad is a perfect side served family style or plated as part of a main course. For lunch or dinner, this surprisingly addictive warm salad is bound to please.
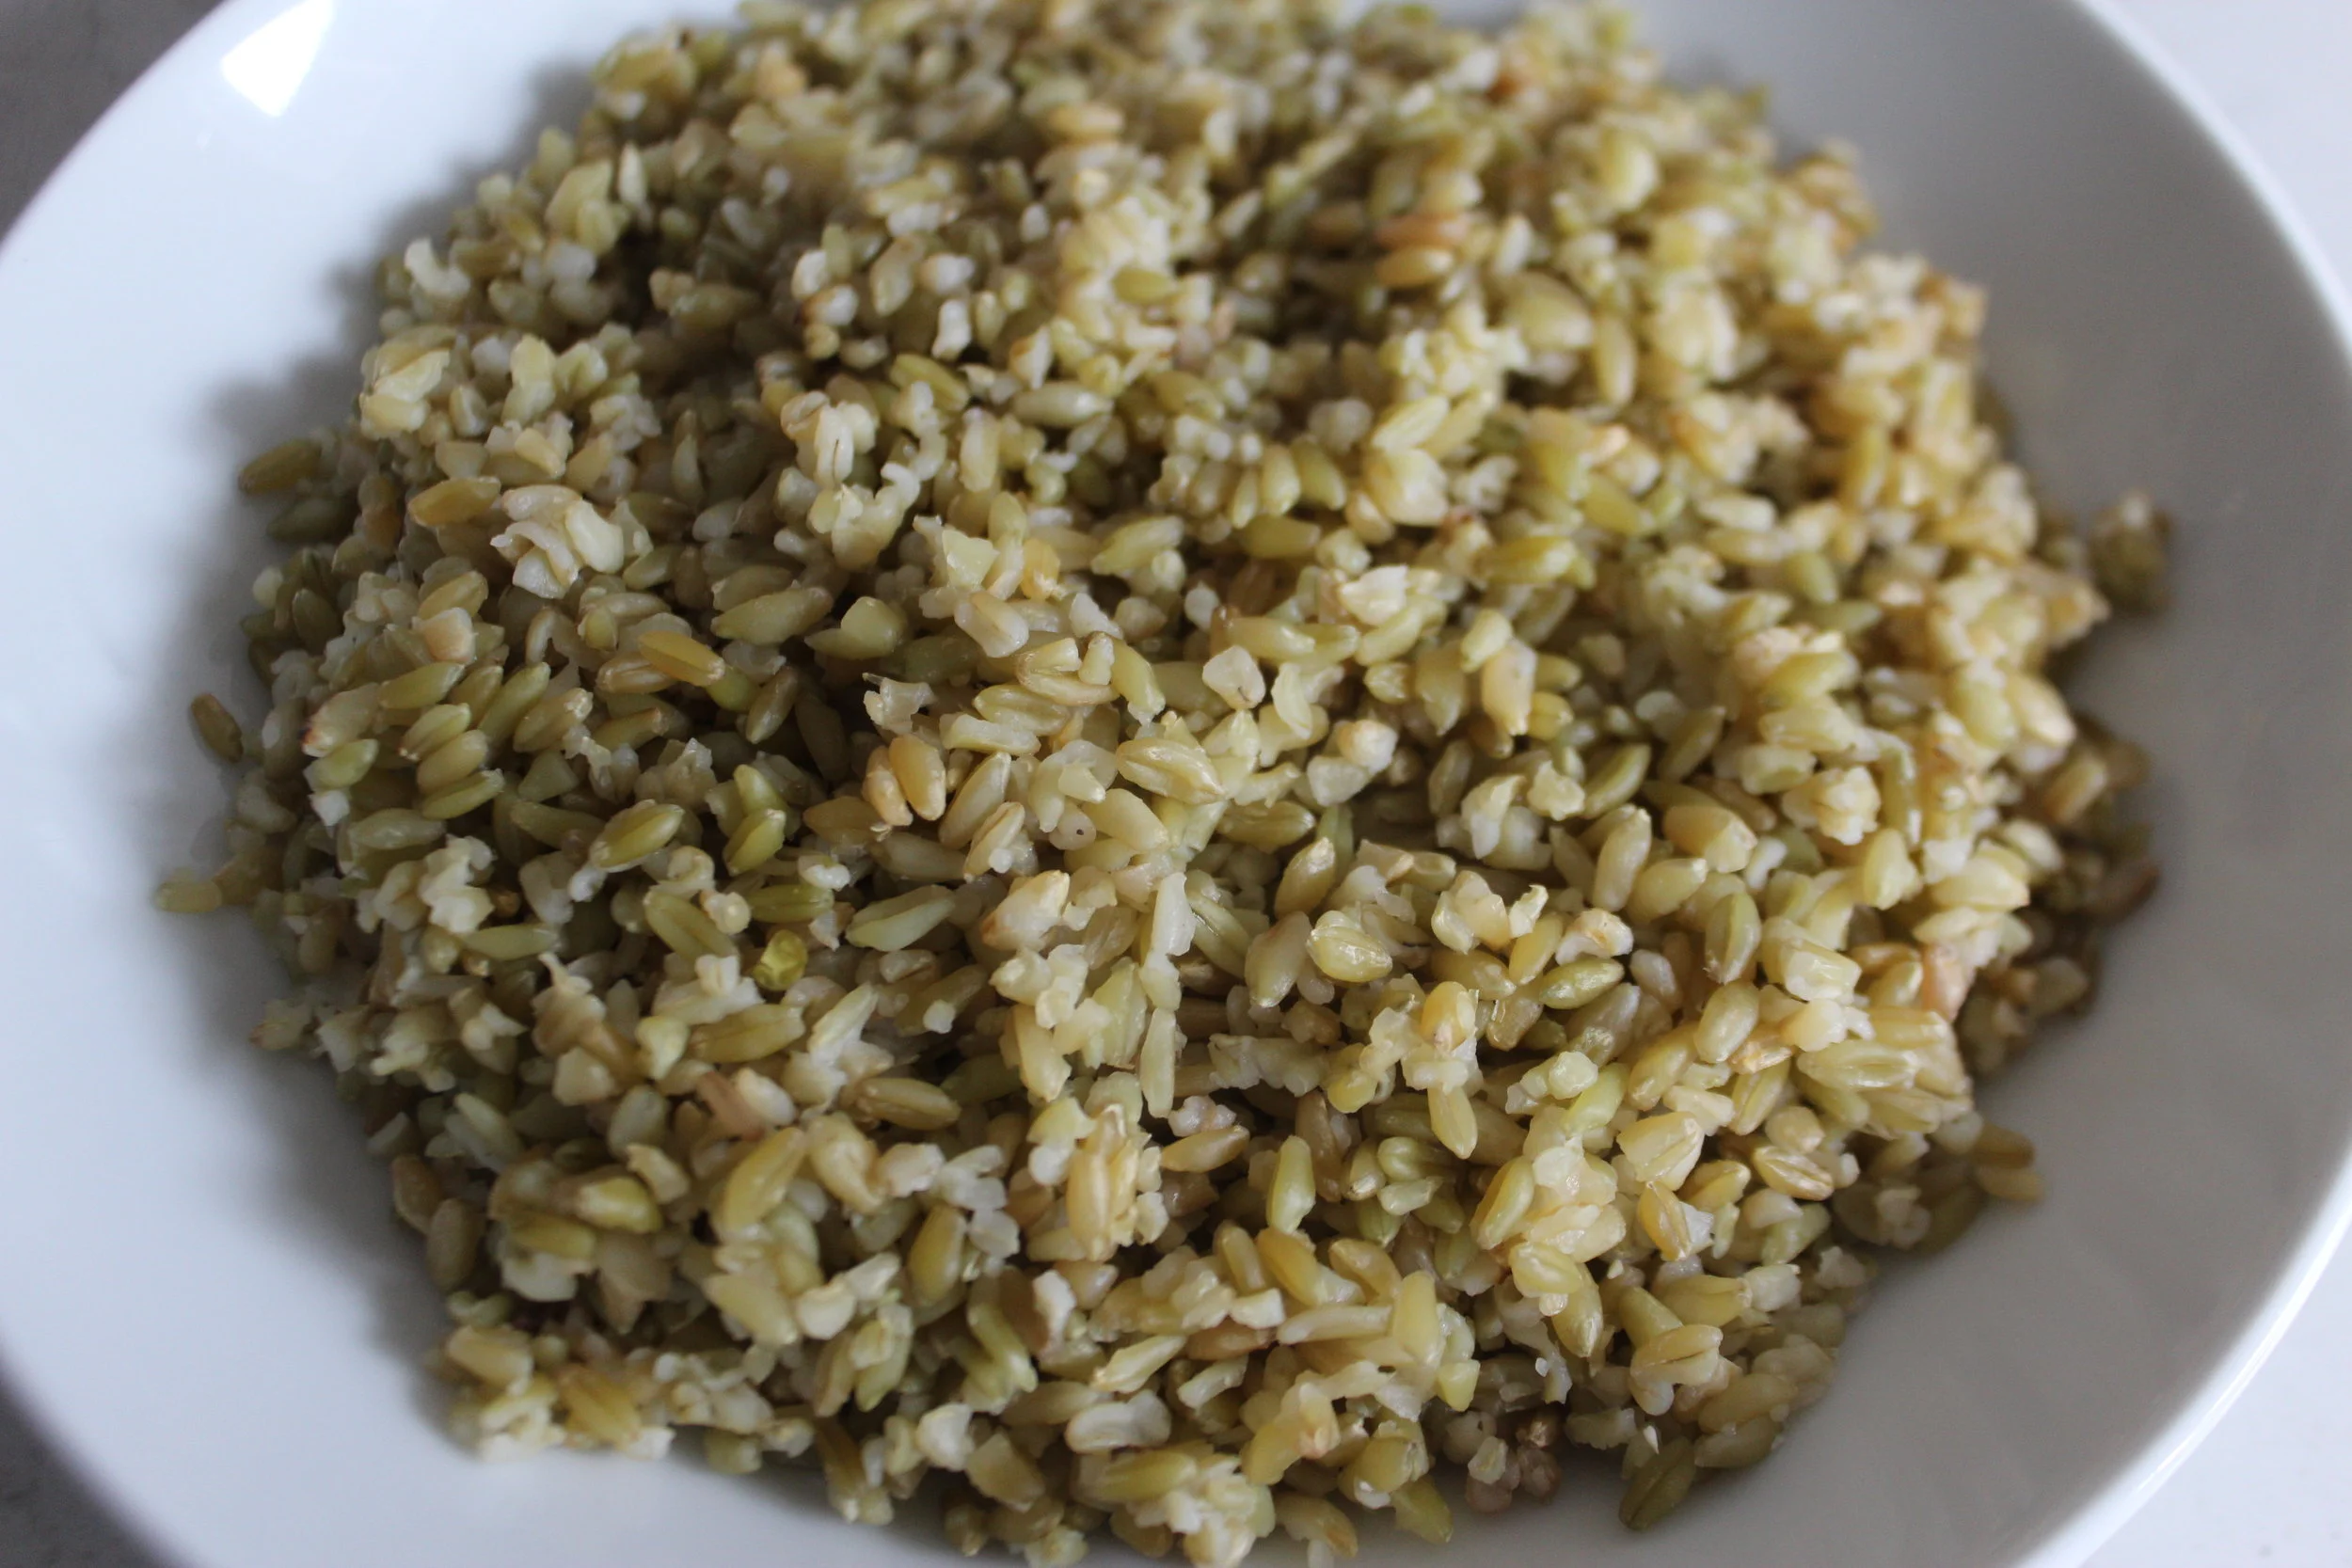
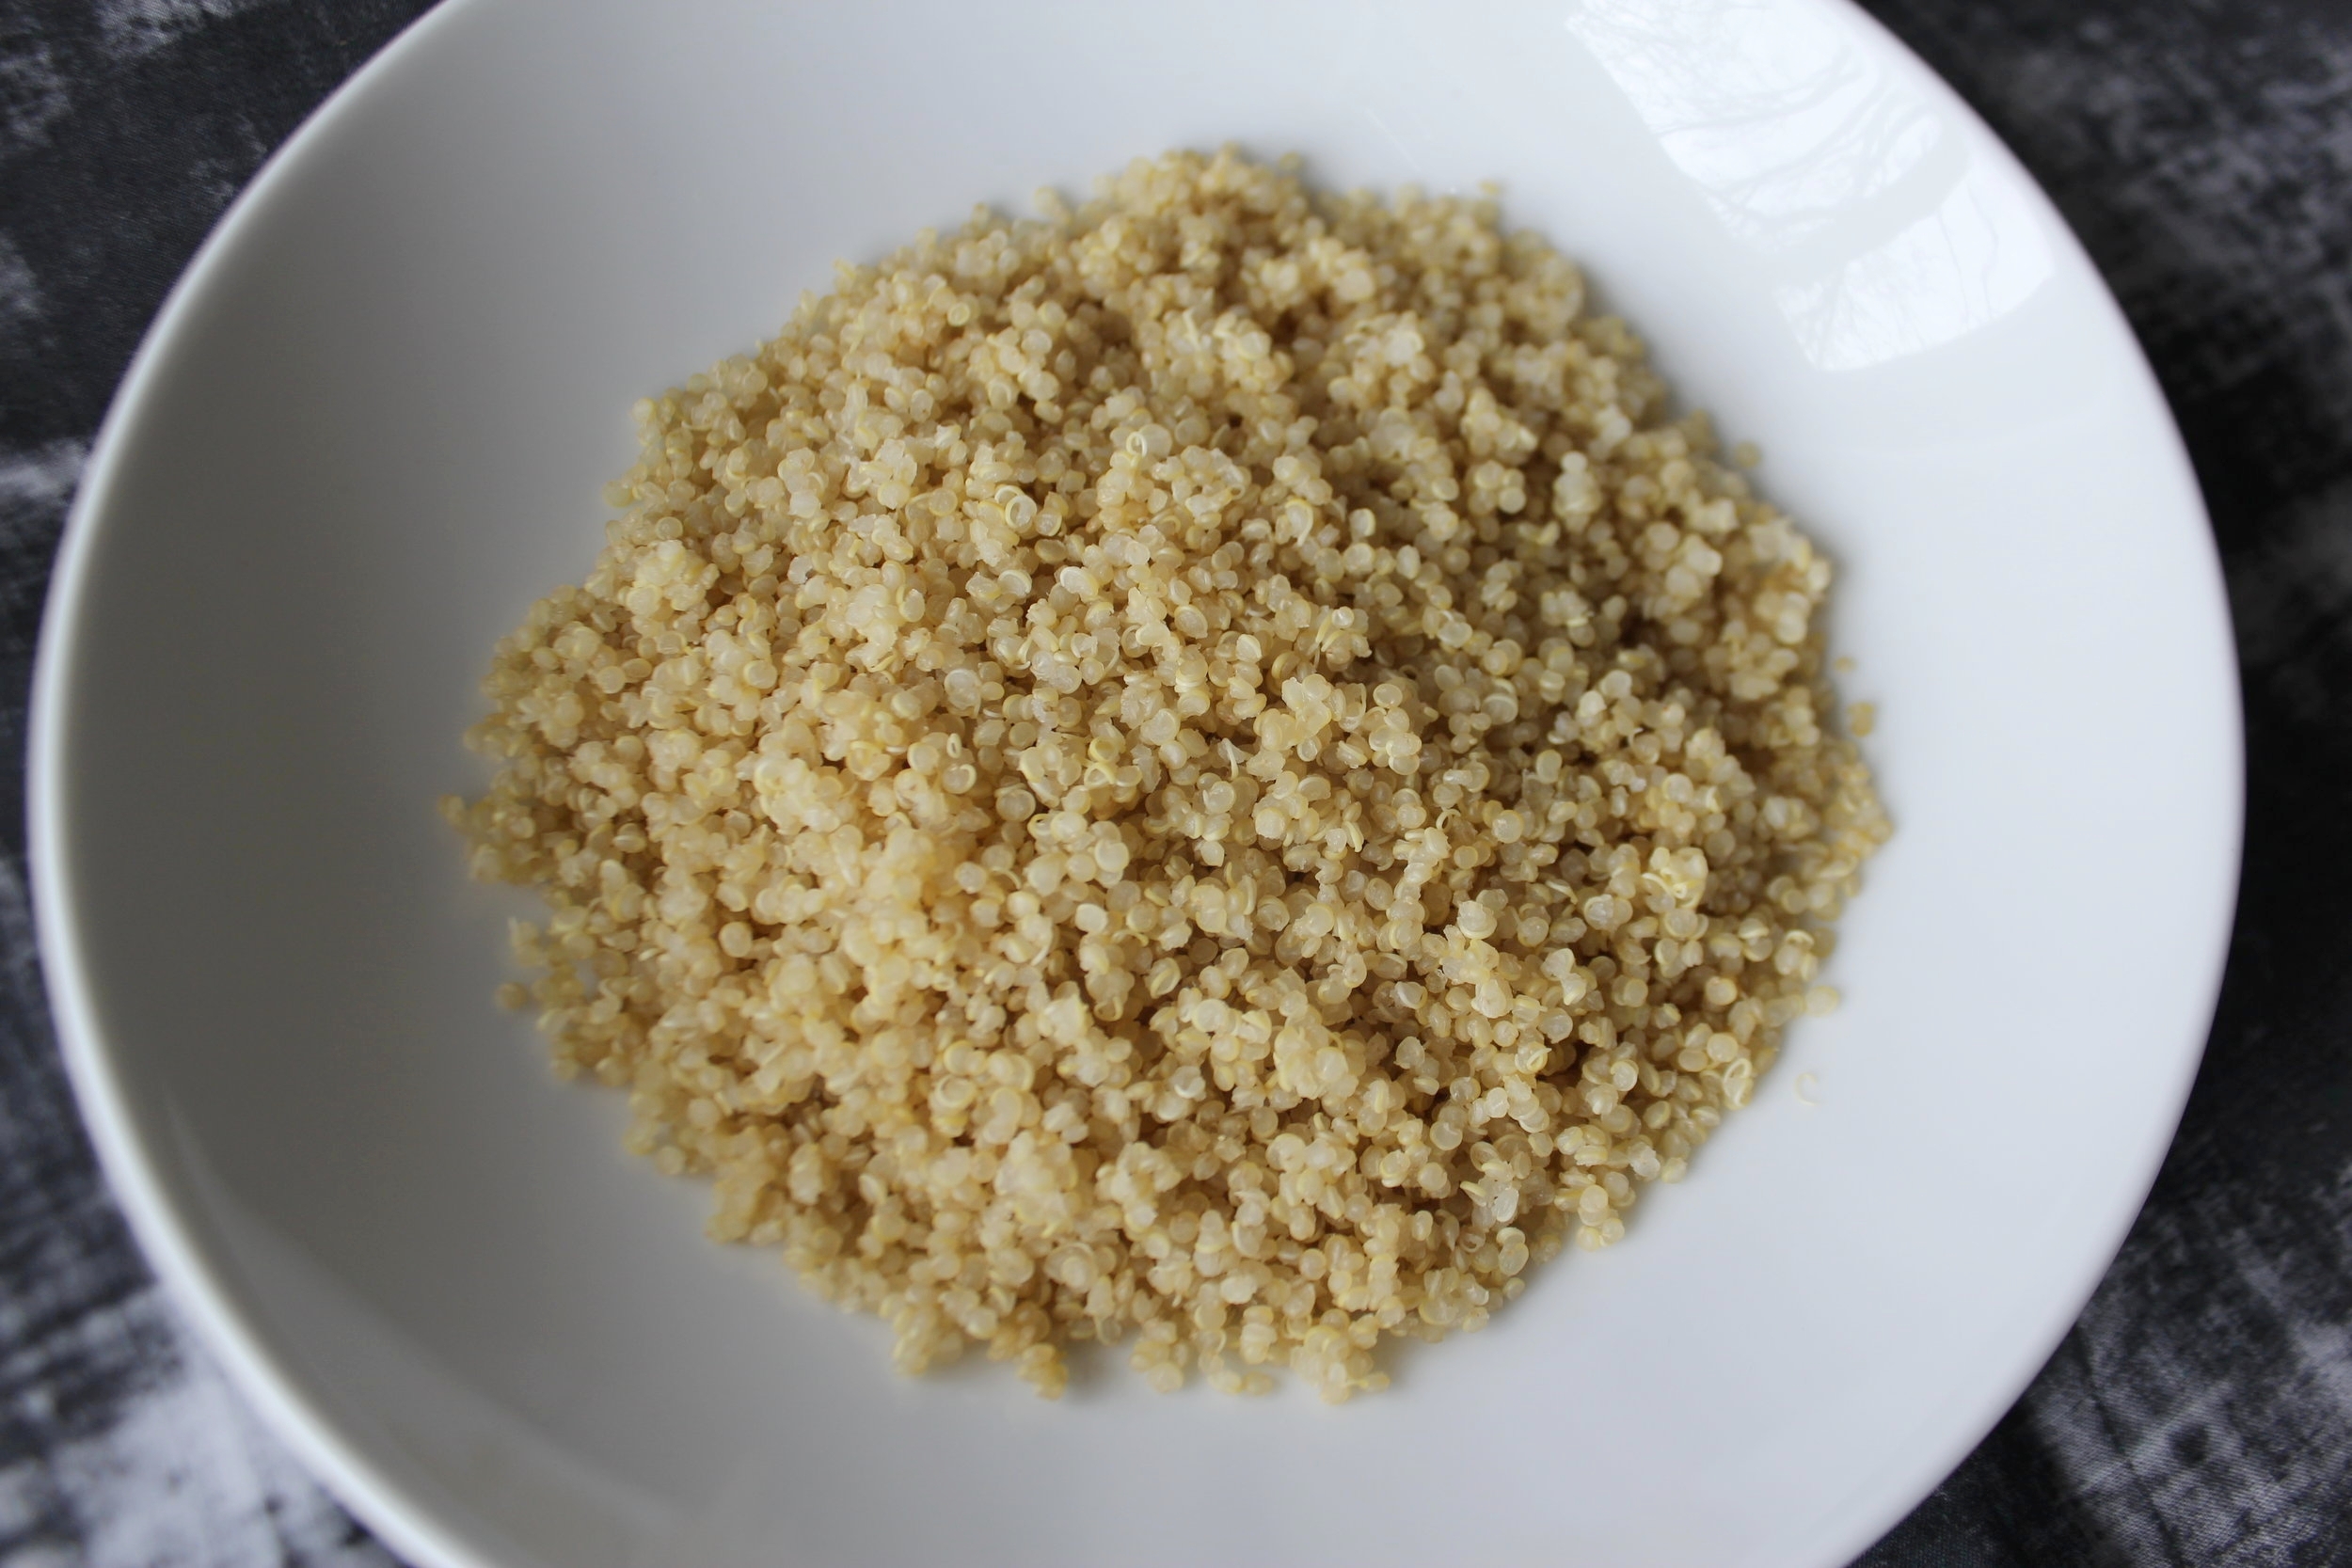
Freekeh can be cooked like brown rice or boiled in extra water like wheat berries. I just boiled it, using more water than you would for brown rice, so I didn't have to worry about the pot going dry. I then drained the grain well, and let it steam off for a few minutes so that it was just warm for serving.


Cherry or grape tomatoes and the broiler are good friends. Broiling these already sweet little tomatoes is a nice way to eek out even more flavor, creating warm little morsels for the mint vinaigrette to grace.
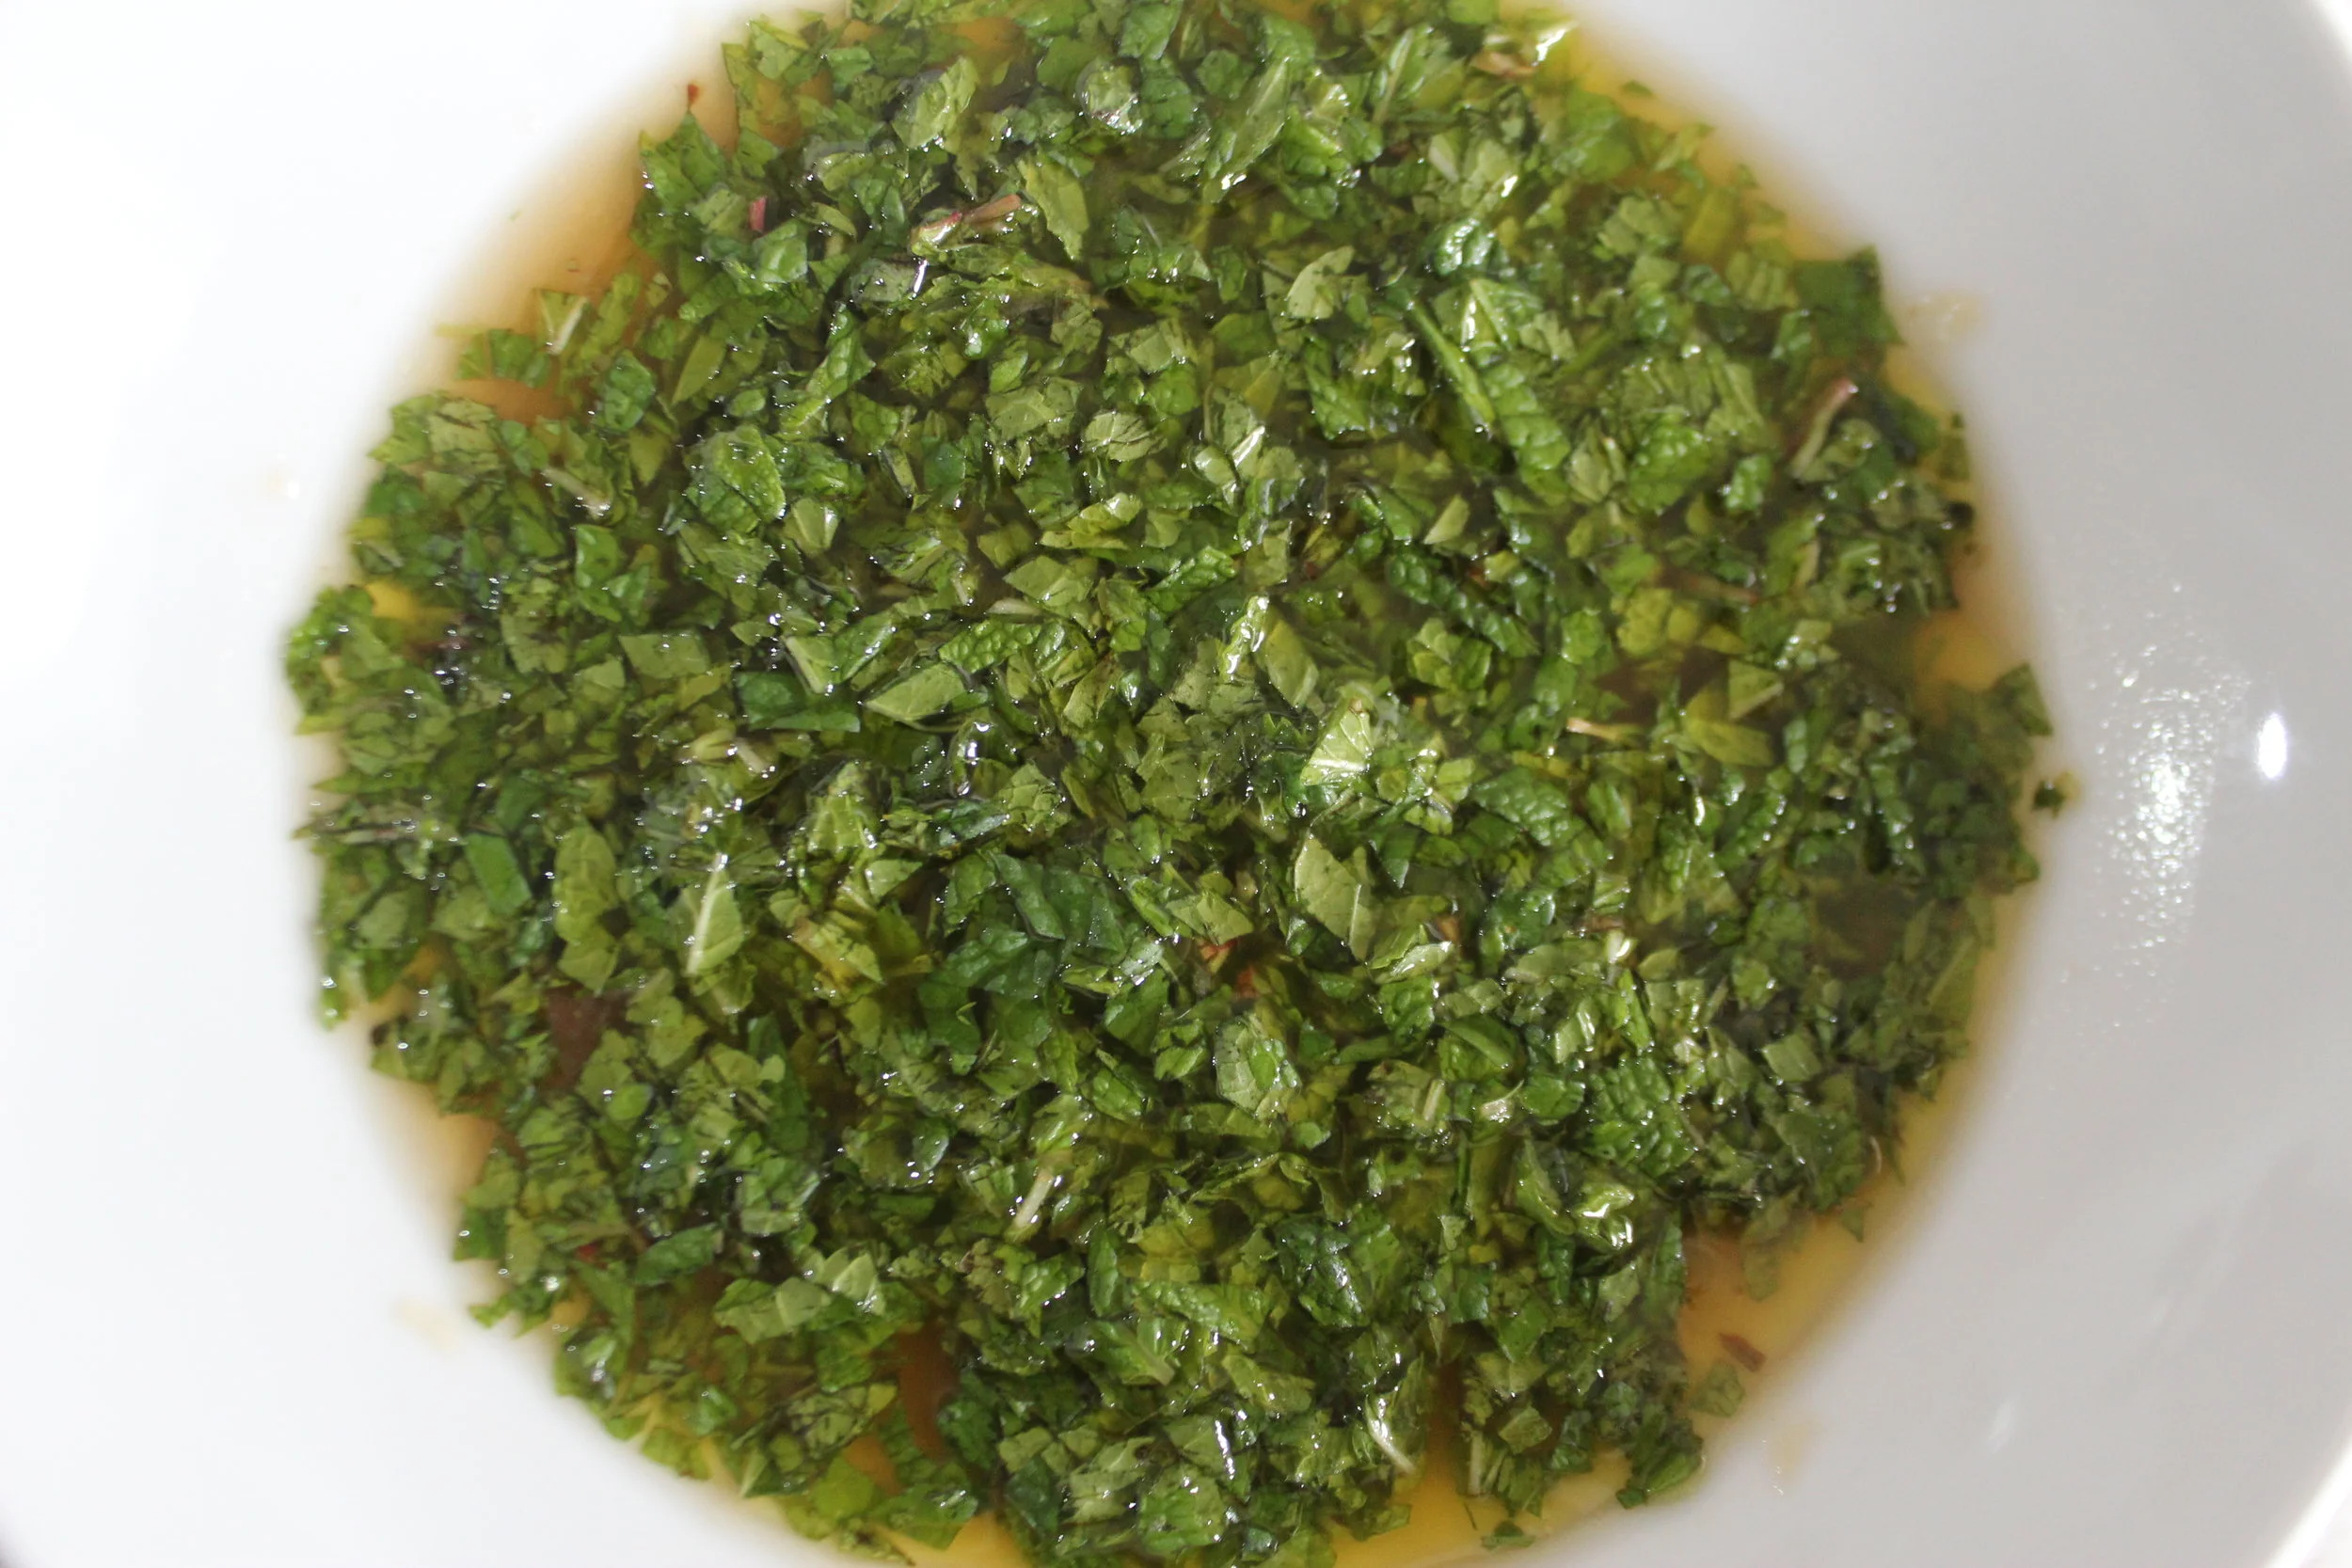
I have to warn you that the ratio of chopped mint to vinegar and oil in the dressing of this salad makes it less like a vinaigrette with mint IN IT, and more like a HEAP OF MINT that's been dressed up in a little vinaigrette! But, it is perfect. Lots of mint is what is needed here. Enjoy!

Warm Freekeh and Broiled Tomato Salad with Mint Vinaigrette
Ingredients:
- 1 C Freekeh, whole grain
- 3 C Water
- 1/4 Tsp Sea salt
- 1 Pint Cherry or grape tomatoes
- 4 Oz Feta, crumbled (optional)
For the Vinaigrette
- 1/2 C Chopped fresh mint, lightly packed
- 1 Tsp Honey
- 3 Tbsp Sherry vinegar
- 1/8 Tsp Sea salt
- Grated garlic the size of a pea (see procedure)
- 5 Tbsp Extra virgin olive oil
Spread the freekeh in a small sheet pan and remove any bits of chaff or foreign objects as you would with beans or lentils. Rinse the grain in a mesh strainer or simply in a few changes of water in your cooking pot. Place the drained grain in a pot with 3 C water and 1/4 Tsp sea salt and bring to a boil. Reduce to a healthy simmer and cook for 15 to 20 minutes until the grains are tender and split open. Drain the grain well and return it to the pot. Allow it to steam with the lid off, while still in the pot, to help remove residual moisture.
While the freekeh is cooking, prepare the tomatoes and the vinaigrette. Begin by slicing the cherry tomatoes in half from top to bottom and space them out on a sheet pan with parchment paper. Sprinkle with a little salt if desired. You can place some cut side down and some cut side up if you want to blister the skins for a nice effect.
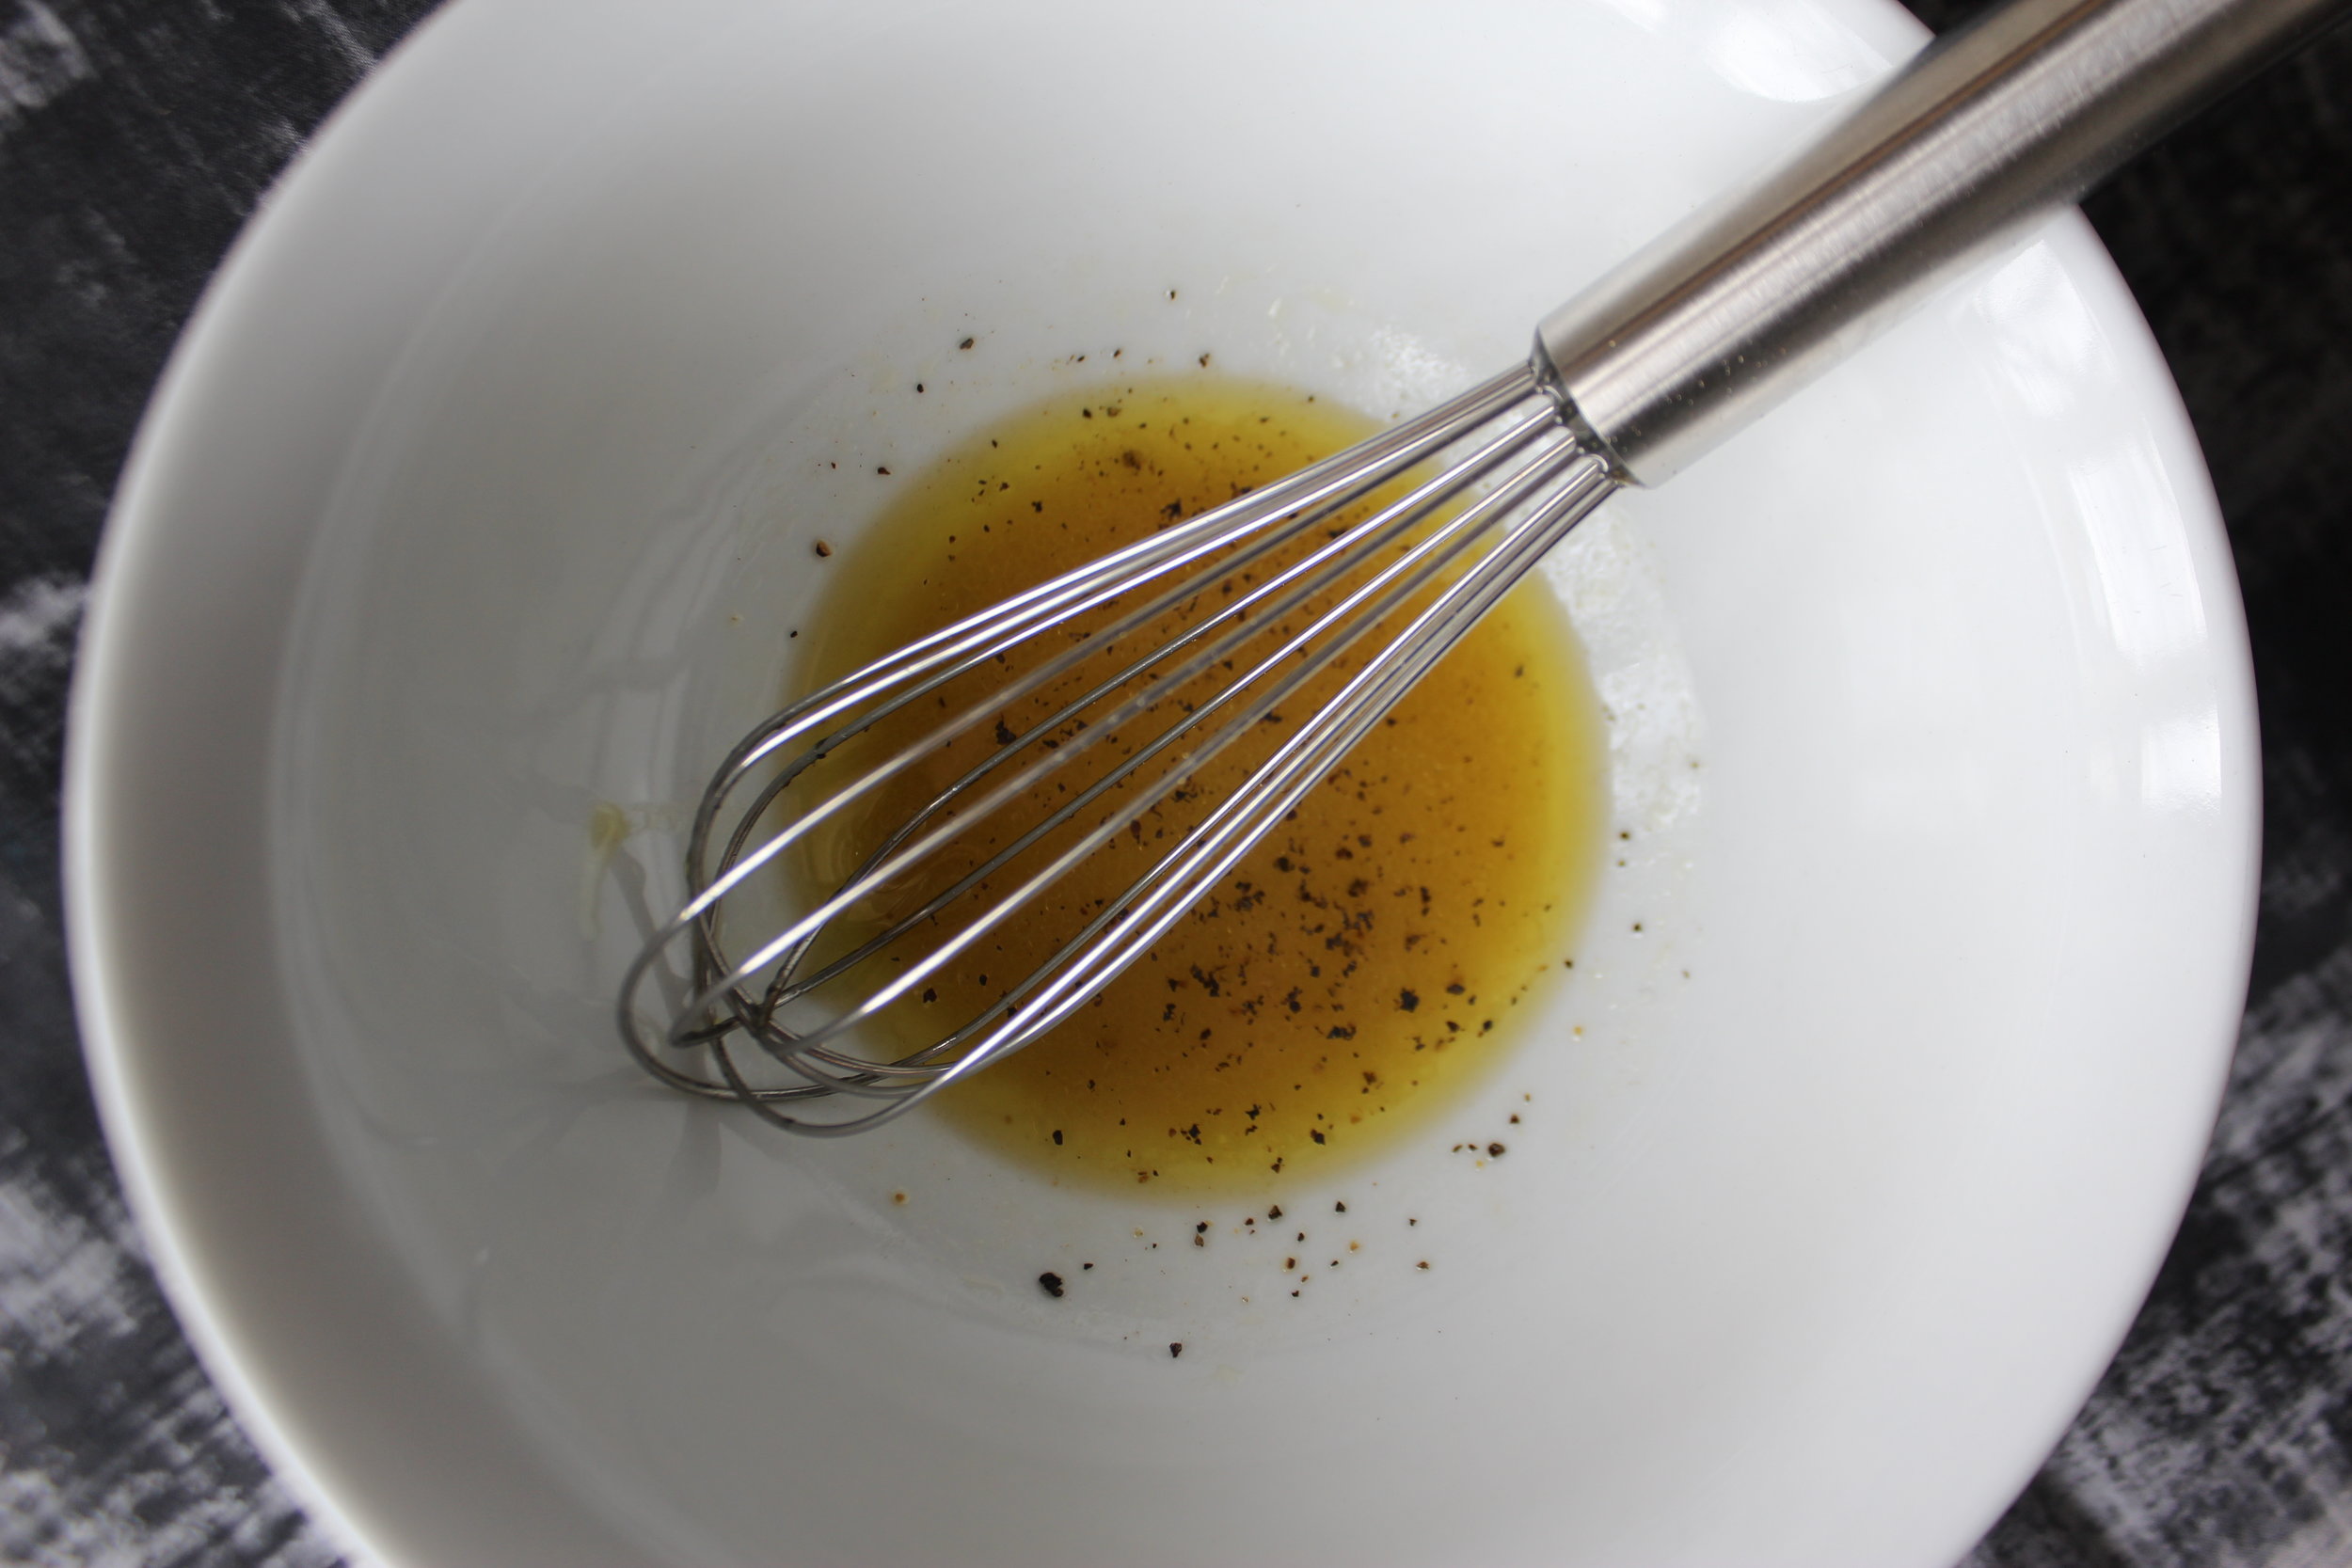
Prepare the vinaigrette by chopping the mint fairly small but not quite mincing it. In a small bowl, combine and mix the mint, honey, vinegar, salt, and grated garlic. I recommend a small amount of garlic about the size of a pea. If you don't have a microplane to grate the garlic, mince it as small as possible. Incorporate the olive oil while mixing gently with a small whisk or fork. This dressing will not emulsify so just mix to combine all ingredients as much as possible.
When the vinaigrette is ready and the freekeh is cooked, drained, and is just warm (not too hot or the mint will cook and turn black), broil the tomatoes on high for about 3 to 4 minutes. Check the tomatoes after three minutes as broiler temps can vary. I broil mine at 525 degrees on the closest rack to the flames. The tomatoes should be softened, warmed, and slightly blistered.
Serving Suggestions:
Family style: Gently mix the warm, broiled tomatoes with the vinaigrette and spread them over the grain in a nice bowl, topping the salad with crumbled feta. You may also gently toss the whole salad and serve in a bowl. Be very careful not to mash the tomatoes as you mix.
Individual portions: To serve individual portions, gently mix the grain with the vinaigrette, place a portion of the tomatoes on each scoop of dressed grain, and then top with feta. You may also serve portions of the plain grain topped with dressed tomatoes and finished with feta as individual portions. Or just toss it all (as in the second family style suggestion) and serve portions like that. Lots of options.
This salad makes 4 to 6 servings. The salad will keep, cooled, for 3 to 4 days but is best served immediately. The mint will turn dark after refrigeration but will still taste great.